Fᴏʀ Tʜᴇ Lᴏᴠᴇ Oꜰ Wᴏᴏᴅᴡᴏʀᴋɪɴɢ
?????? ????????’ ????? ???? ??? ???????????:
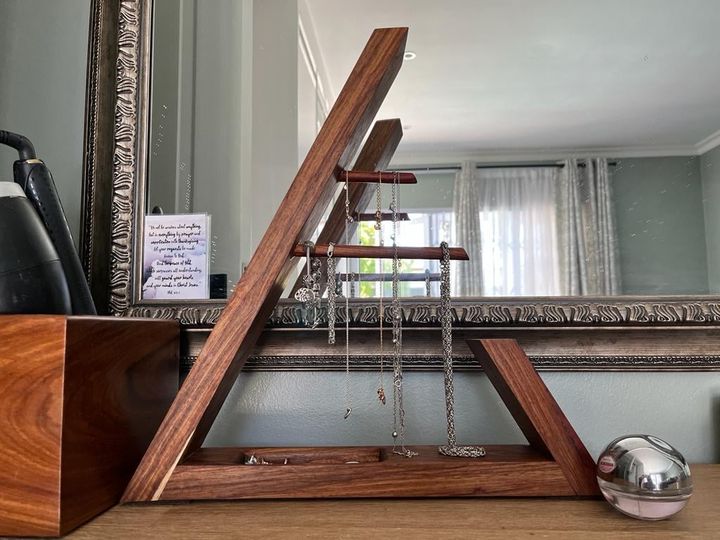
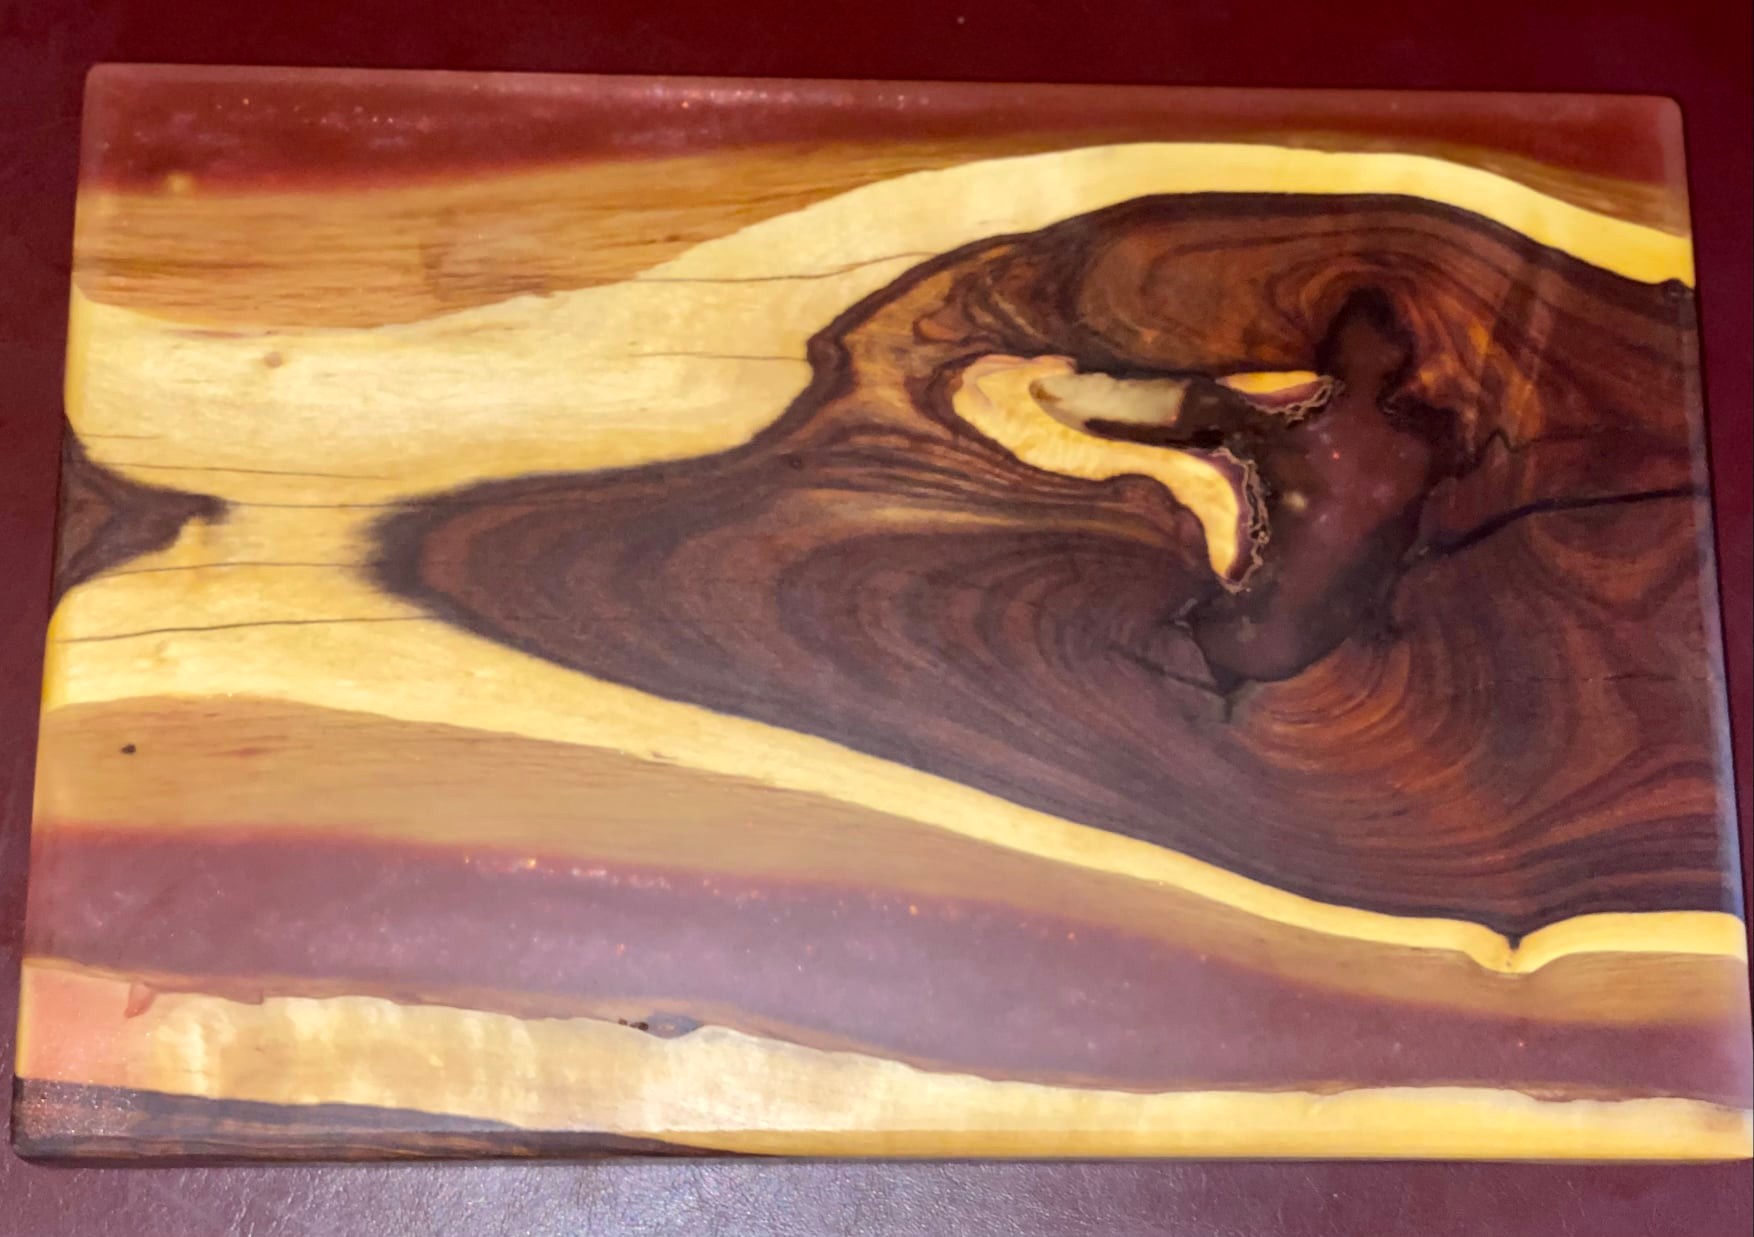
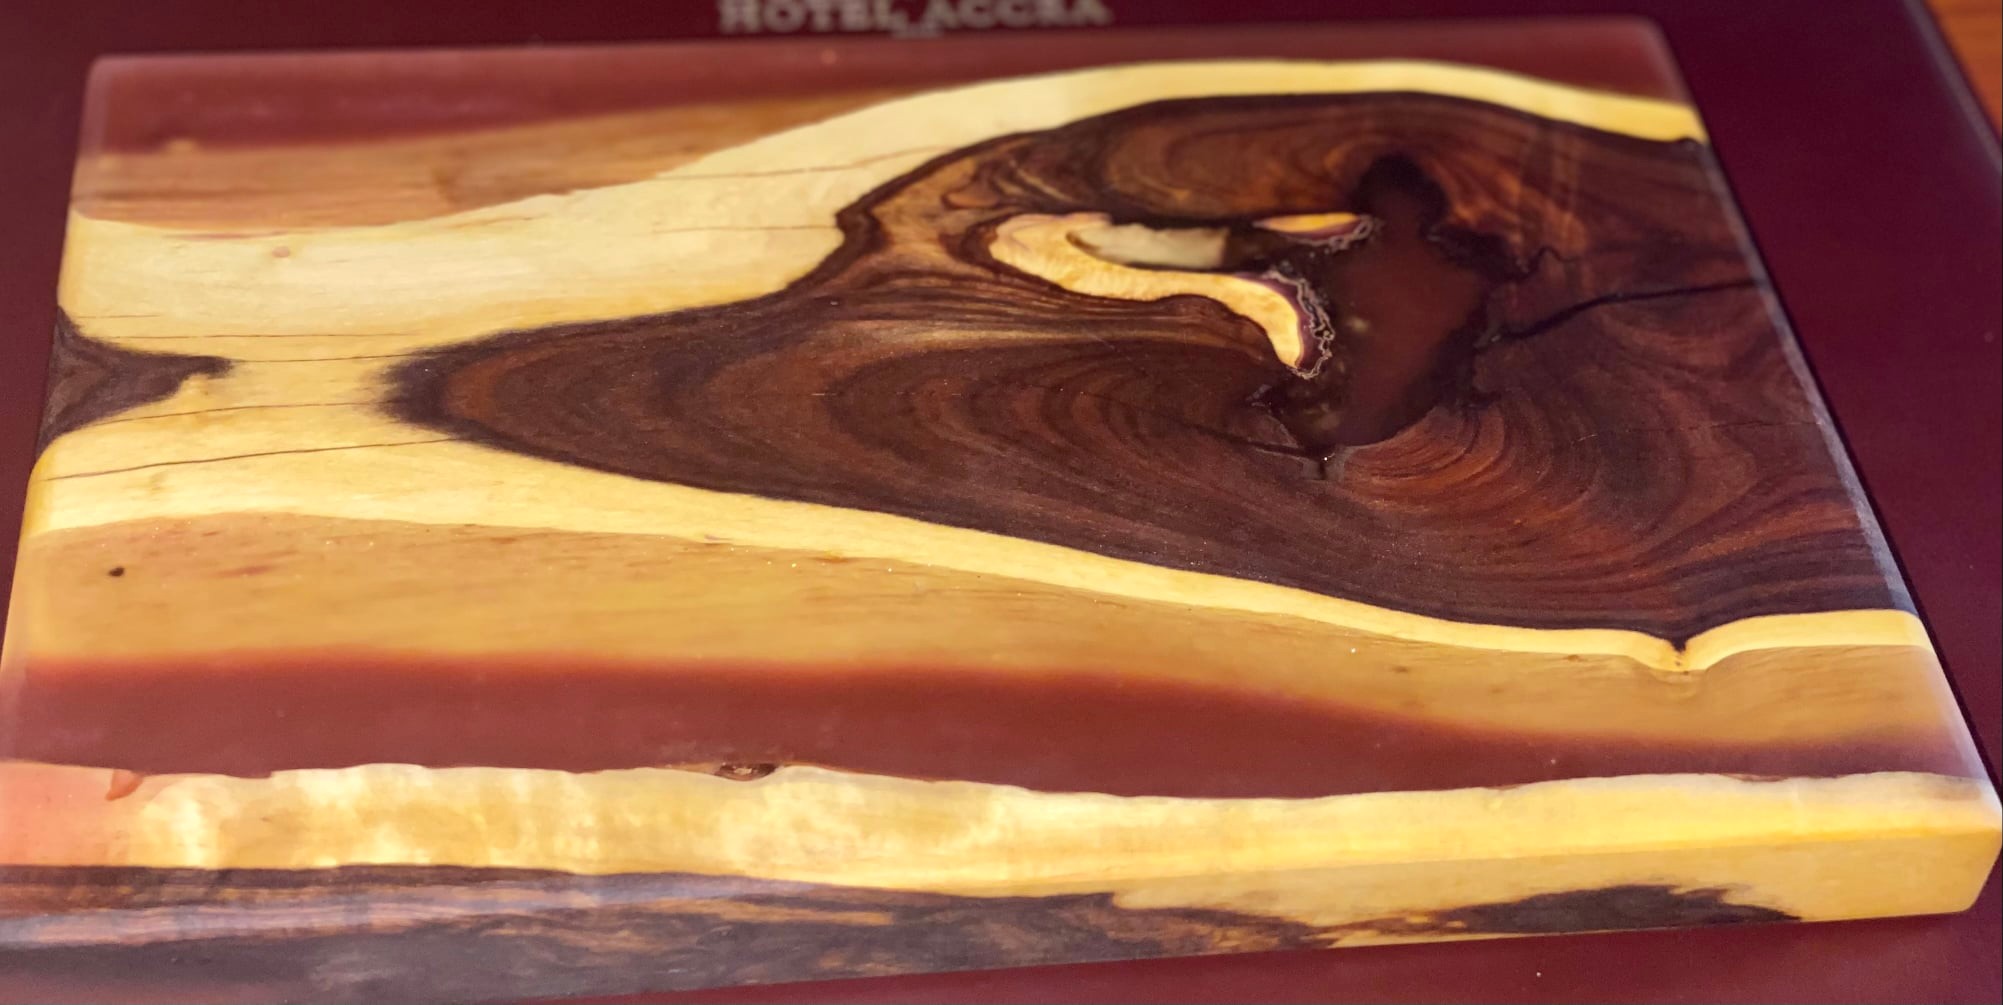
My wife asked for a unique way to display her jewelry rather than in a traditional box.
So we came up with this idea (based roughly on a Pinterest post which she found), made from kiaat off cuts, used a Festool South Africa Kapex 120 for the miters, Festool dominoes and custom made dowels (piece of aluminum with a 12mm drilled in it) and a cordless drill to turn them. Some glue and finish sand. Finish with Osmo Oil (leftovers from a project) to pop the colour.
She loves it, displays her “tools” so it’s a win.
Fᴏʀ Tʜᴇ Lᴏᴠᴇ Oꜰ Wᴏᴏᴅᴡᴏʀᴋɪɴɢ
?????? ??????’ ????? ???? ??? ???????????:
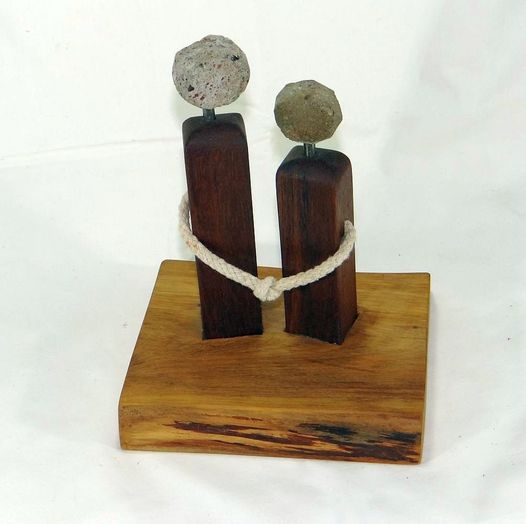
As a recently retired person, I decided to take on woodworking as a hobby.
I made this for my wife as a Valentine’s gift.
Four elements of scrap material were used, wood, metal, concrete and rope.
Ebony was used for the bodies, yellow wood for the base, straining wire for the necks and concrete from old walling for the heads, while a piece of rope completed the constellation. The wood was treated with furniture polish.
Fᴏʀ Tʜᴇ Lᴏᴠᴇ Oꜰ Wᴏᴏᴅᴡᴏʀᴋɪɴɢ
?????? ?????? ????? ???? ??? ???????????:
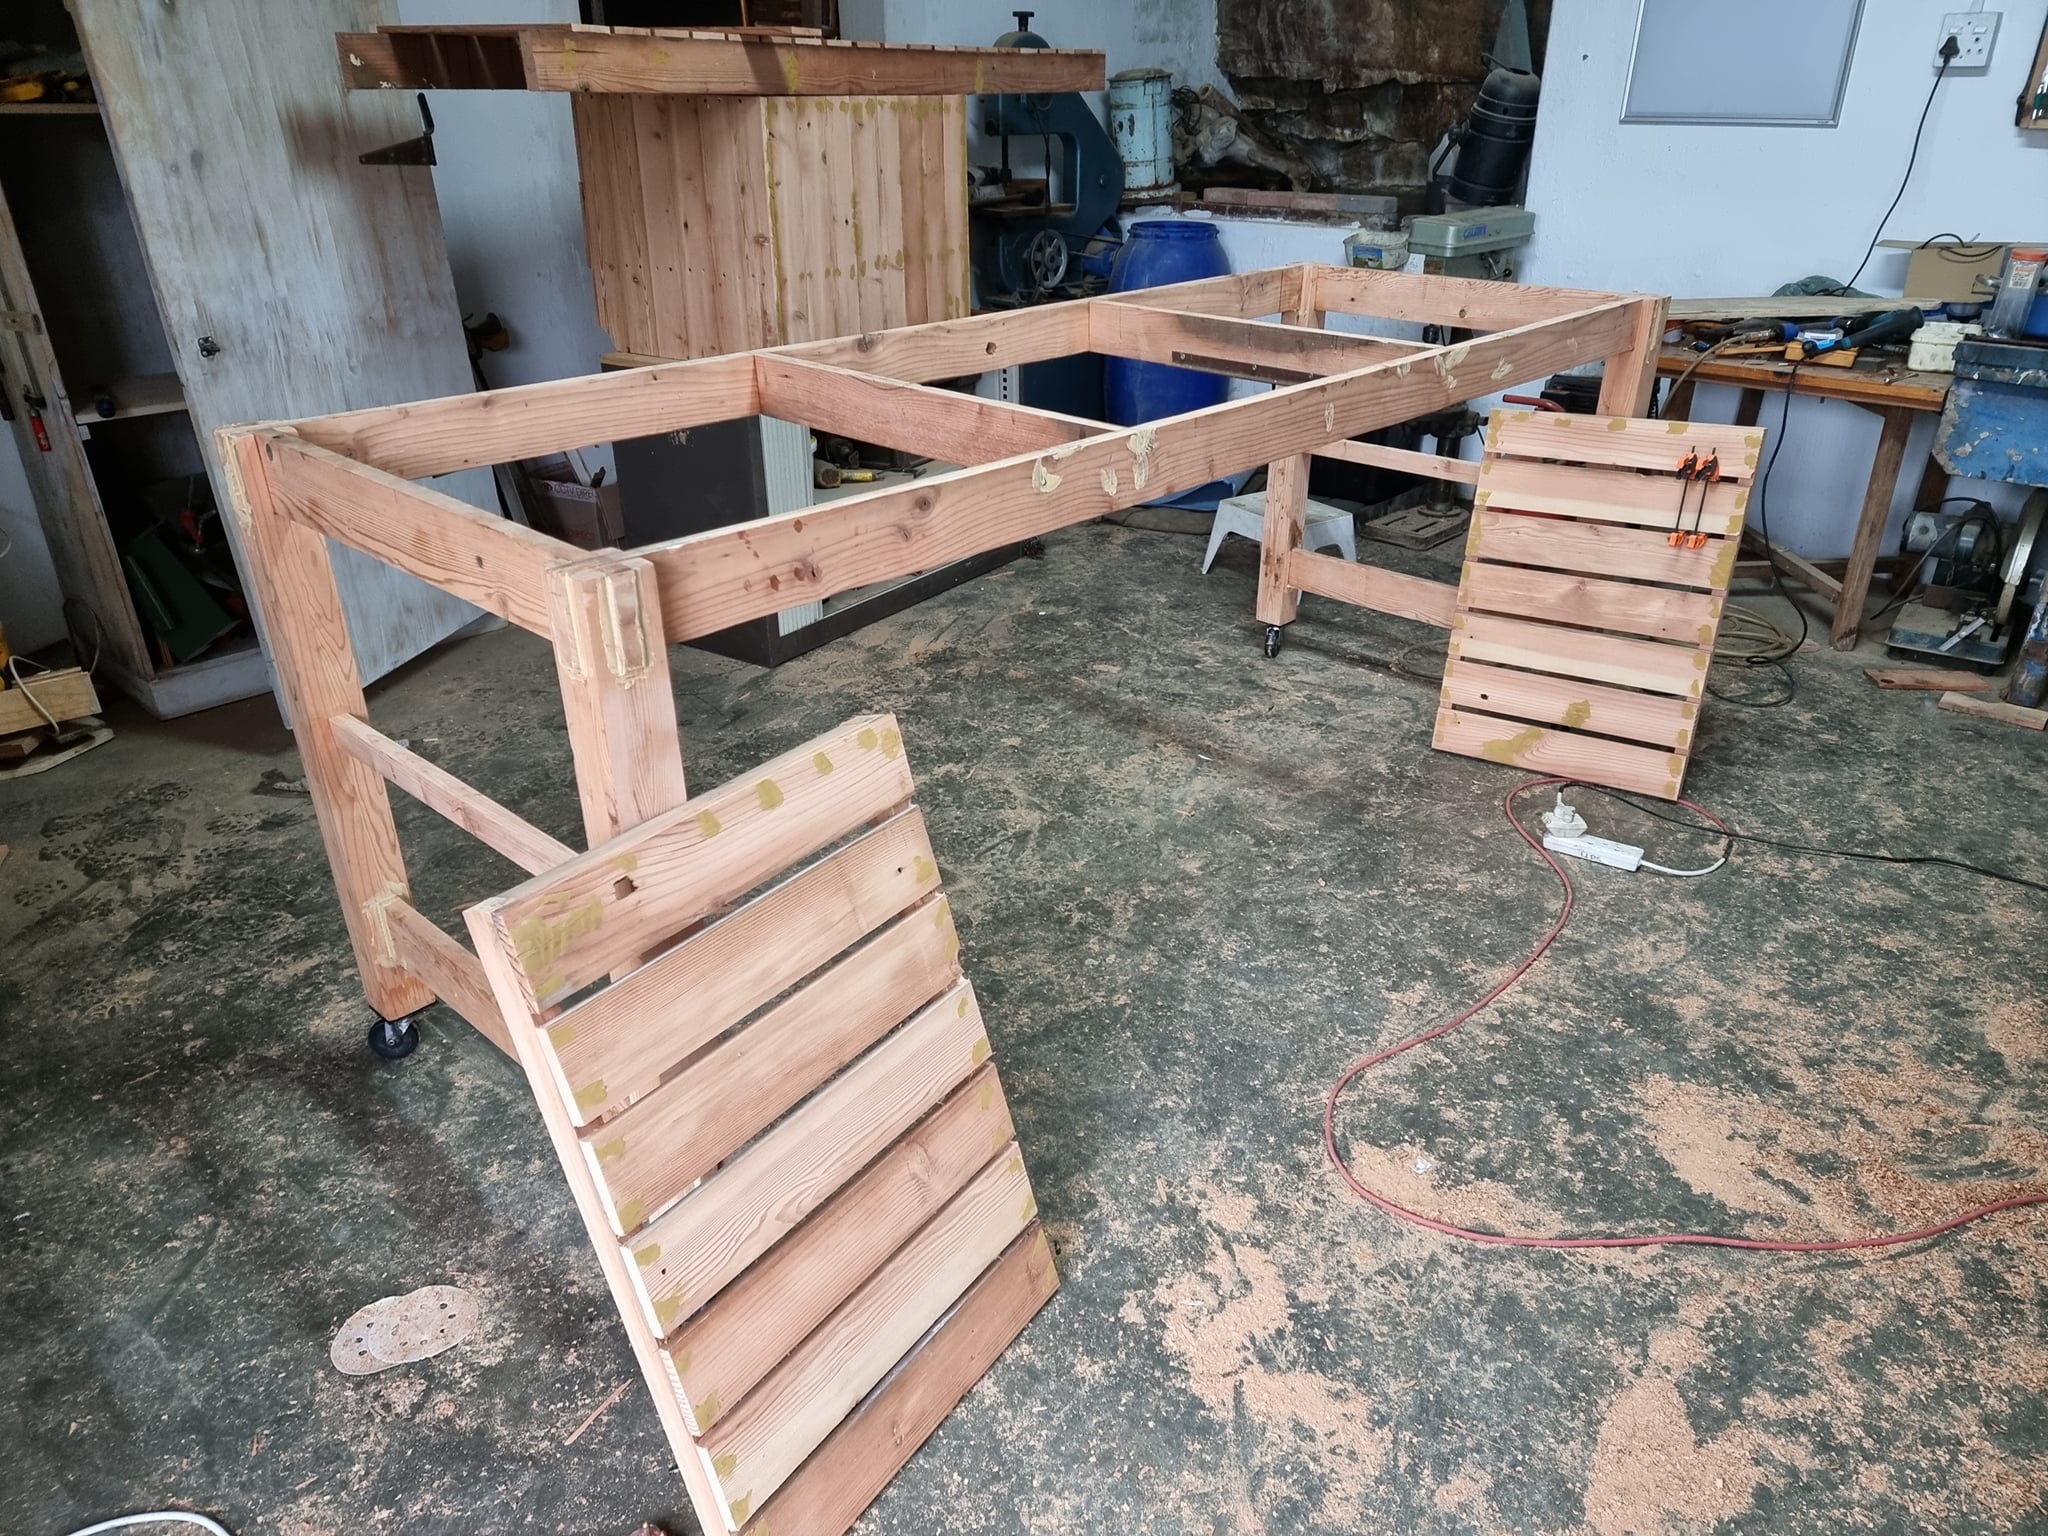
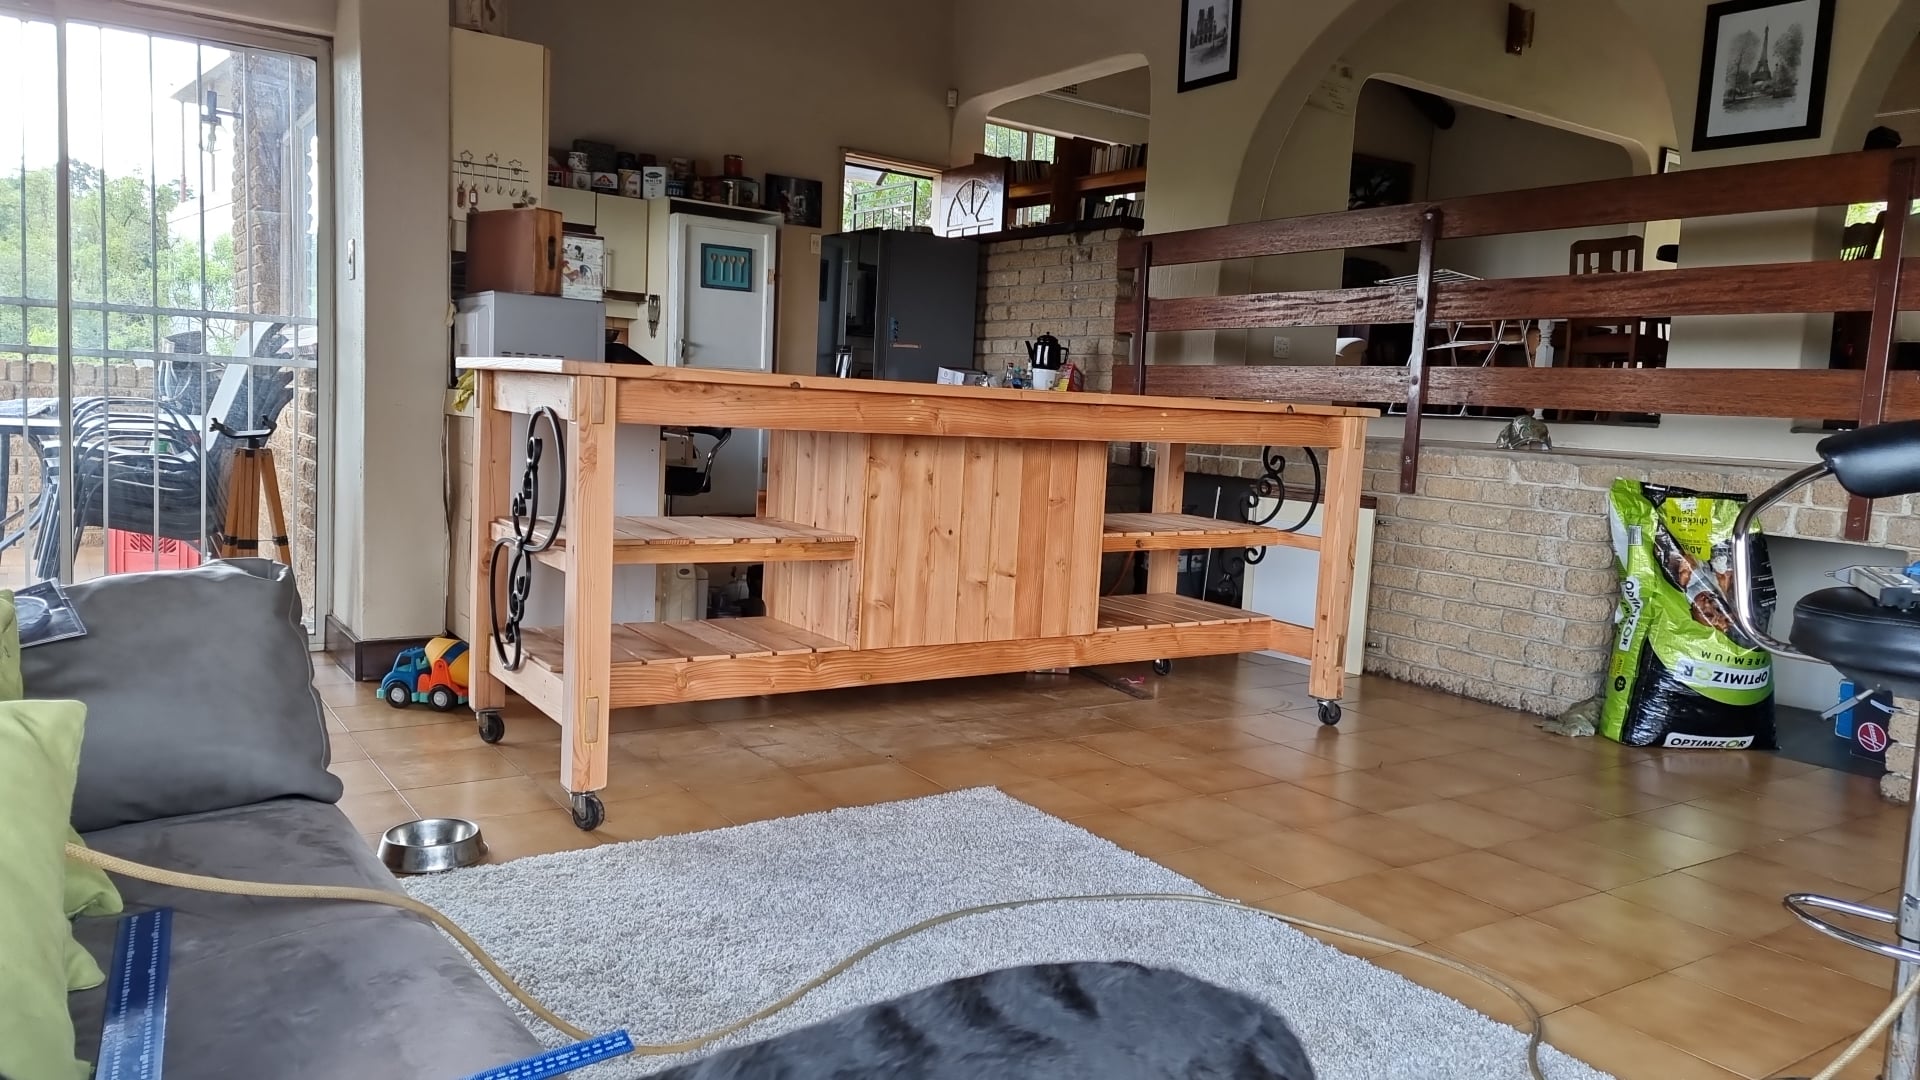
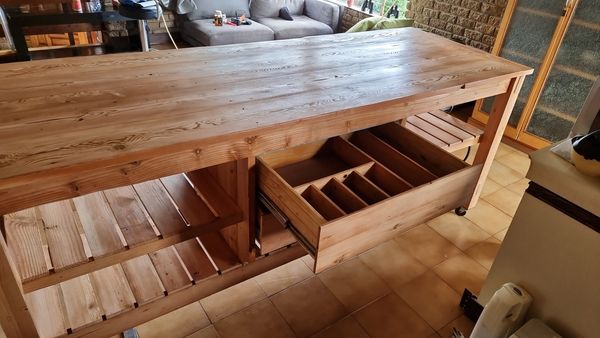
This is the new kitchen island I made for my wife, in an ongoing refurbishment of her kitchen. The material is reclaimed Oregon Pine (Douglas fir). I have tried to keep defects (screw holes, knots etc) for authenticity. The uprights are castle joints with half lap supports. I used deck seal for the final finish
Hope you like it. I have more pics but email limits the size
Fᴏʀ Tʜᴇ Lᴏᴠᴇ Oꜰ Wᴏᴏᴅᴡᴏʀᴋɪɴɢ
?????? ???????’? ????? ???? ??? ???????????:
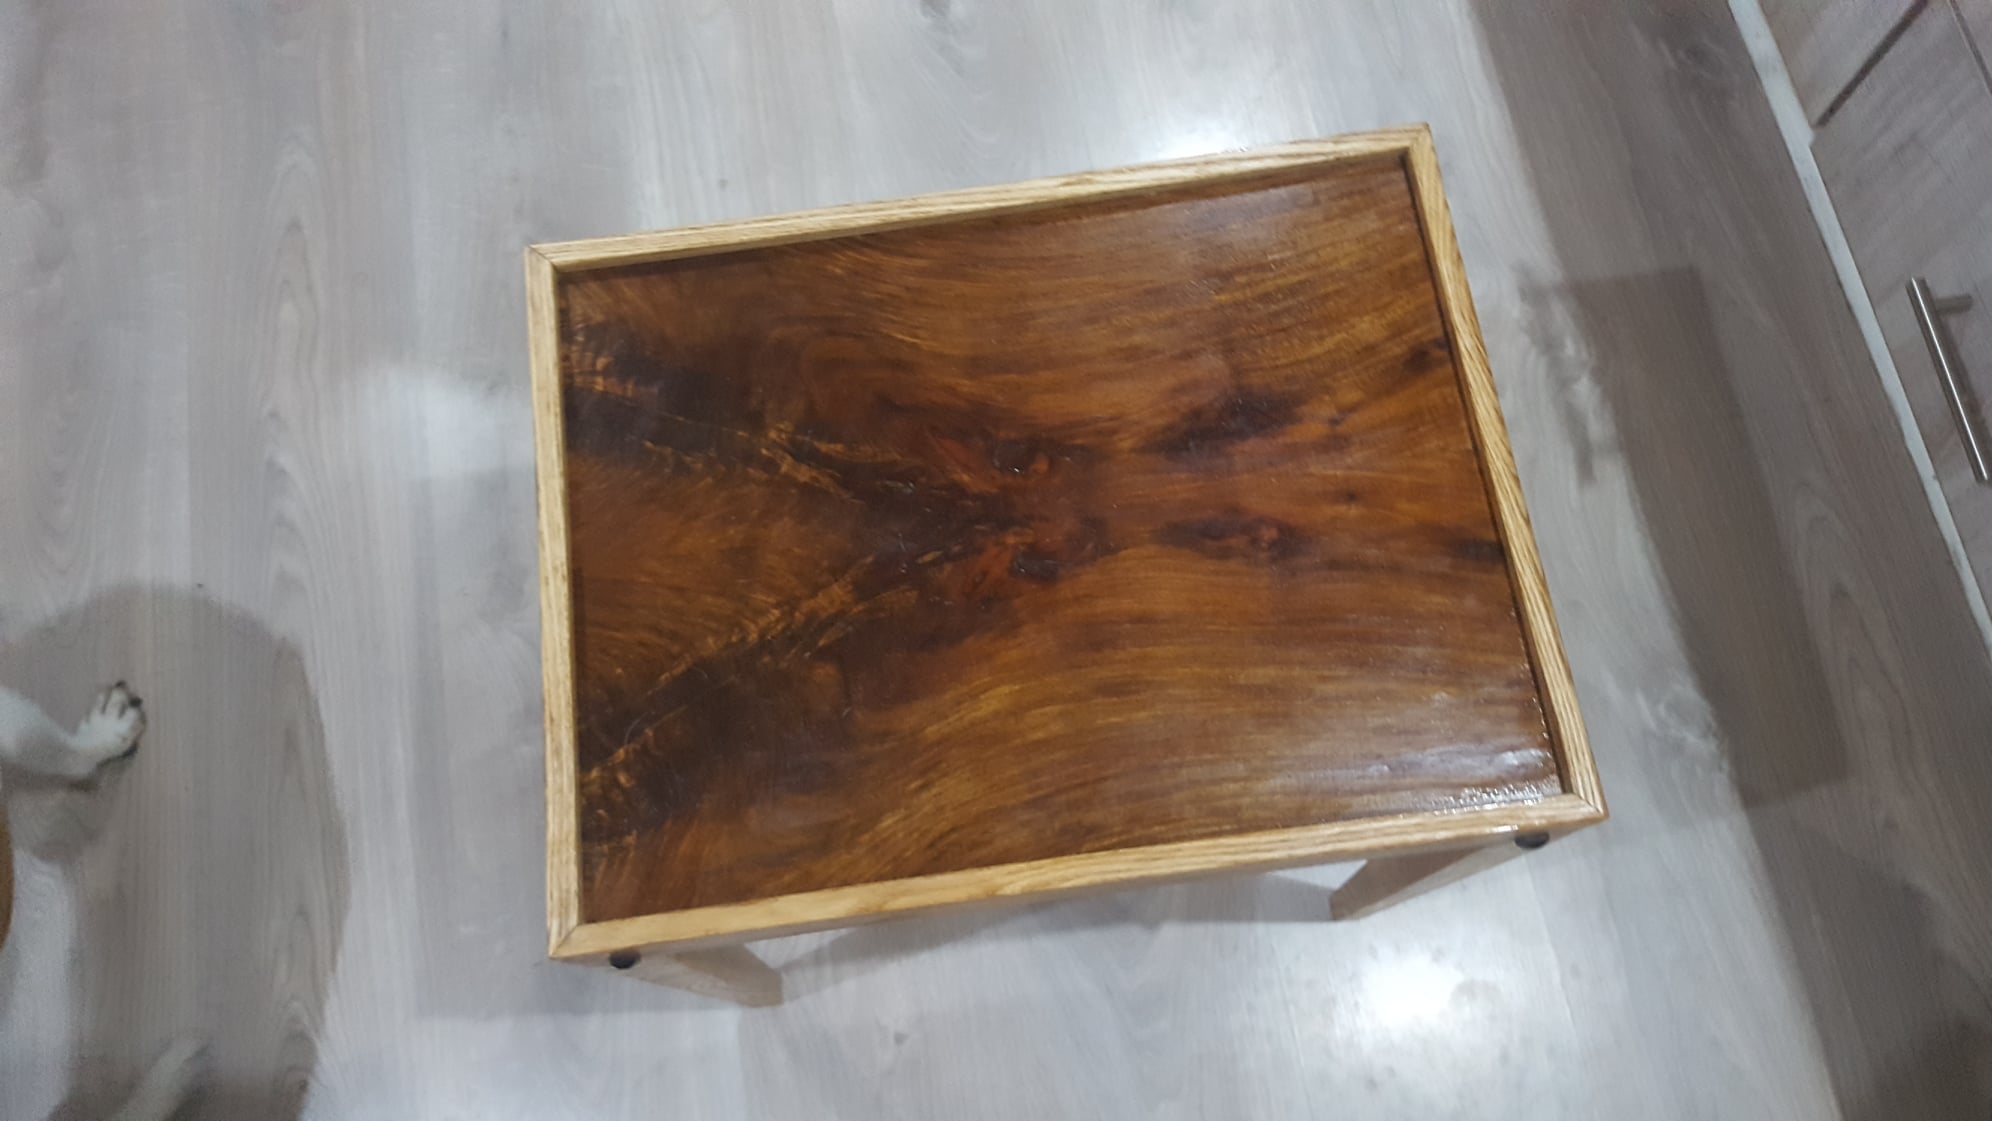
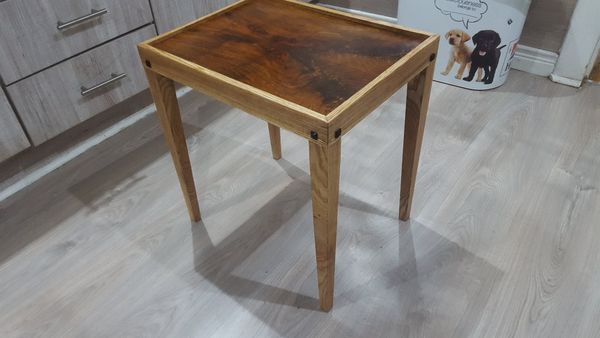
I made this coffee table from scraps of Kiaat and Red oak.
Each corner of the top has two African Blackwood pins or nails that I made from some small pieces of African Blackwood. The purpose of the pins is to secure the legs that attach to the inside of the corners. The table top is a match book of a piece of Kiaat. The entire project was an exercise in hand tools to see what I could do without electricity. The only part made using electricity was the African Black wood pins which I turned on the lathe.
Fᴏʀ Tʜᴇ Lᴏᴠᴇ Oꜰ Wᴏᴏᴅᴡᴏʀᴋɪɴɢ
?????? ???????’? ????? ???? ??? ???????????:
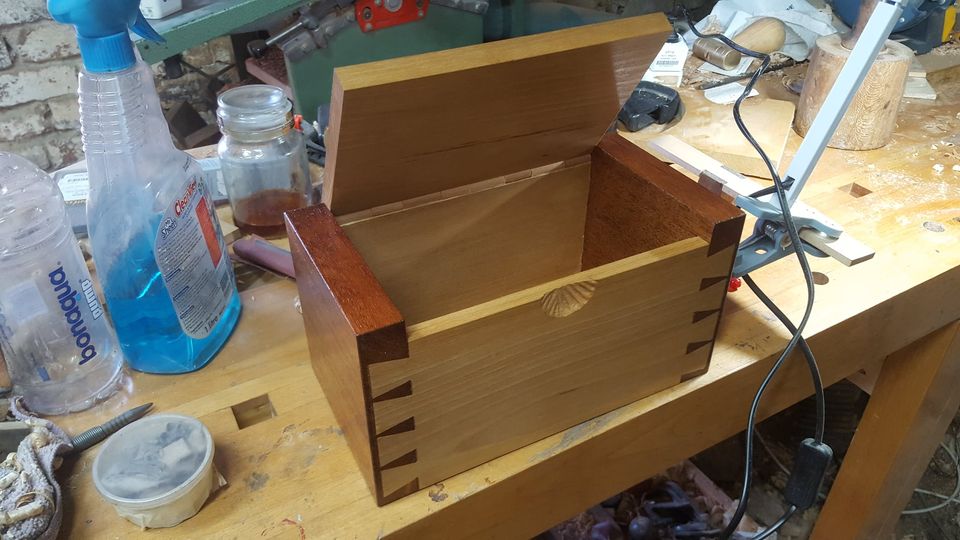
This box gave me the opportunity to improve my skills using only a hand held dovetail saw and chisels to cut and chop the dovetails. The dragon carving on the lid also gave me a chance to practice my hand carving. The hinge of the box is wood consisting of sections of dowel I turned and inserting metal pins between the segments. If you would like to see how this is done look up Rob Cosman at the following link https://www.youtube.com/watch?v=87vbqCQUigE
Fᴏʀ Tʜᴇ Lᴏᴠᴇ Oꜰ Wᴏᴏᴅᴡᴏʀᴋɪɴɢ
??????? ?????-?????’? ????? ???? ??? ???????????:
My daughter is a passionate and professional music teacher and runs extra mural music groups. One is a Ukulele Society and the other a Marimba Band. She likes to make handmade gifts each day for each of the team members, and I help her with some of the work.
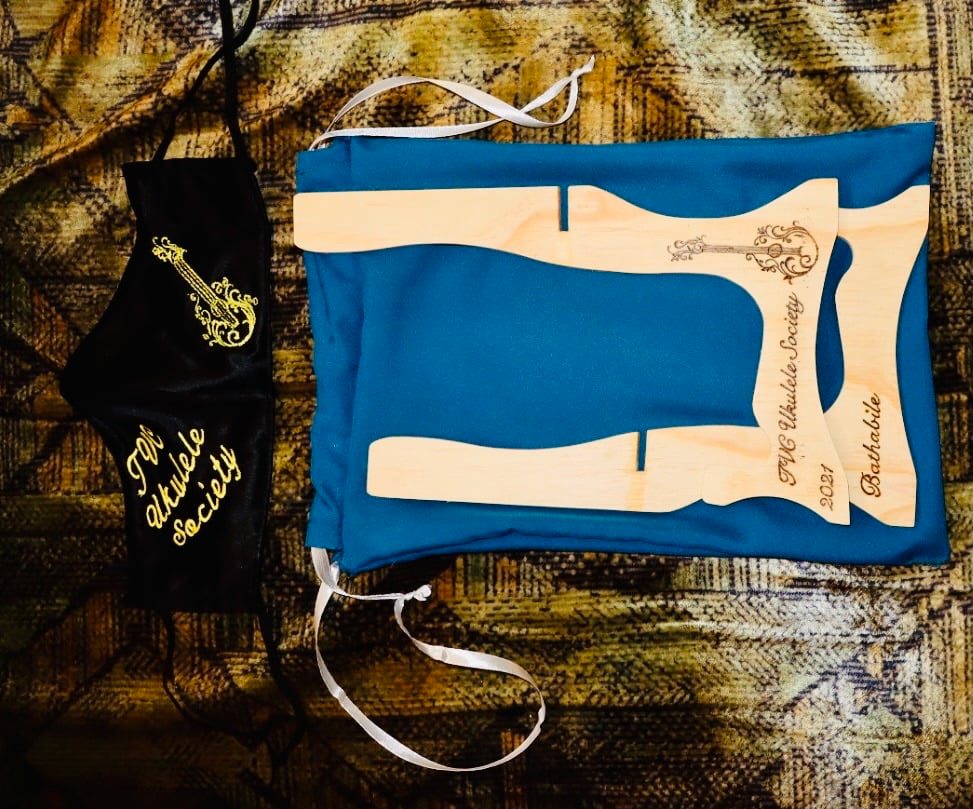
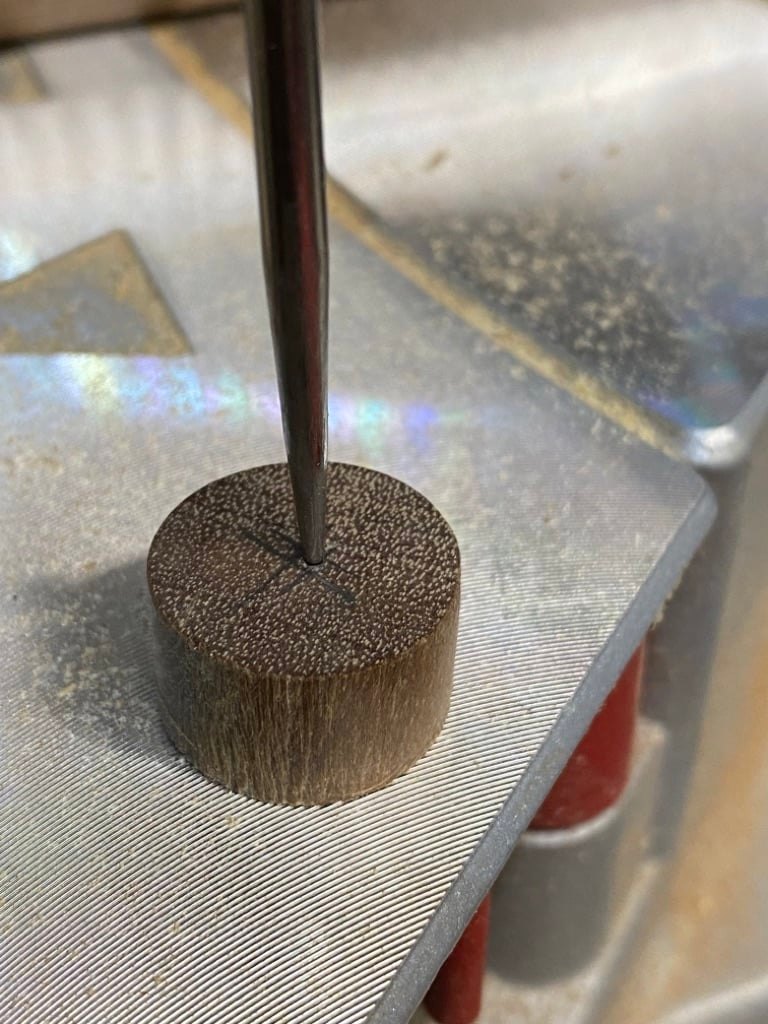
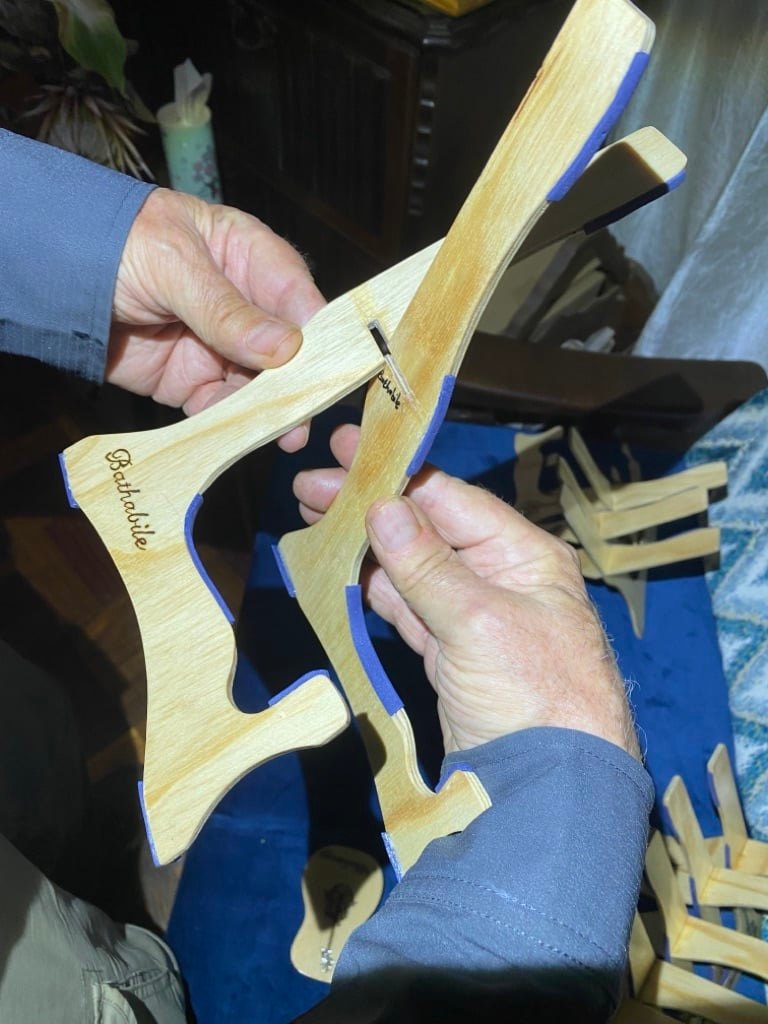
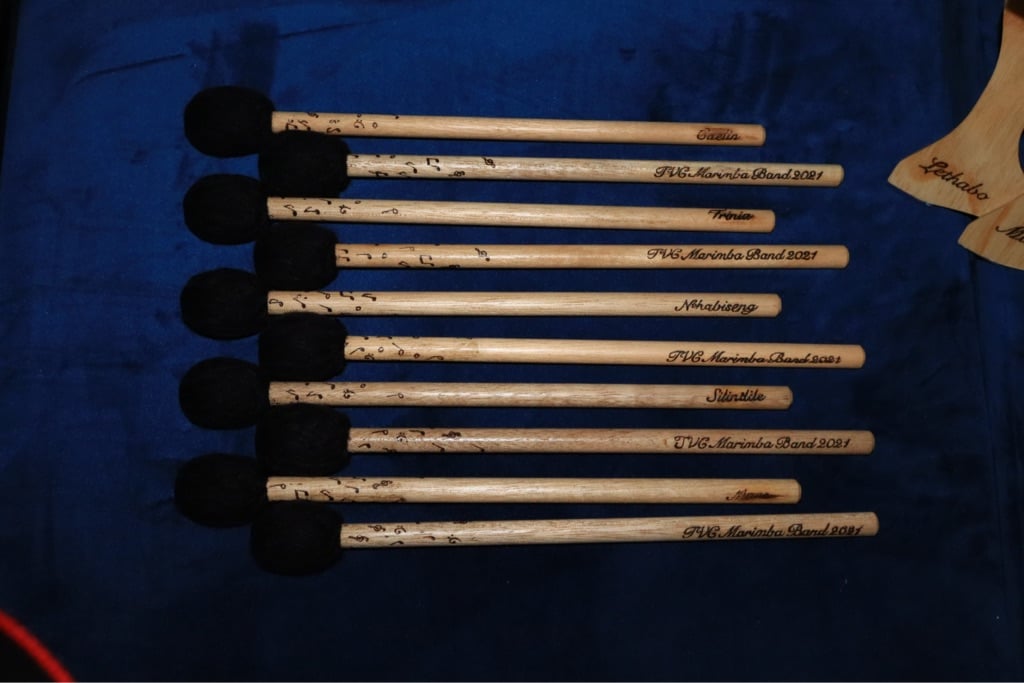
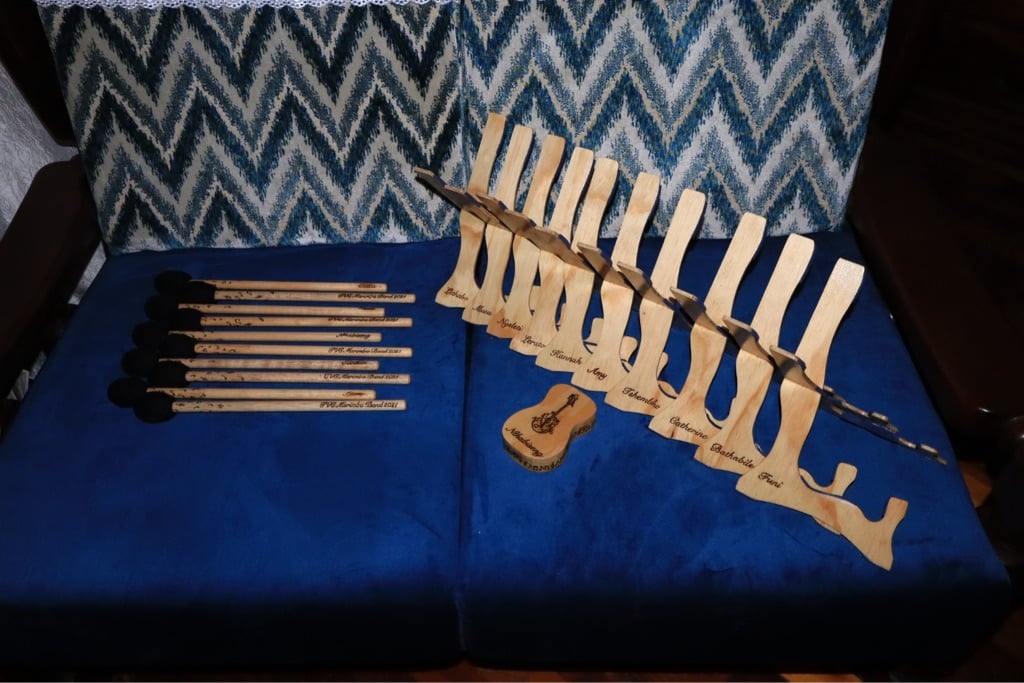
We made ukulele stands that could be taken apart in fit in a ukulele bag, with a ukulele-shaped shaker for the percussion (cajon) player. The marimba players were made mallets. All these items have pyrography embellishments and personalised names, which my daughter did.
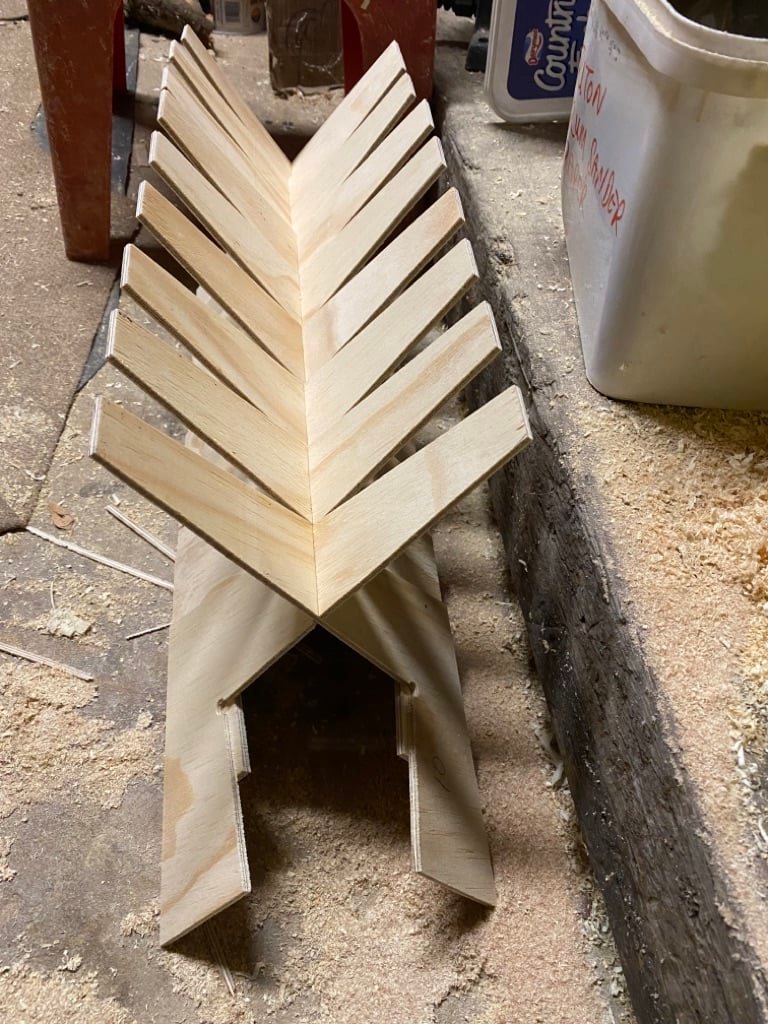
The ukulele stands were made from 3mm plywood, cut in “L” shapes, roughly cut out on bandsaw, then attached to an MDF template and trimmed accurately with a flush-trim router bit on the router table. The slots were then custom cut for each pair making a stand on the bandsaw. Pyrographics were then done and finish sprayed. Some thin “crazy foam” was cut and super-glued onto the edges where the ukuleles rest to prevent scratching.
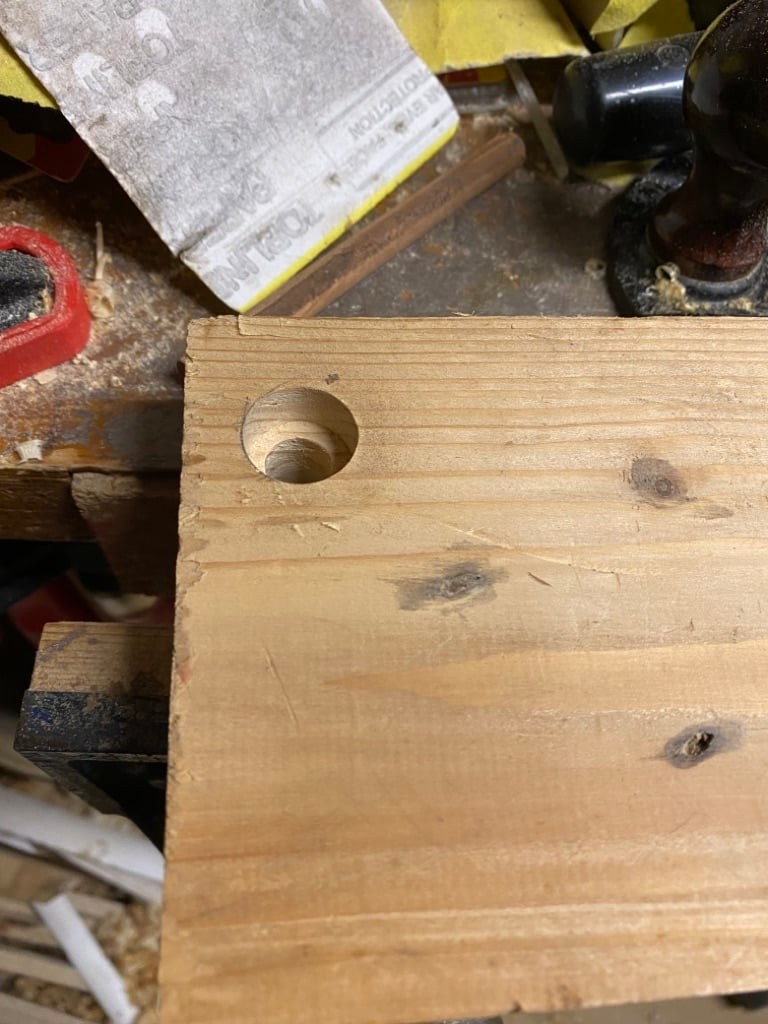
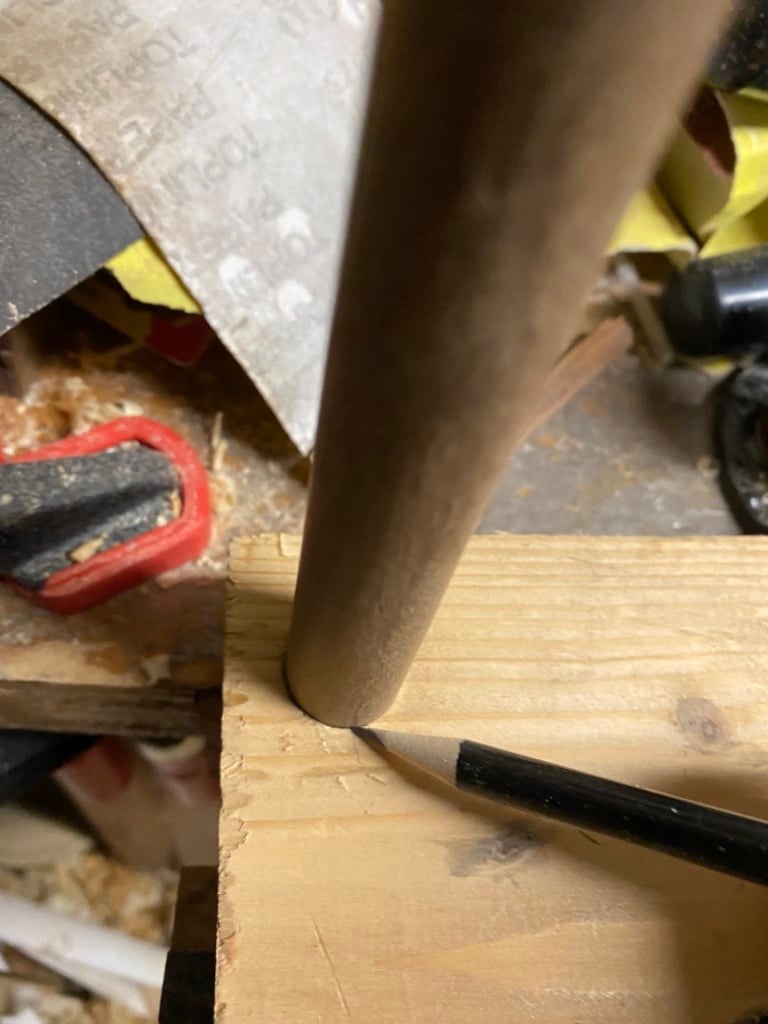
Marimba mallets were made from Saligna dowel stock with a jig made to accurately mark the knob to length and centre-drill the hole in the larger dowel (with Forstner bit), which acted as the “button” to retain the specially wrapped woollen striking knob. The buttons were cut to length on the mitre saw centre-marked and punched and replaced in the jig for accurately depth drilling on the drill press. A smaller hole was drilled in the jig under the “button hole”, so that the pieces of dowel for the buttons could be pushed out after drilling.
The knobs were then glued onto the mallet sticks and the buttons shaped on the belt-sander. Pyrography applied and also spray-finished, after which the wool was wrapped on the striking end.
My wife made draw-string bags so the ukulele stands did not damage the instruments. She also custom made machine embroidered masks for the Ukulele Society’s Eisteddfod appearance. Incidentally, the Ukulele Society achieved A++ and Best in Category!
Quite a sizeable “gift project”!
Fᴏʀ Tʜᴇ Lᴏᴠᴇ Oꜰ Wᴏᴏᴅᴡᴏʀᴋɪɴɢ
???? ?????’? ????? ???? ??? ???????????:
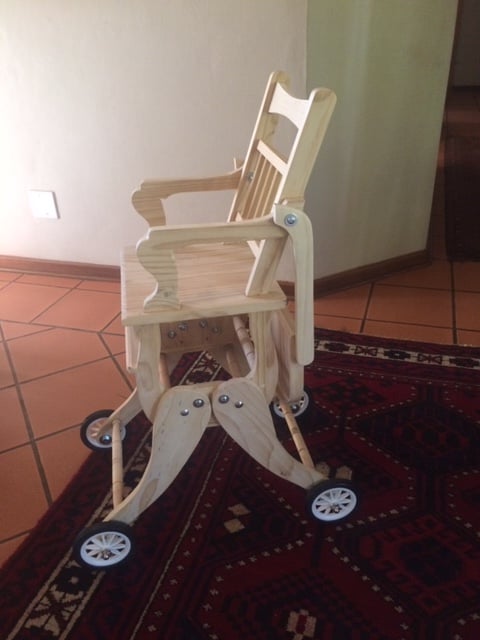
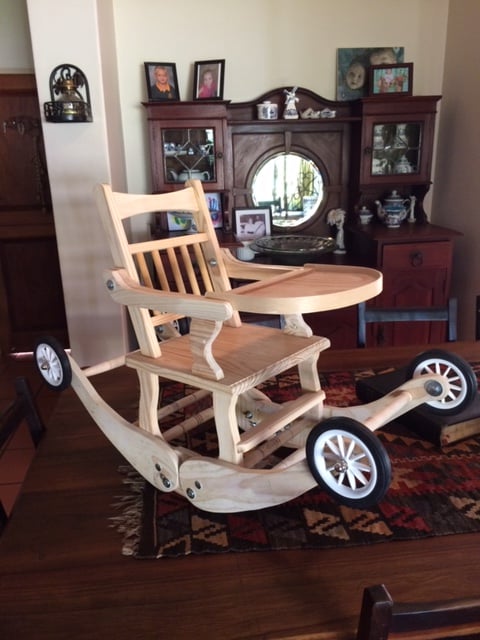
I made this baby chair for my great-grandchild. It is a multipurpose chair. That also changes into a rocking horse-type seater. The chair also has wheels. To make it easy to move around and also doubles up as stoppers for the rocking chair.
Manufactured from reclaimed pine. Even the lathed supports were turned out of old broomsticks and feather duster handles. I saw a photo of a similar chair in an antique online shop A couple of years ago. According to them, the chair was approximately 100 years old. I fell in love with the design. But only got around to
make it for my great grandchild.
Fᴏʀ Tʜᴇ Lᴏᴠᴇ Oꜰ Wᴏᴏᴅᴡᴏʀᴋɪɴɢ
?????? ????????’? ????? ???? ??? ???????????
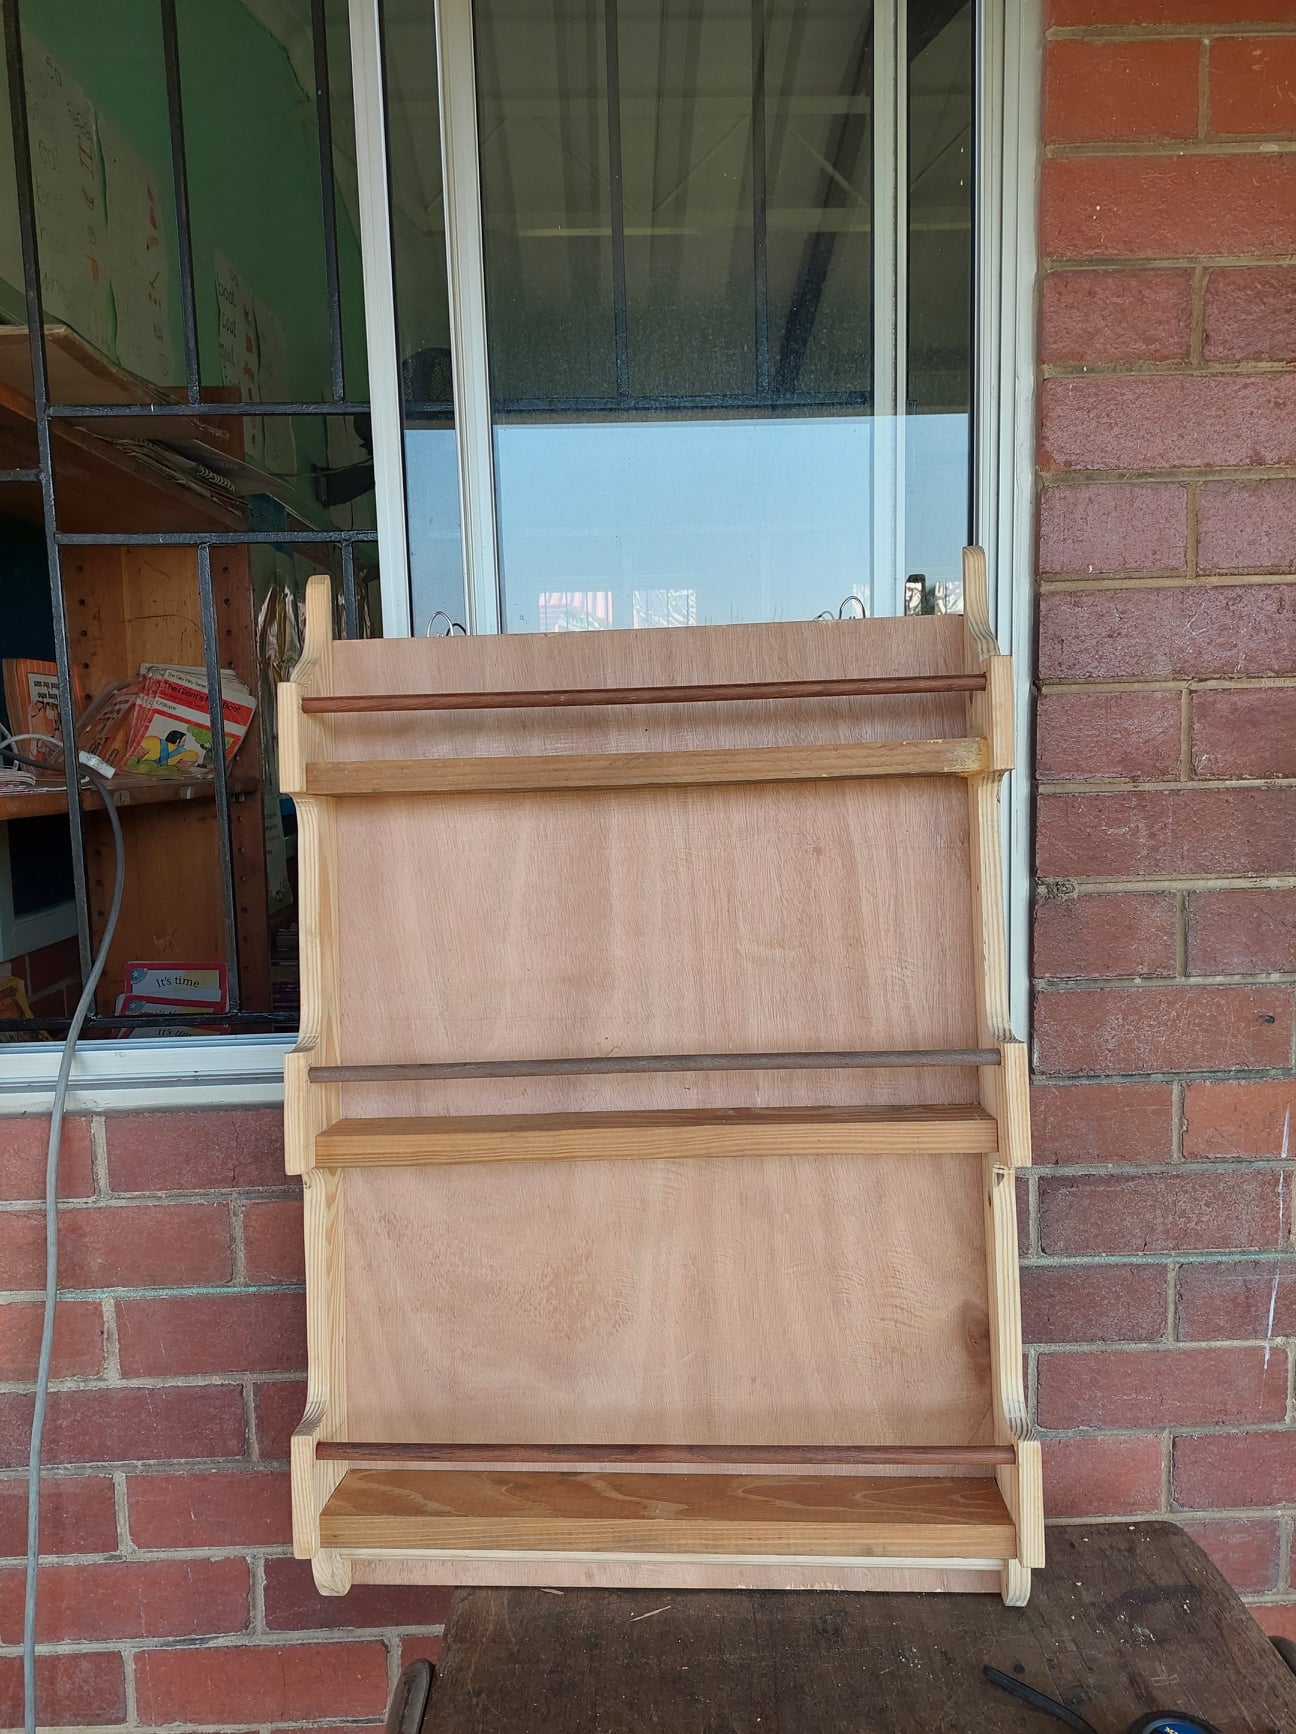
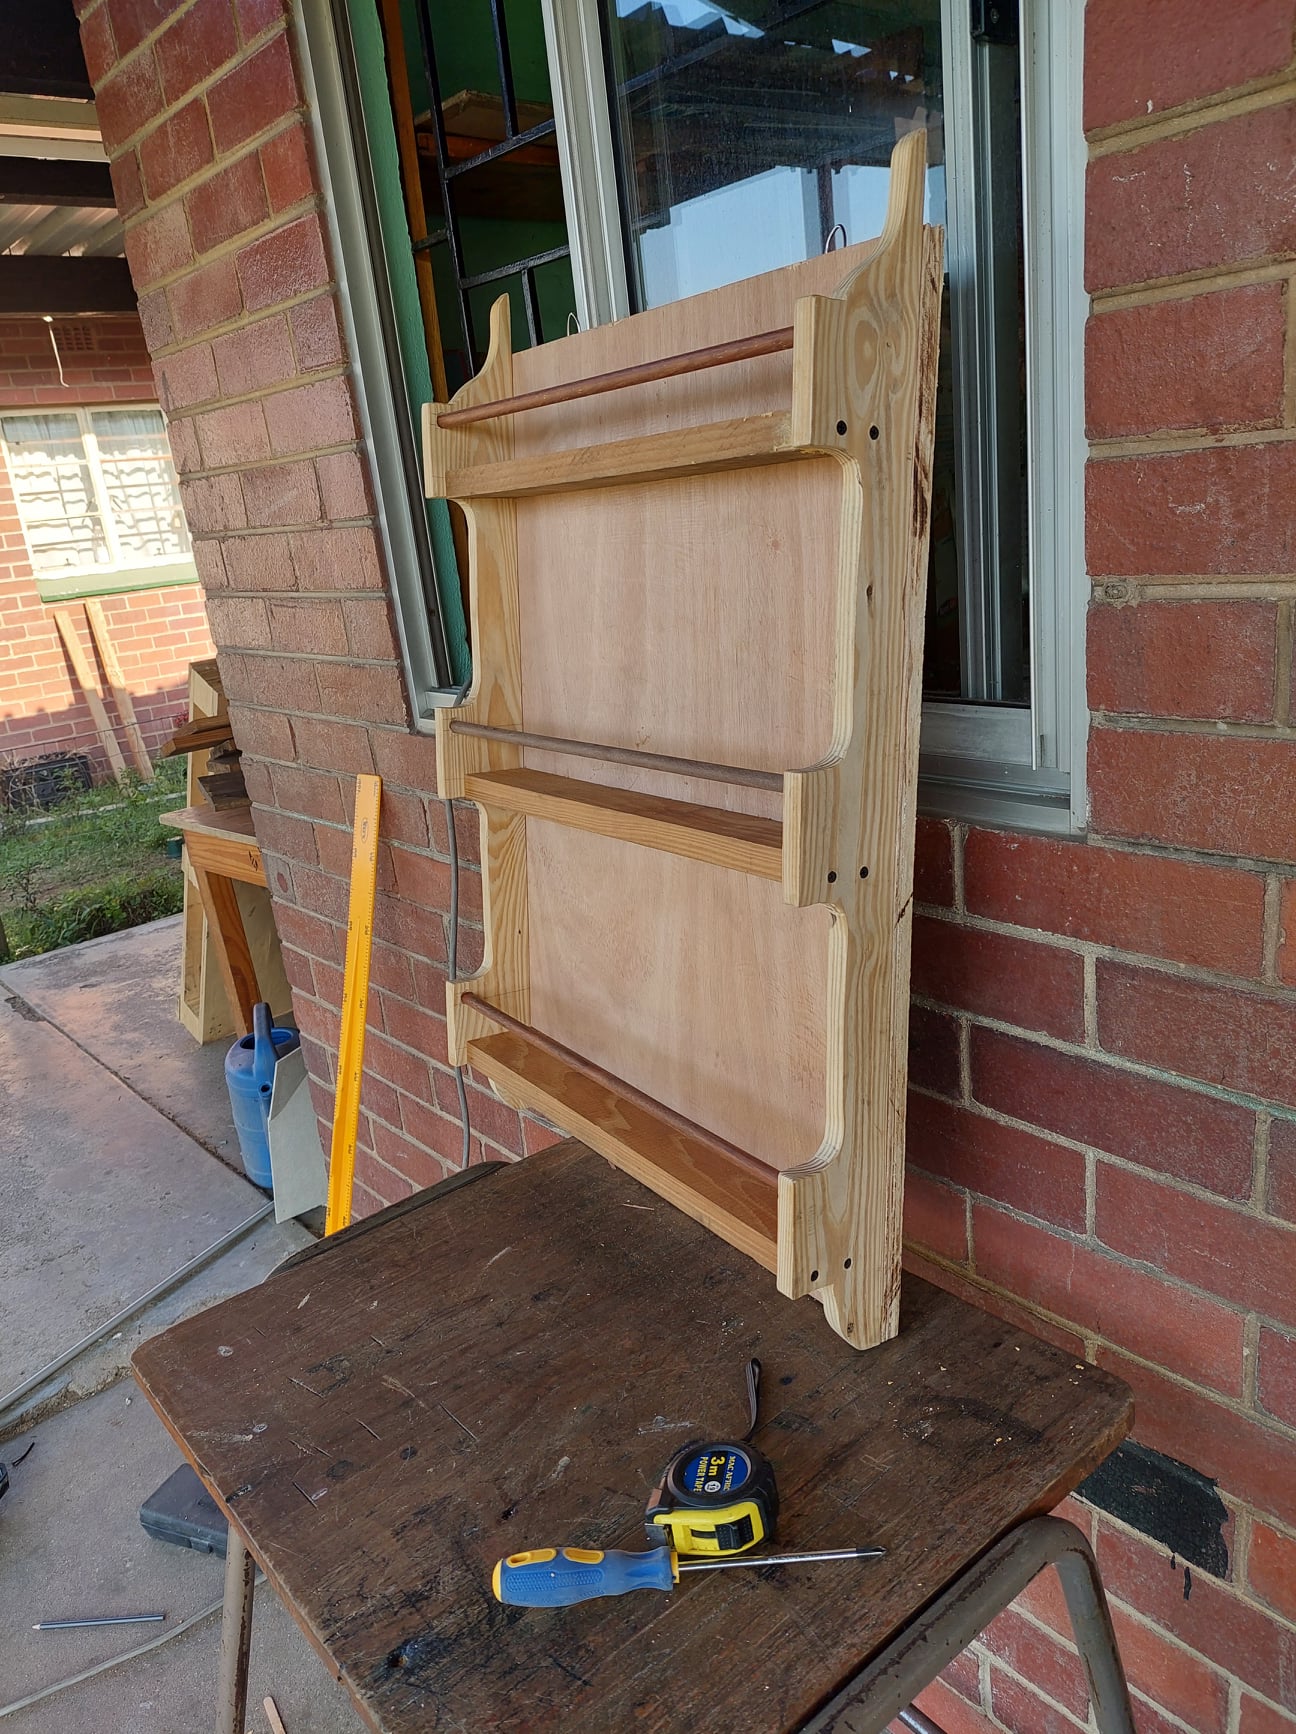
This is a spice rack made for a friend on her birthday.
Fᴏʀ Tʜᴇ Lᴏᴠᴇ Oꜰ Wᴏᴏᴅᴡᴏʀᴋɪɴɢ
????? ???????’? ????? ???? ??? ???????????:
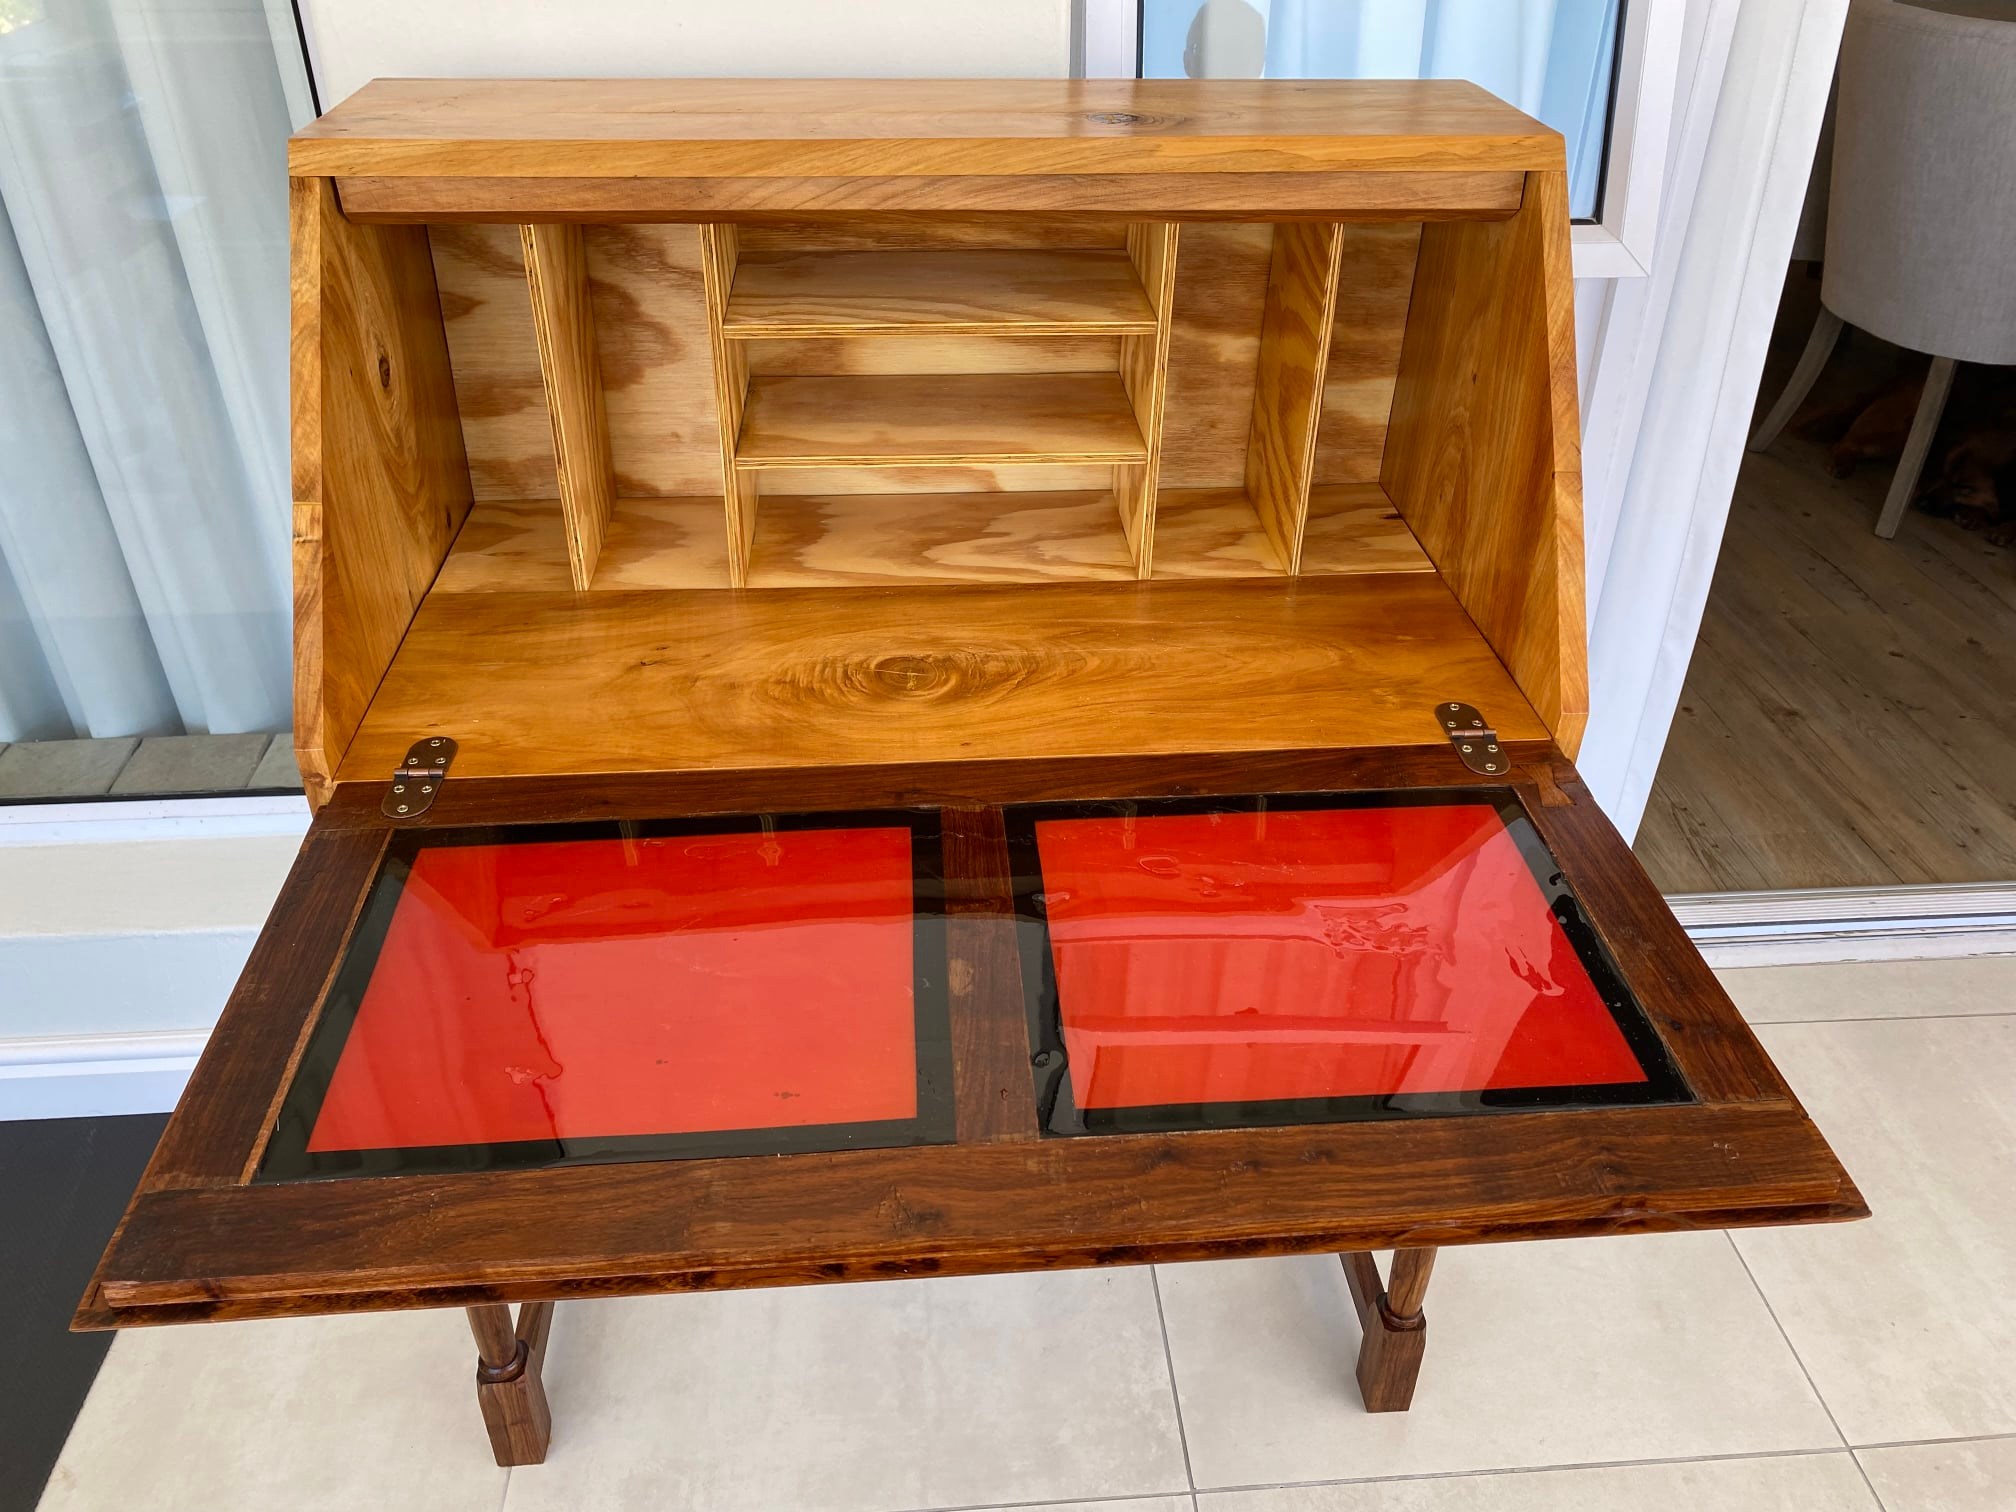
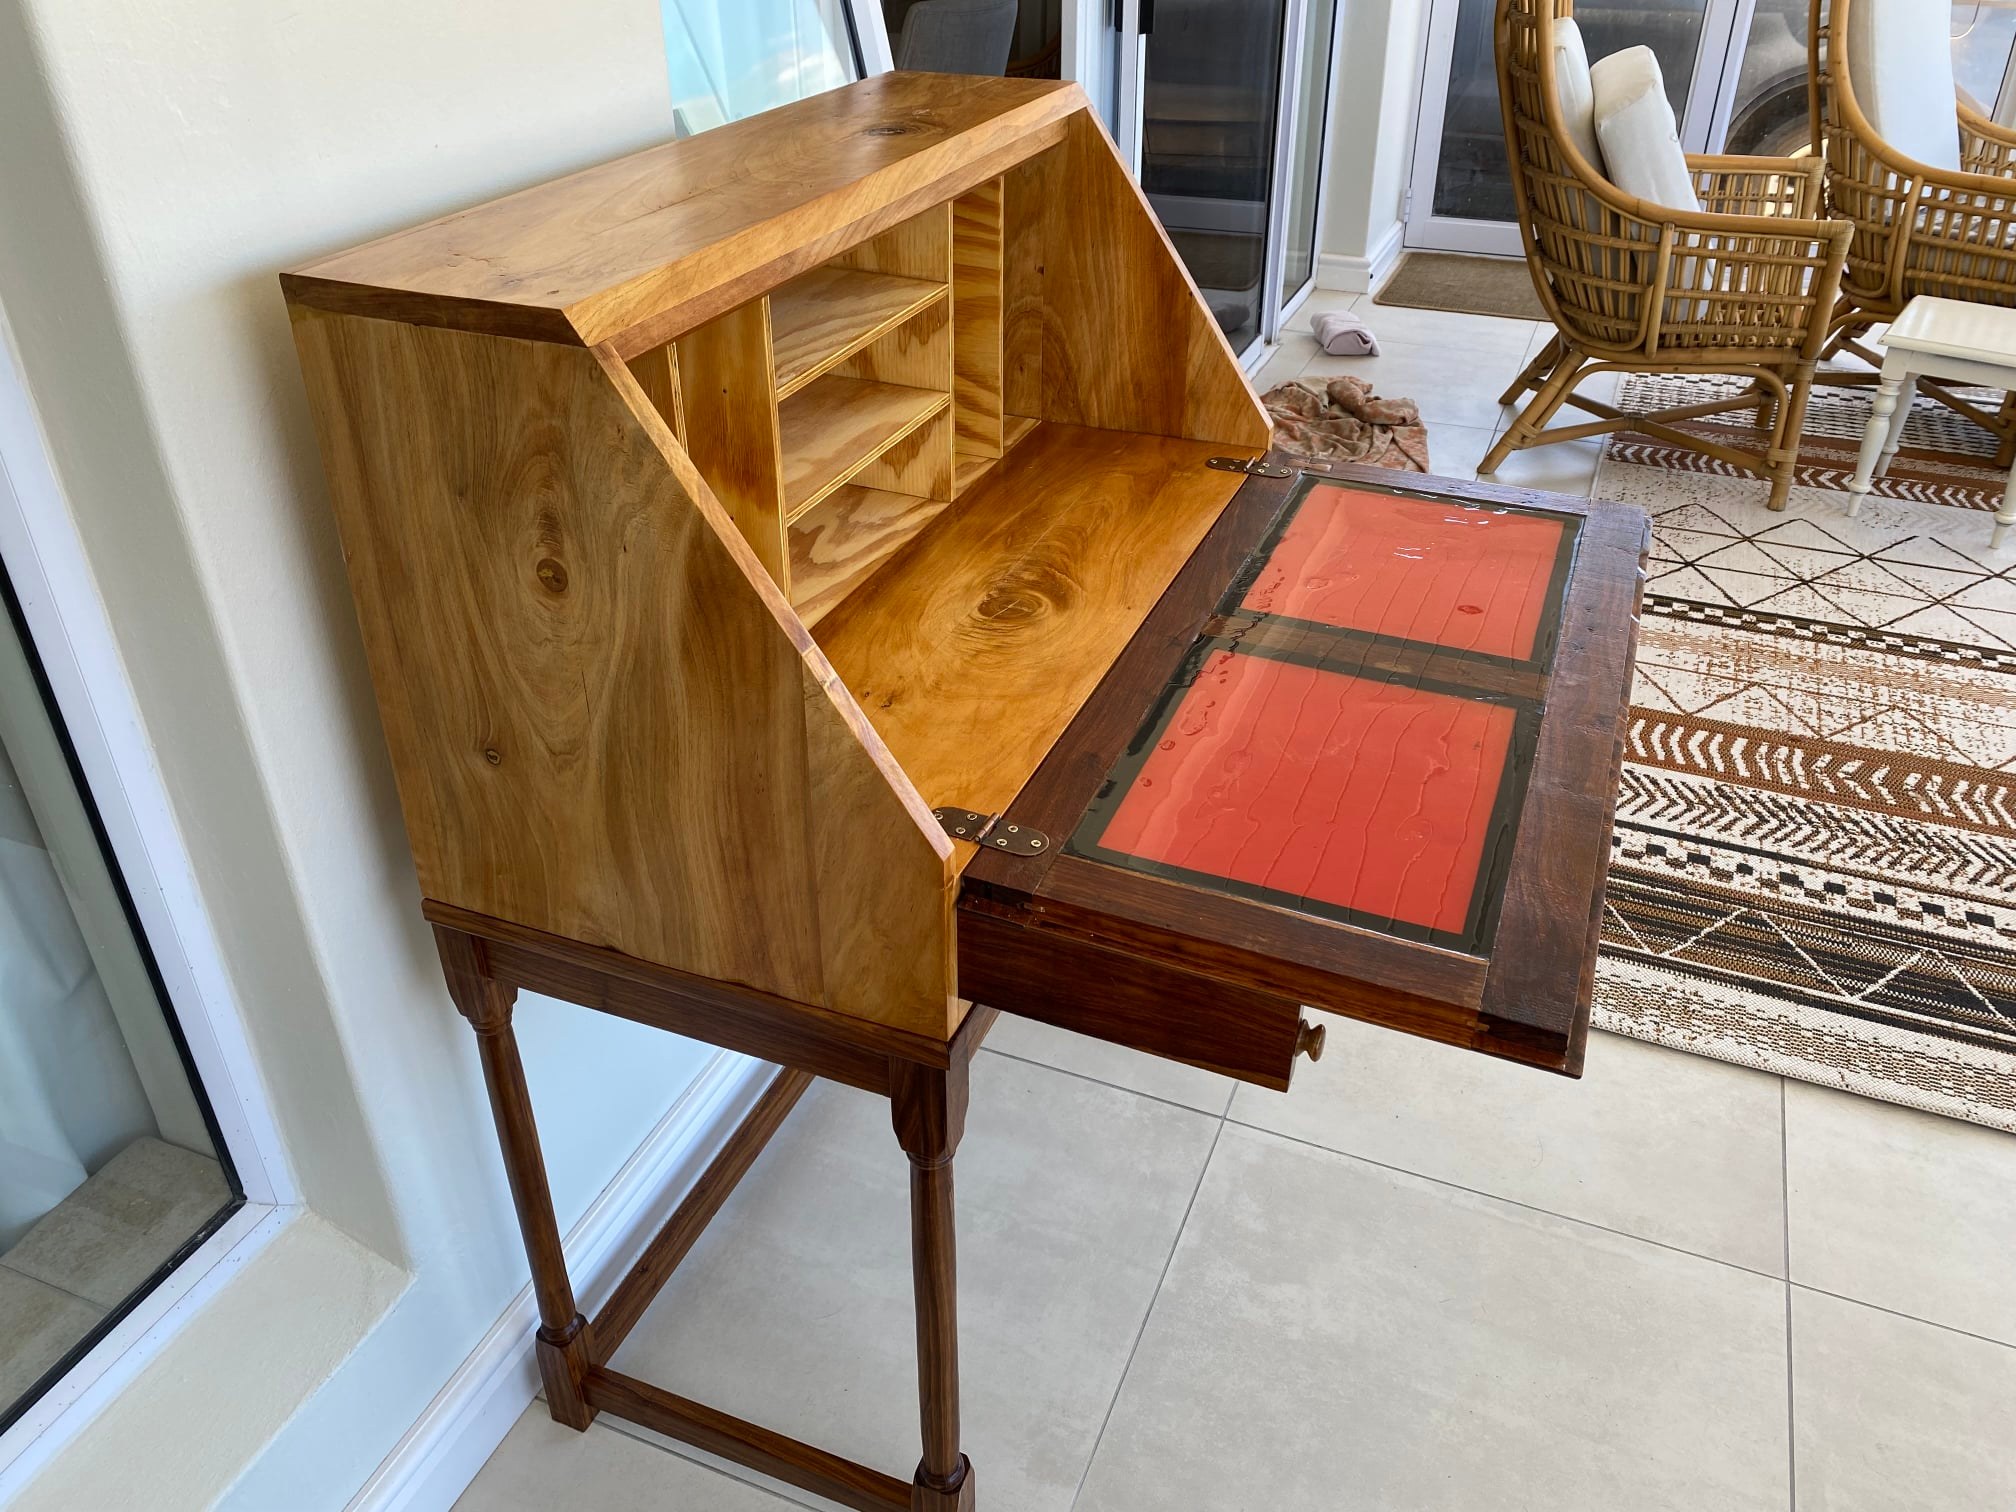
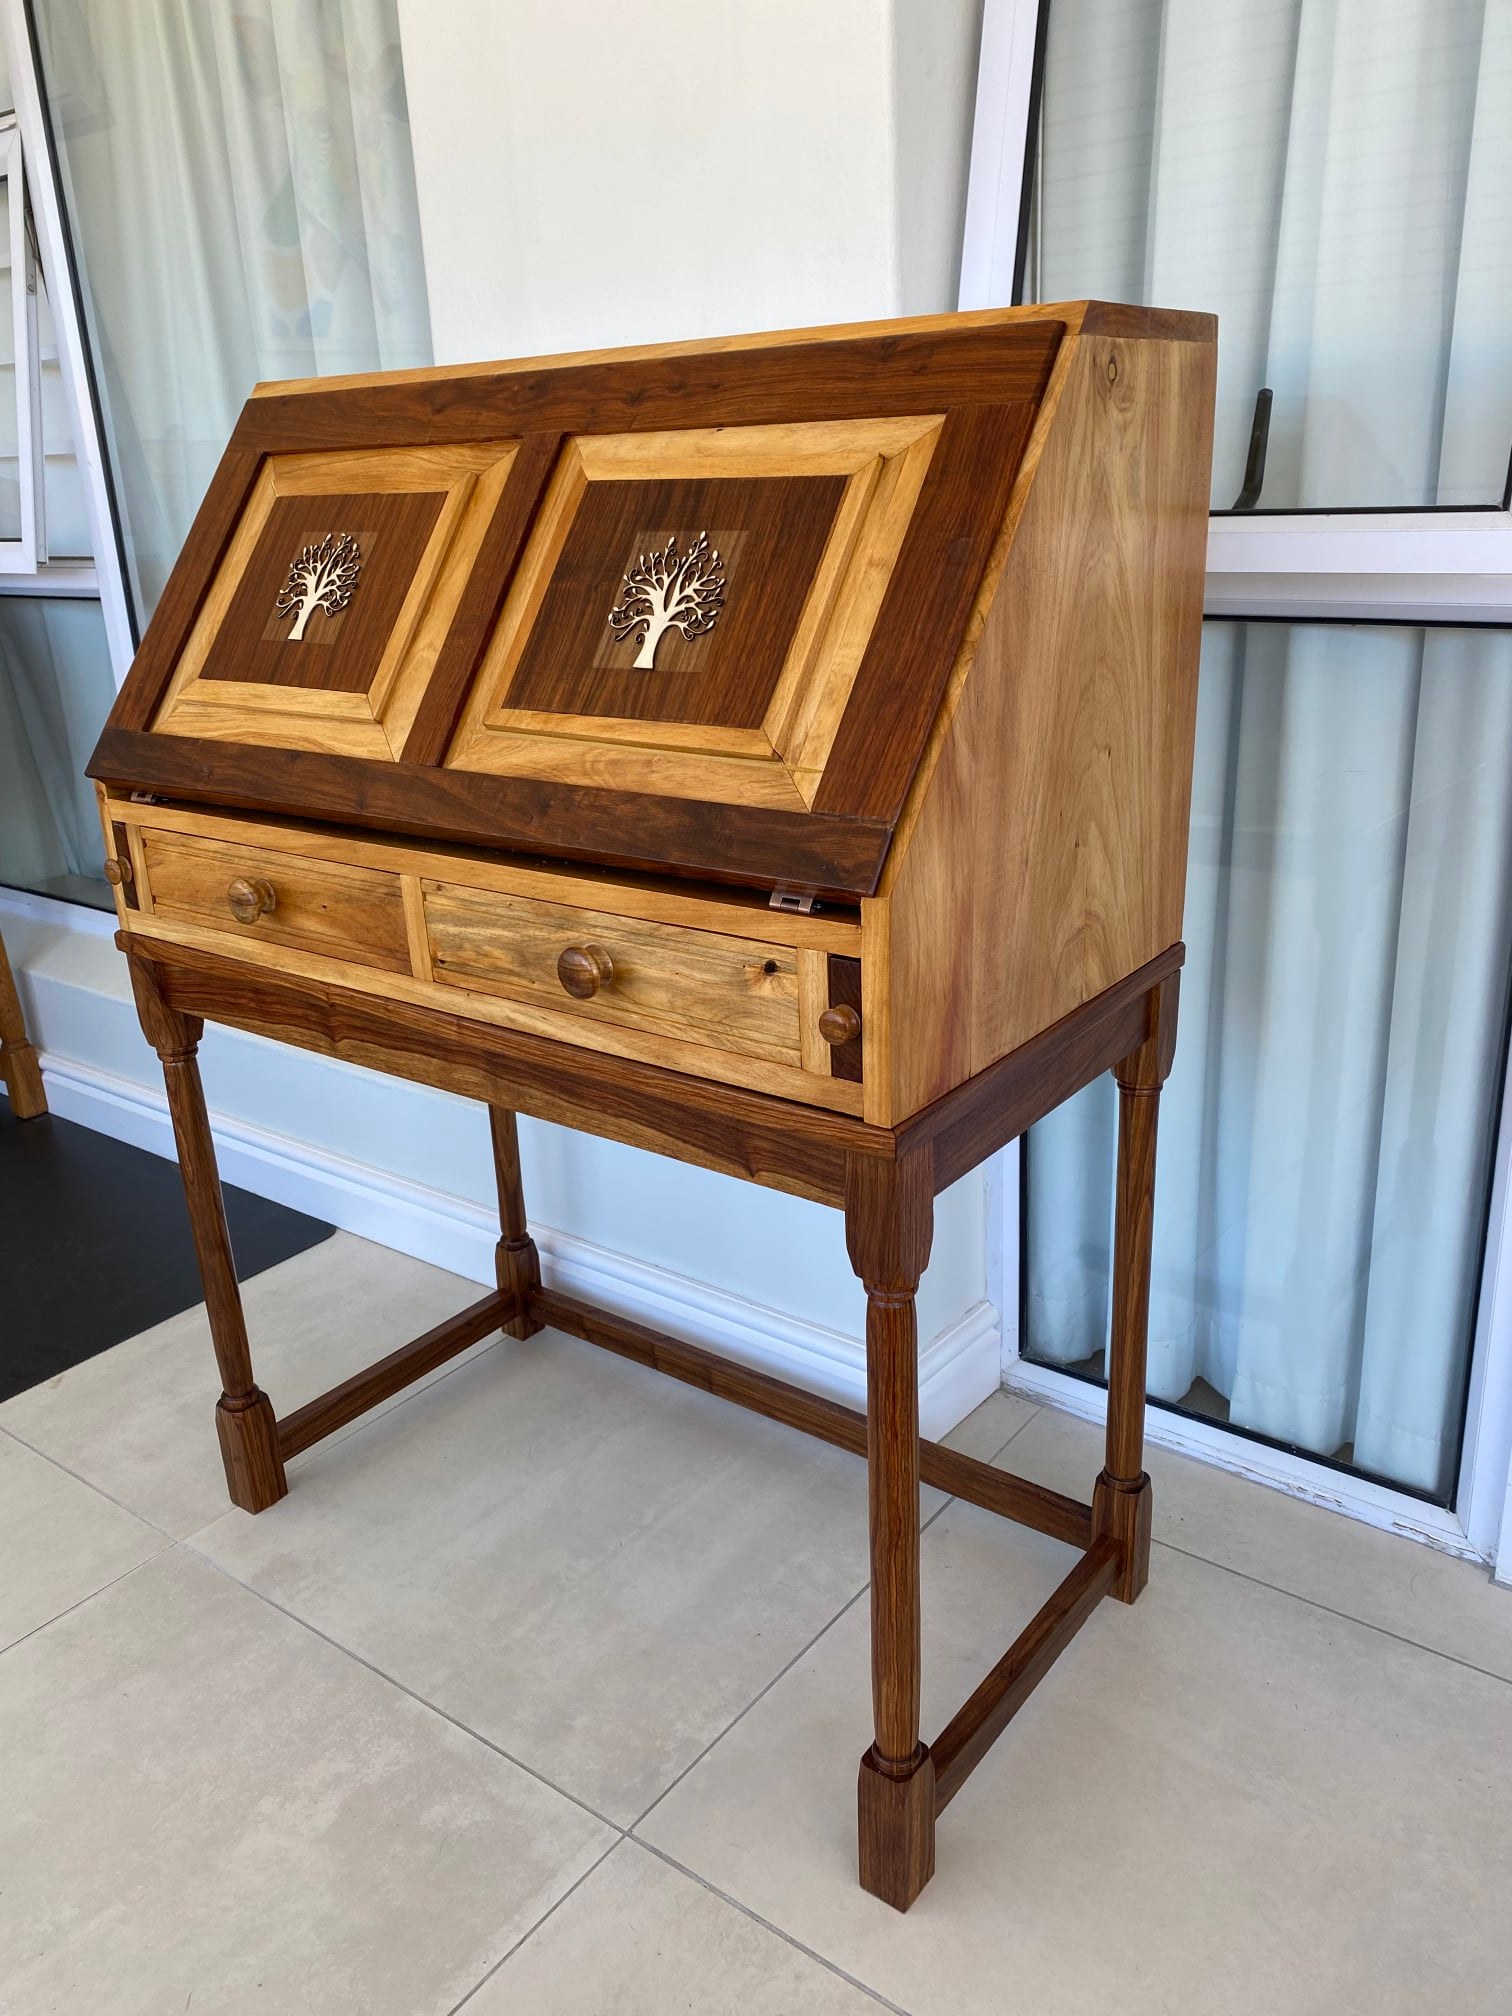
Attached please find photos of my latest Valentine’s project of a writing bureau, finally completed in my spare time over many months. The build was done in blackwood and yellowwood (except for the shelves) and the inspiration for its creation, was an existing writing bureau more than 50 years old. It was finished using Woodoc 10.
The turning of the legs and knobs was done on my lathe and epoxy casting resin was used to level the recesses caused by the raised panels in the door cover. Probably the greatest challenge was making the front door cover, because, on the removal of the clamps after gluing, one of the corner dowelling joints popped open due to tension. I was devastated! I decided to attempt a reglue rescue by cutting off the dowels in the joint and placing a “bowtie” insert. (see top right corner joint inside door) Fortunately, this worked. The two tree motifs on the front were decoupaged onto the wood surface.
The resin casting on the inside of the door presented a second challenge. After the first pour of the self-leveling resin, I discovered that resin had seeped through between the door frame and the raised panels and by now was fully cured. I was eventually able to remove it from the front surface. In addition, the red cardboard on the floor of the recess was not sufficiently sealed with Podge and caused unsightly marks around the edges.
More disaster management! Hence the border of black electrical tape between subsequent pours. This was my first more advanced piece of furniture I have made, resulting in a unique learning experience.
Fᴏʀ Tʜᴇ Lᴏᴠᴇ Oꜰ Wᴏᴏᴅᴡᴏʀᴋɪɴɢ
??? ?????????’? ????? ???? ??? ???????????:
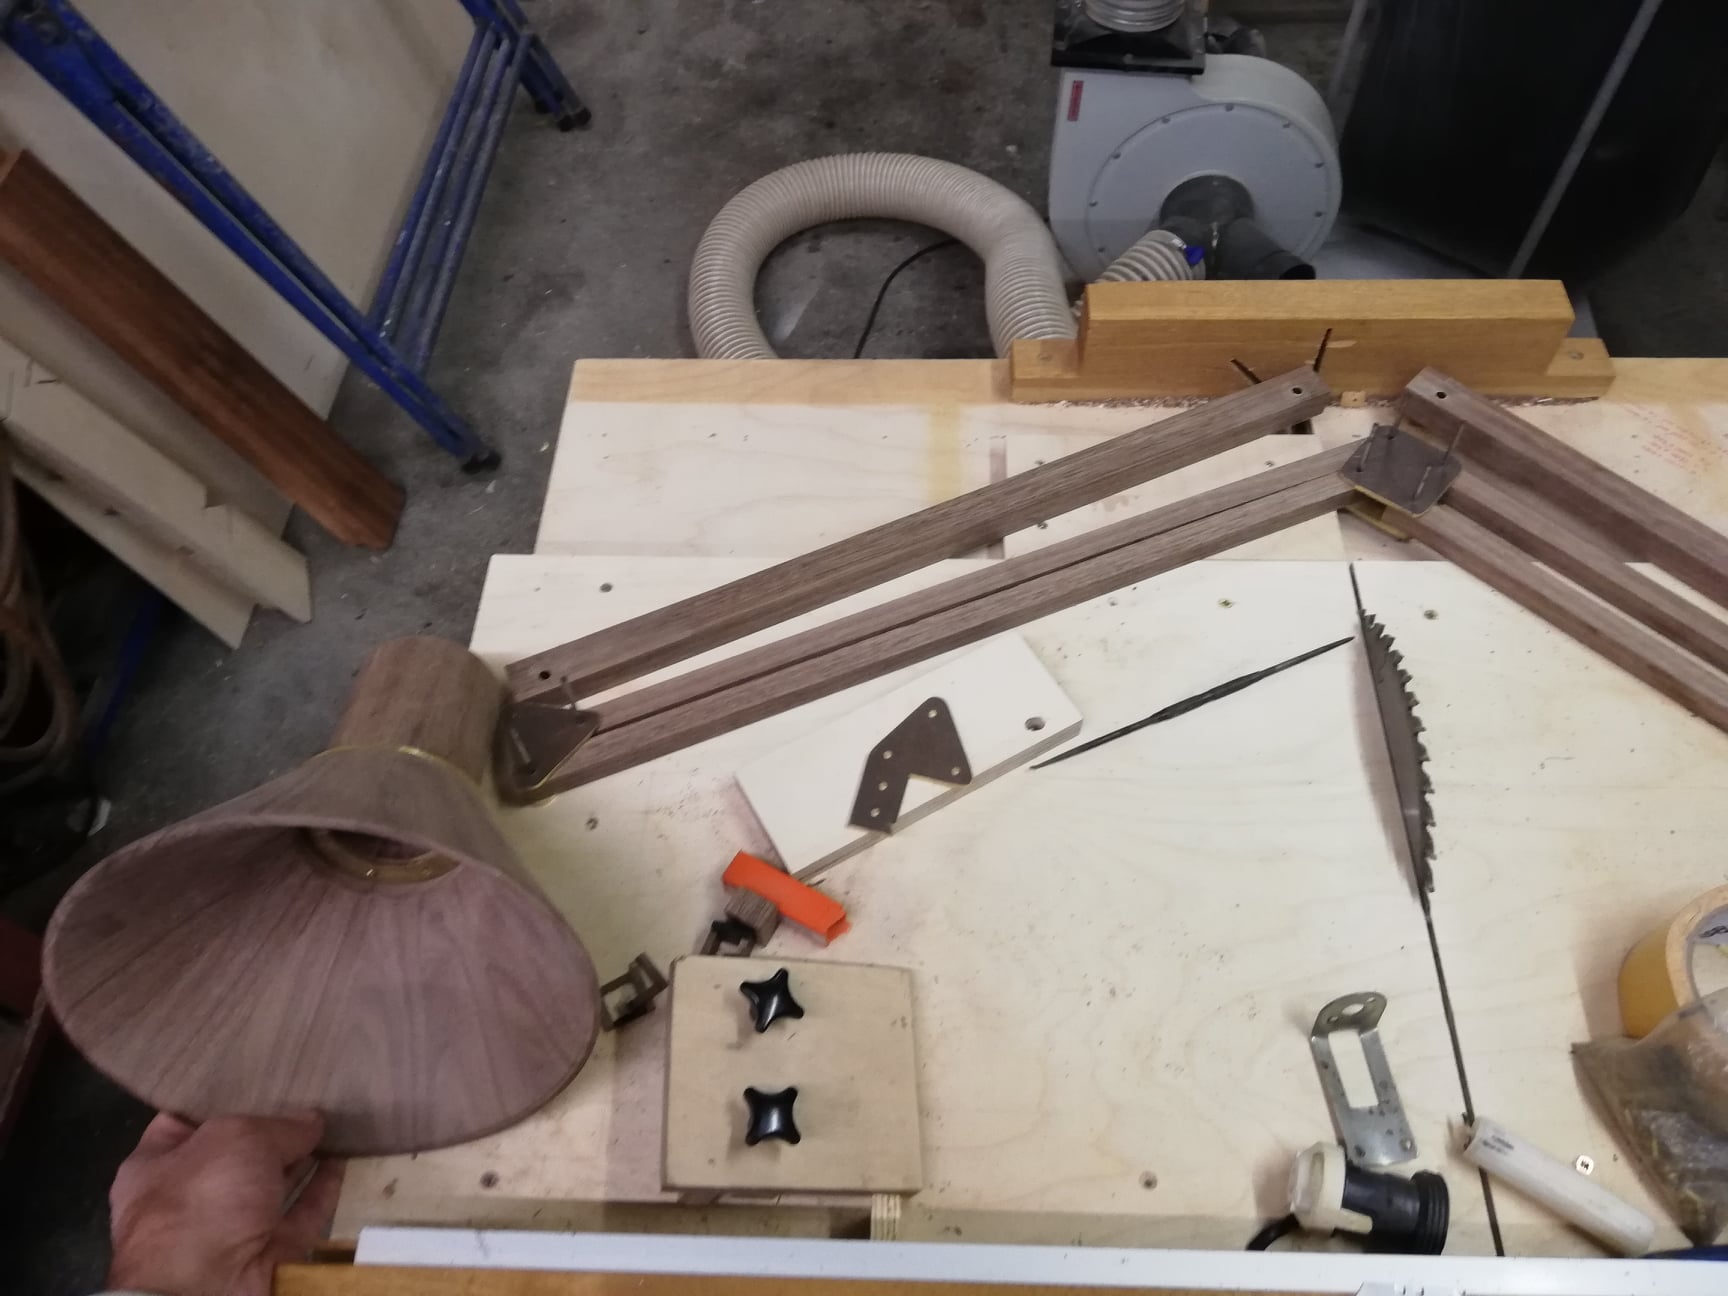
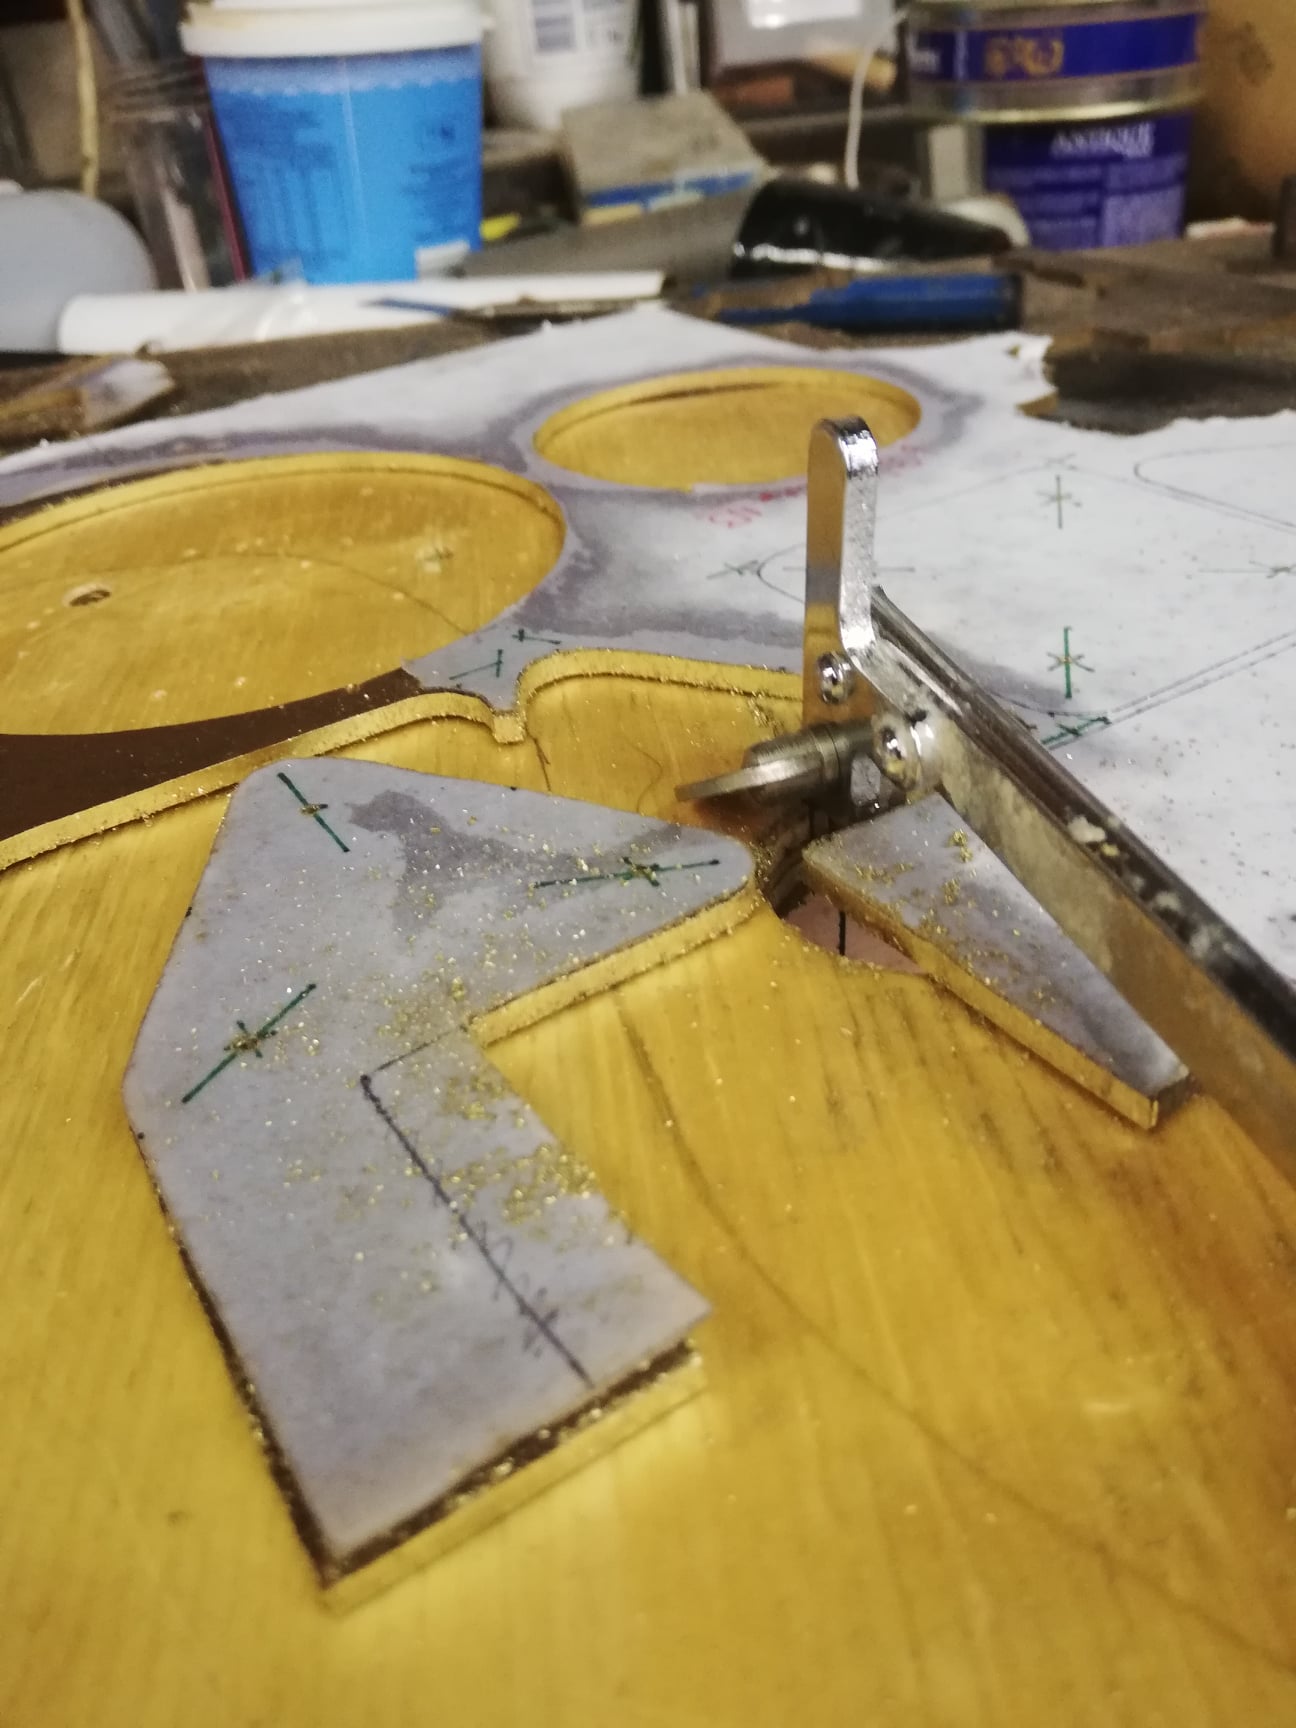
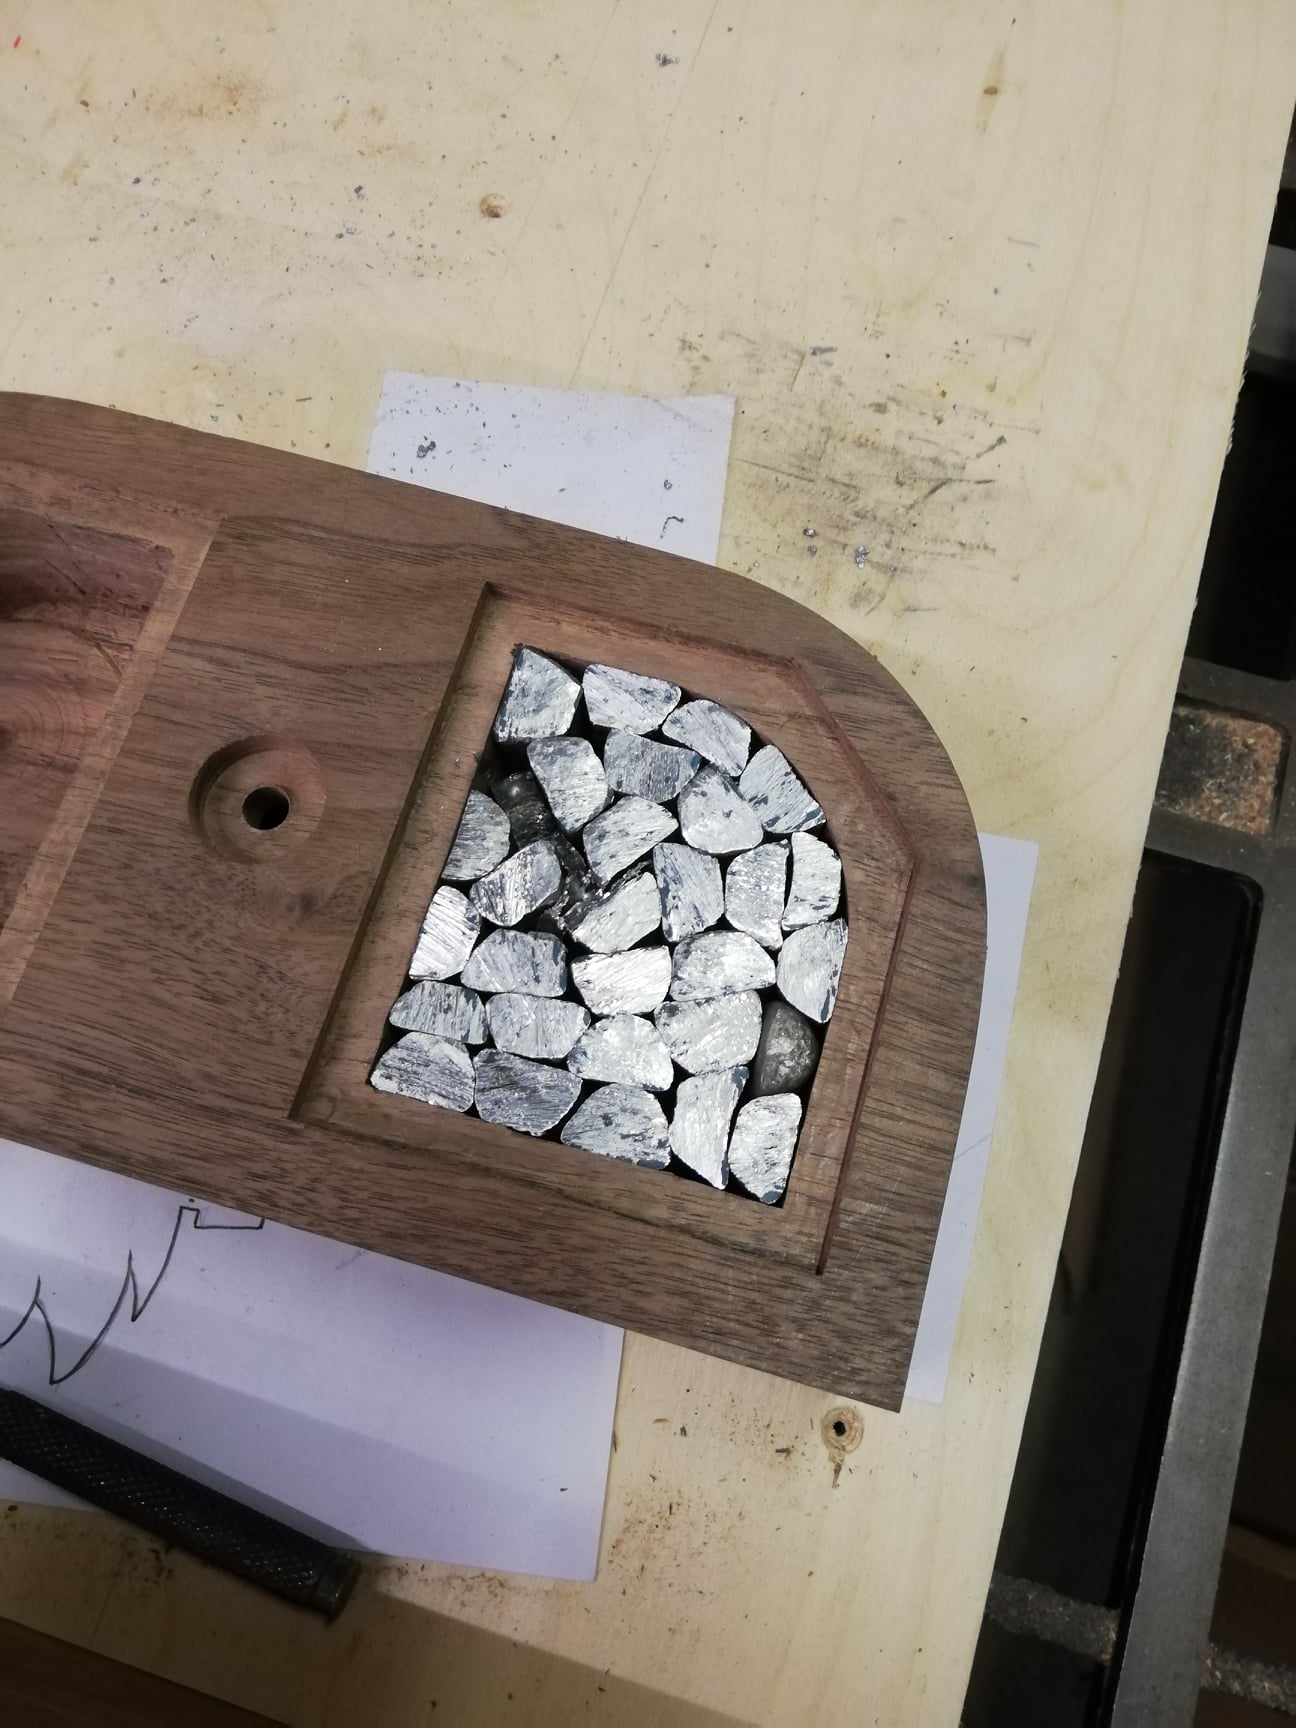
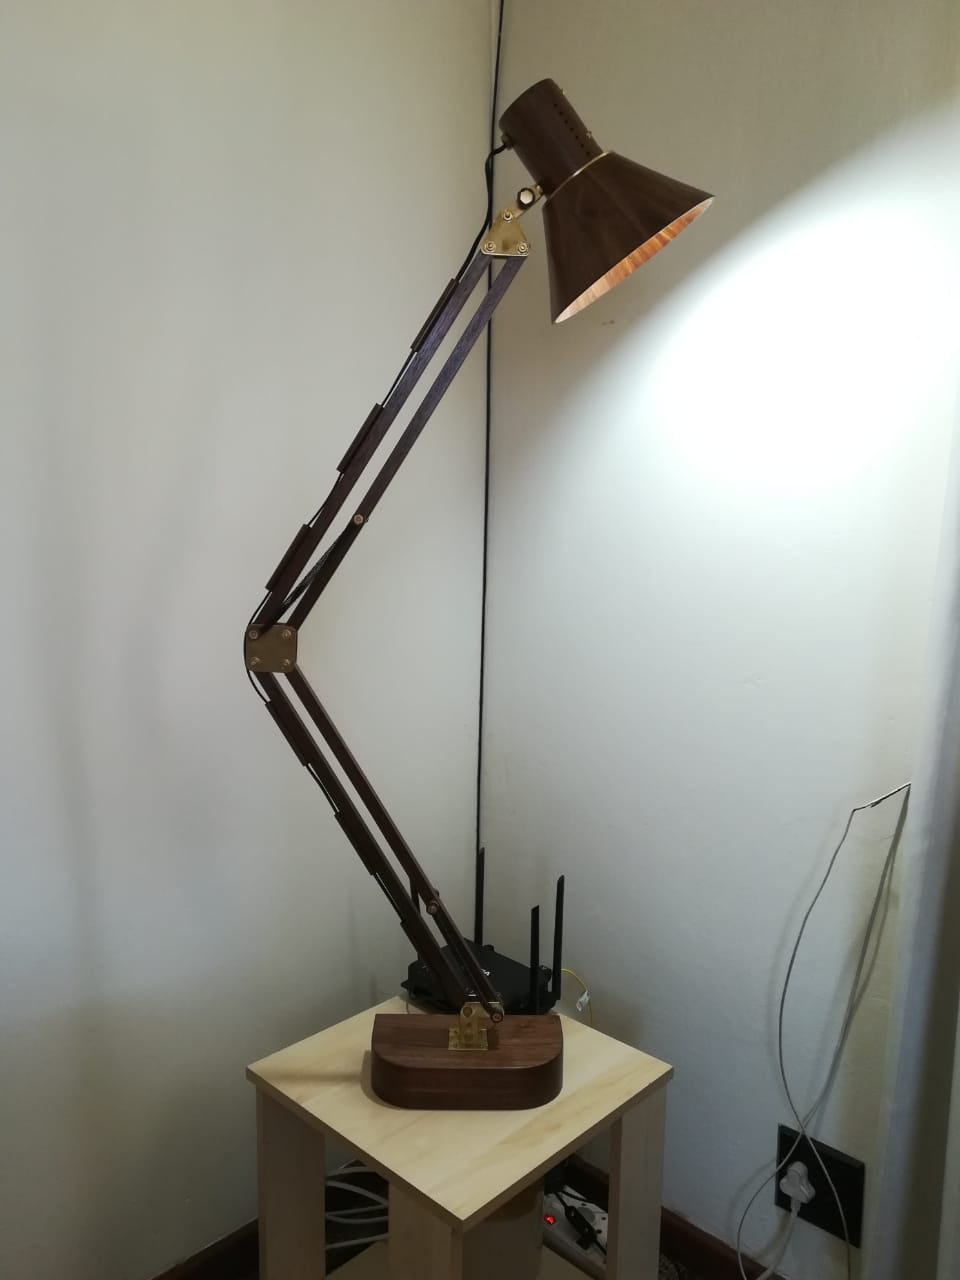
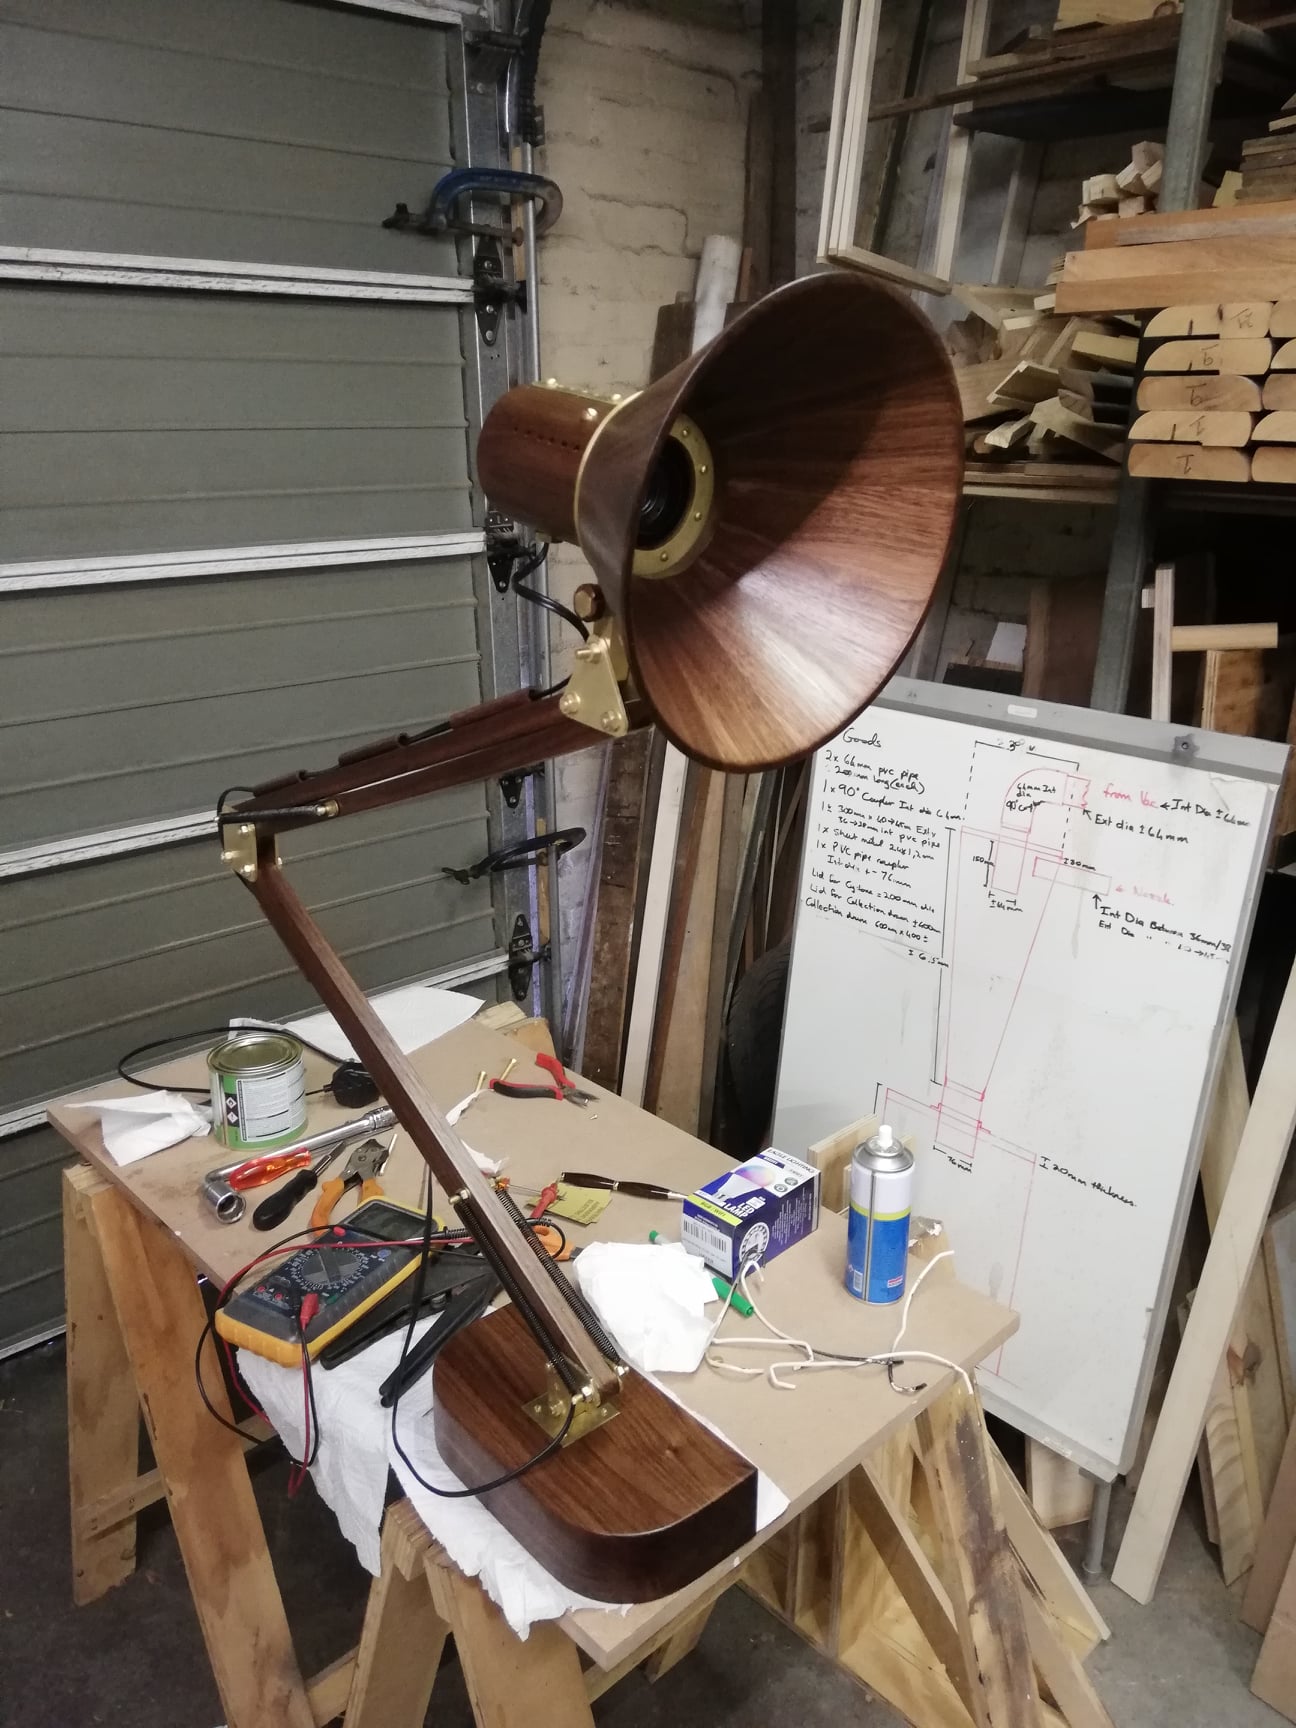
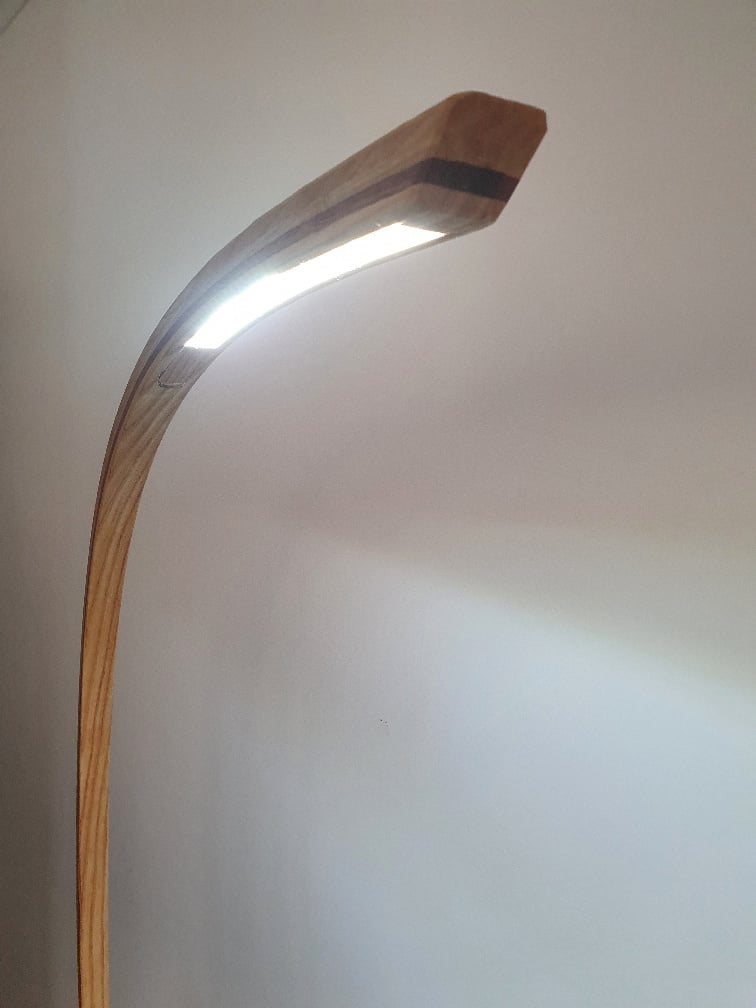
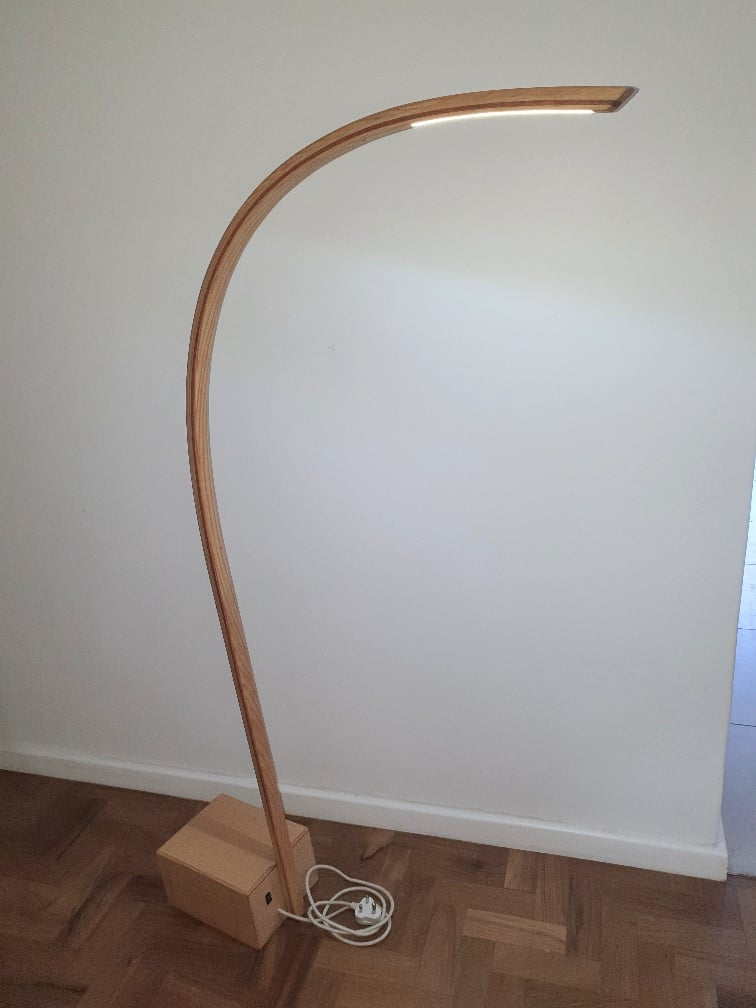
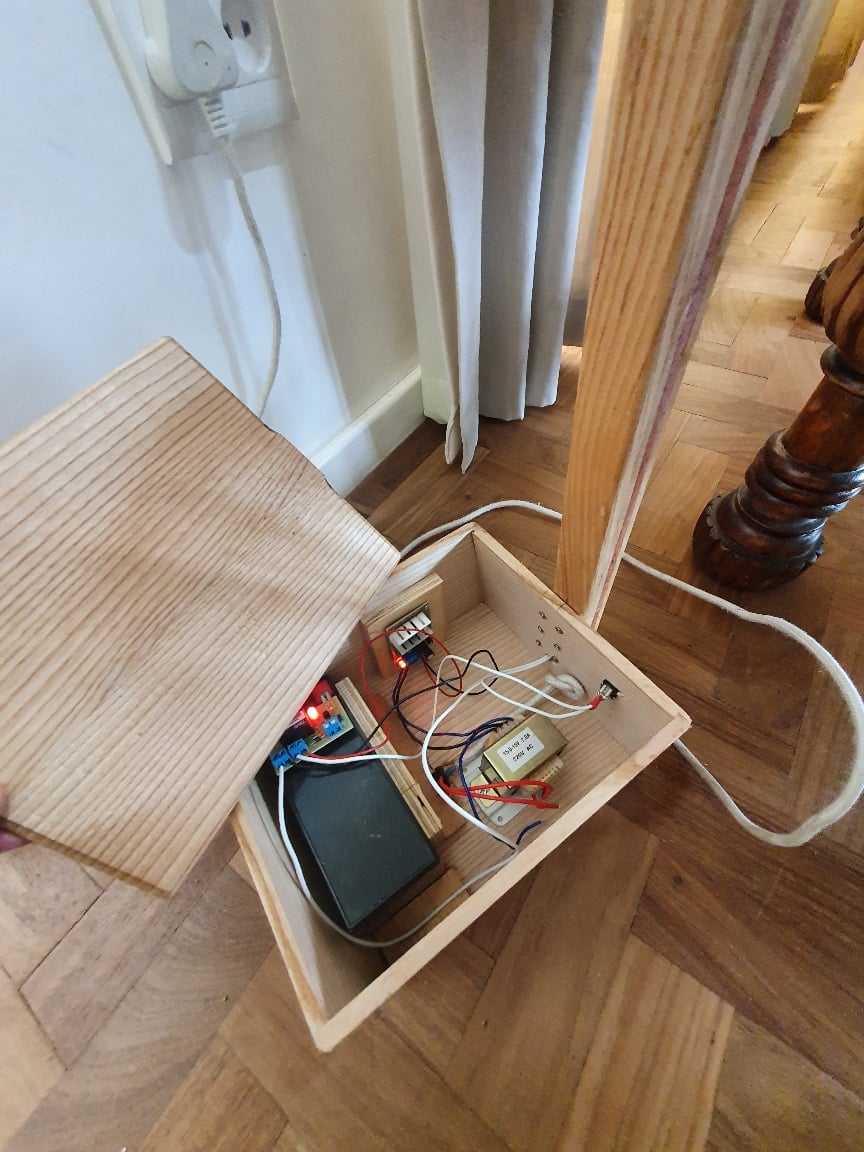
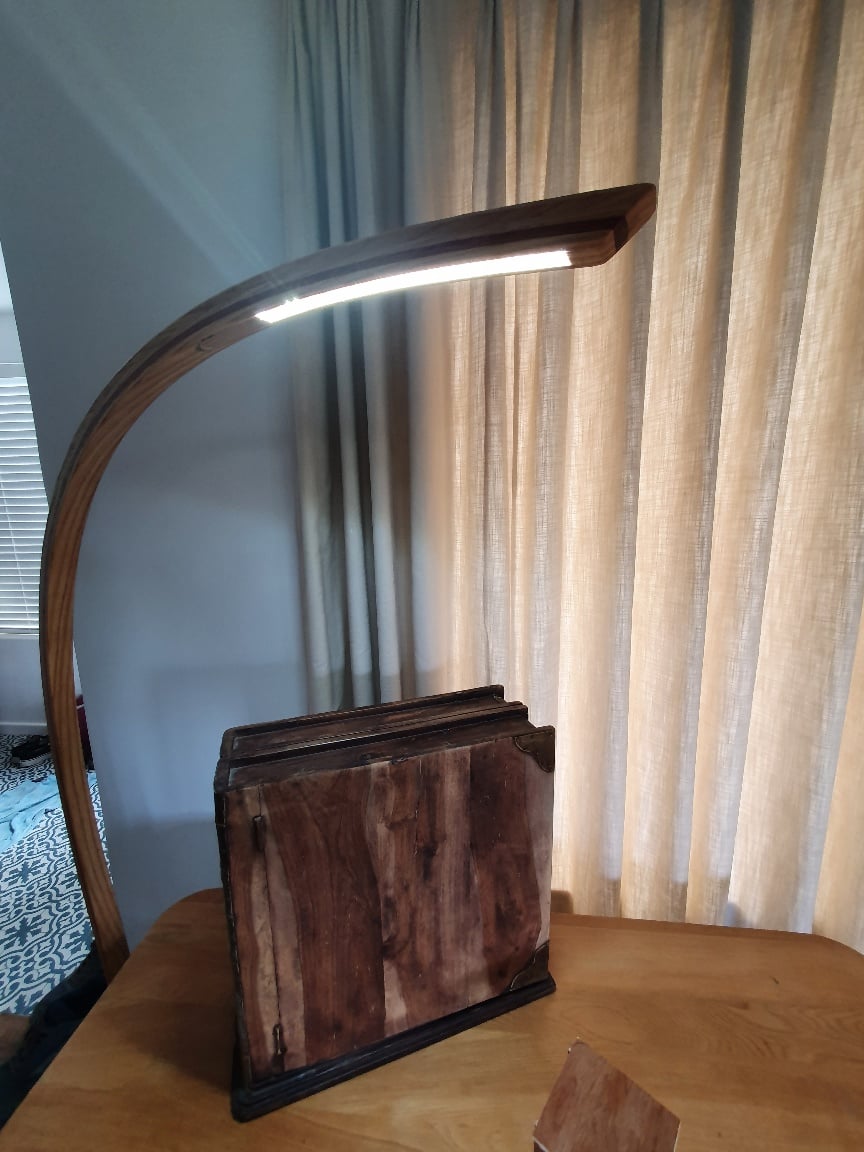
This is a unique design that incorporates bent lamination in a lampstand. LED lights are used for low energy consumption and a battery with a charger is added to the base box that both acts as a counterweight and power source. It is left on continuous charging mode, and when load shedding starts, we always have the lights on!
More info can be found @woodworking_by_alp Instagram page.
Fᴏʀ Tʜᴇ Lᴏᴠᴇ Oꜰ Wᴏᴏᴅᴡᴏʀᴋɪɴɢ
??? ?????????’? ????? ???? ??? ???????????:
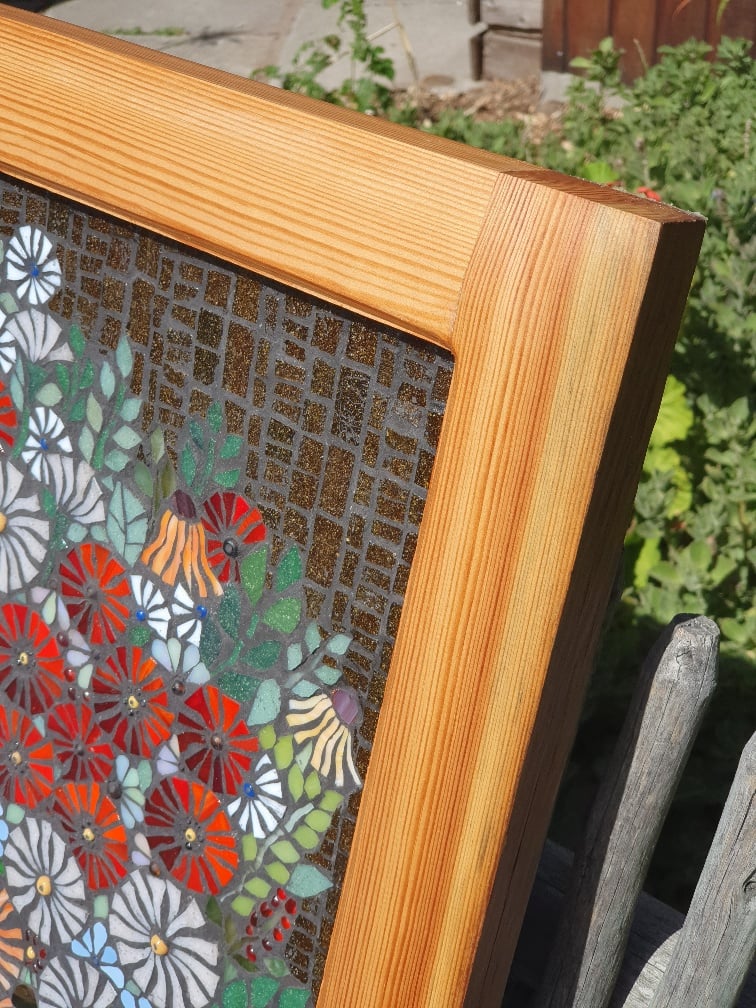
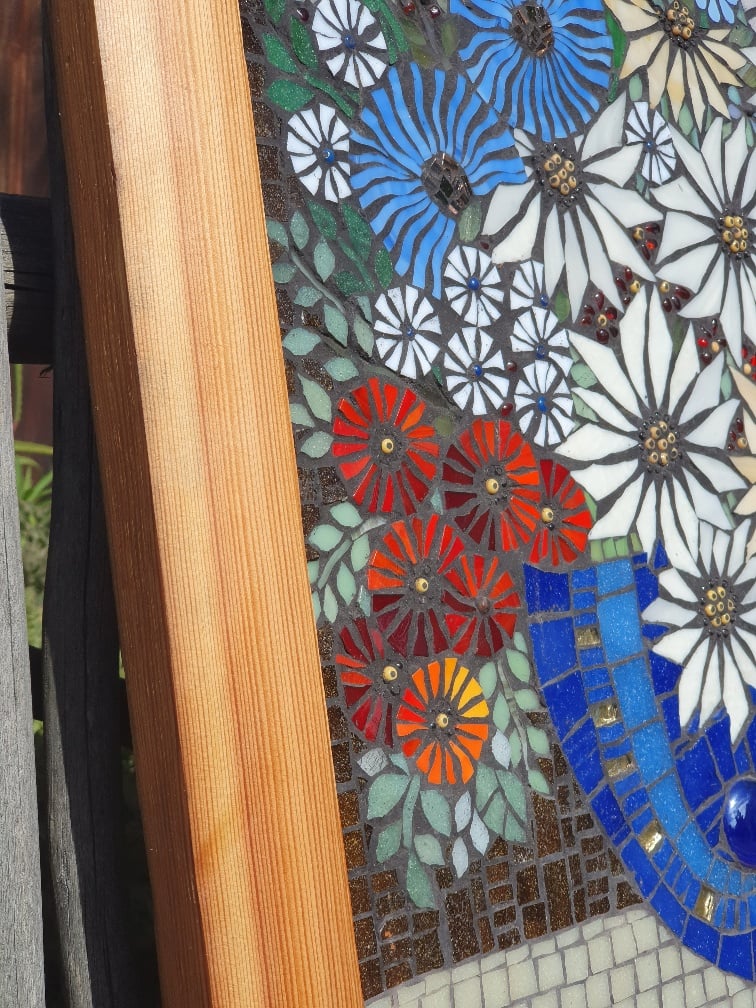
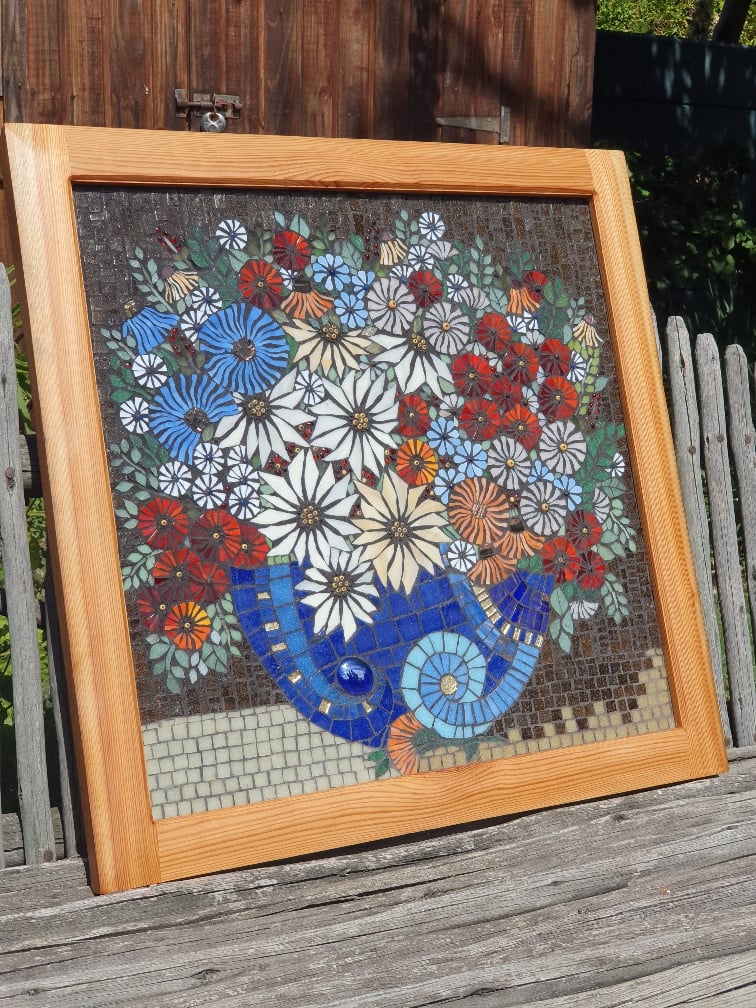
This is a magnificent mosaic work created by Wilma Erasmus (@HelloCreate) and it needed a frame to enable us to hang it on the wall. I used reclaimed wood, 100 year old oregon pine wood trusses, planed and cut to size. Although not traditional, mortise and tenon joints are used to put the frame together rather than the 45-degree miter joints.
The art piece is very heavy with all the mosaic on it and this has given us the best strength. More info is available @woodworking_by_alp Instagram page.
Fᴏʀ Tʜᴇ Lᴏᴠᴇ Oꜰ Wᴏᴏᴅᴡᴏʀᴋɪɴɢ
??? ?????????’? ????? ???? ??? ???????????:
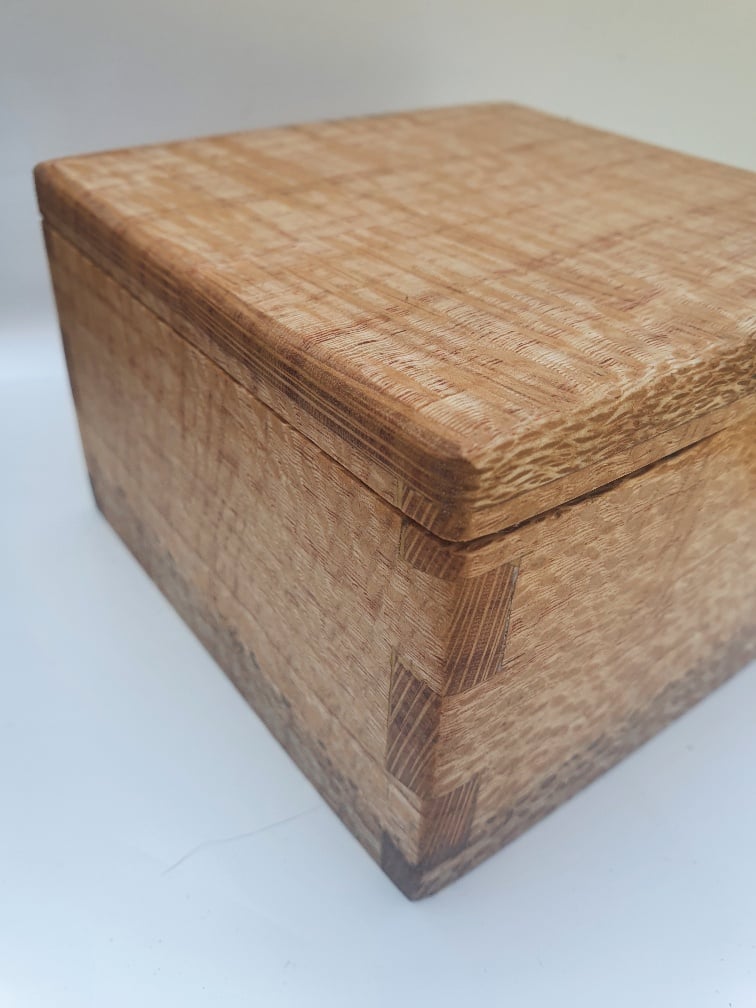
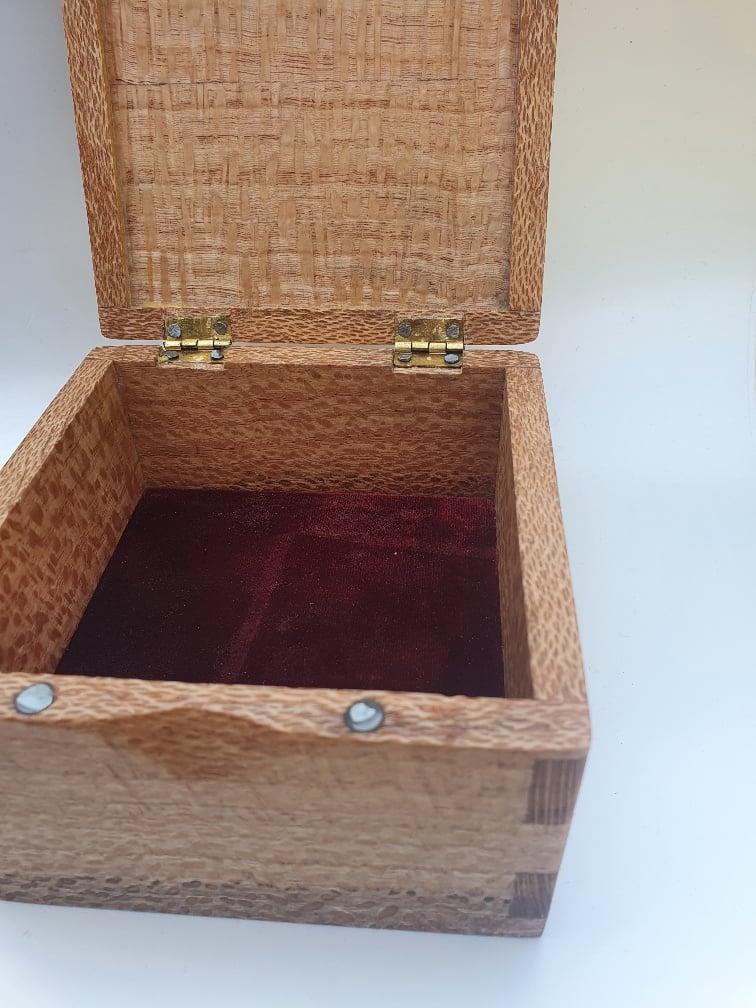
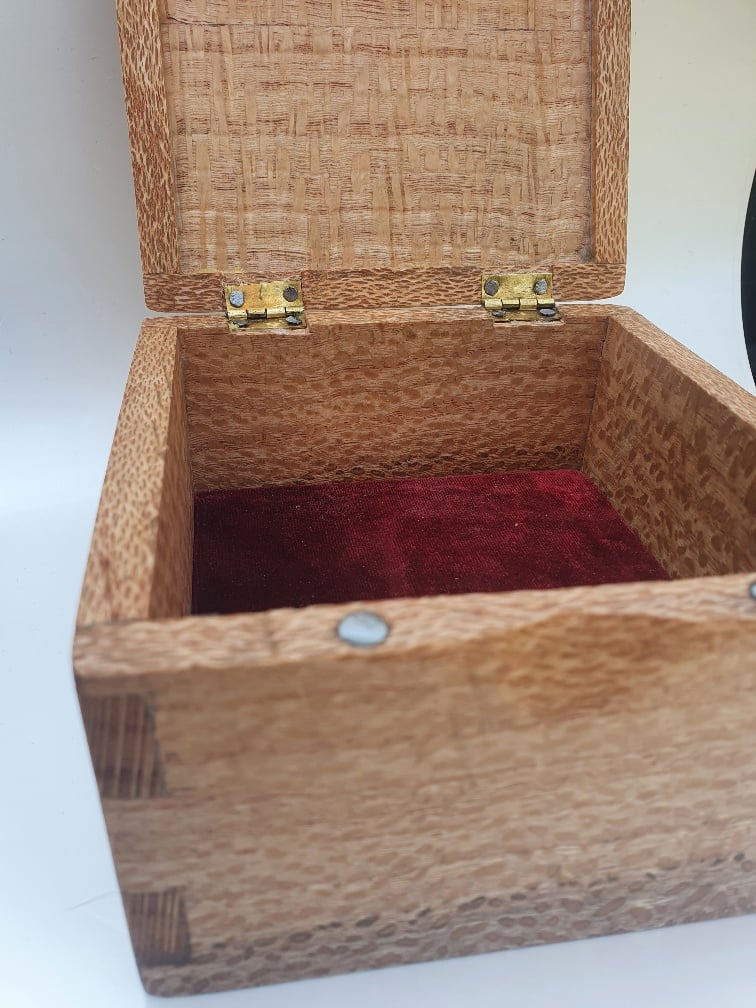
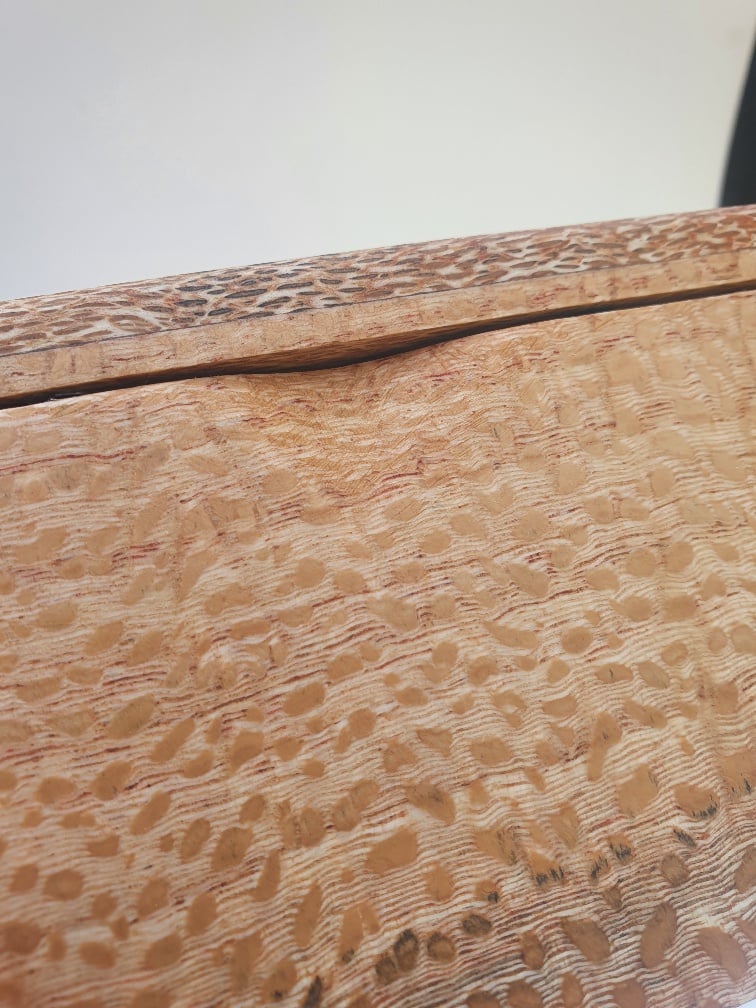
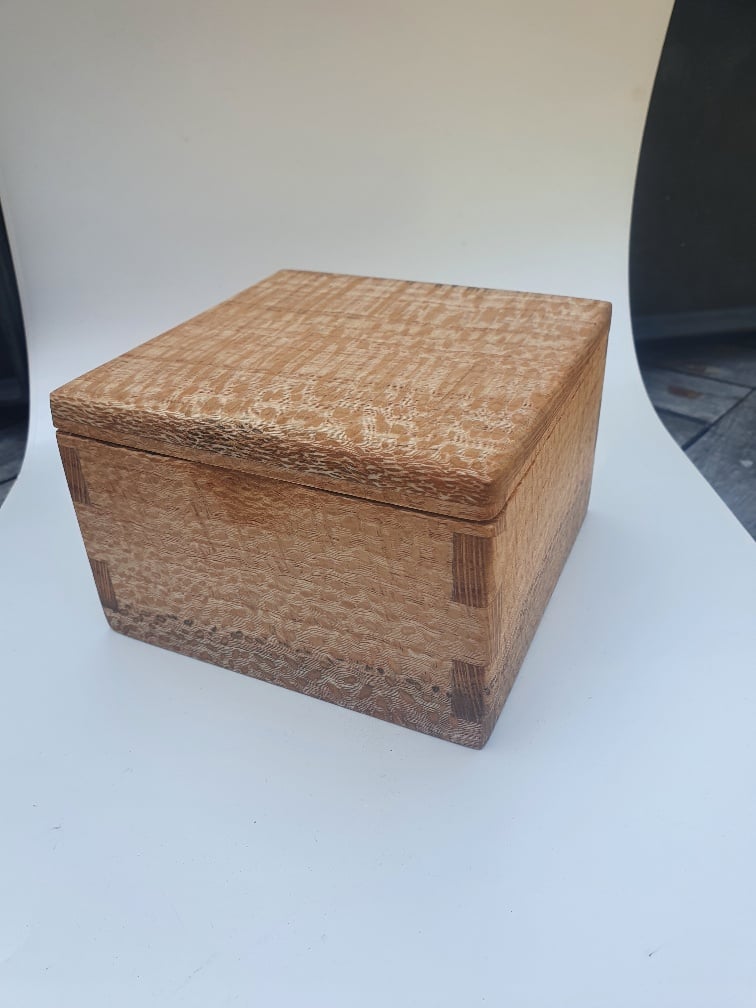
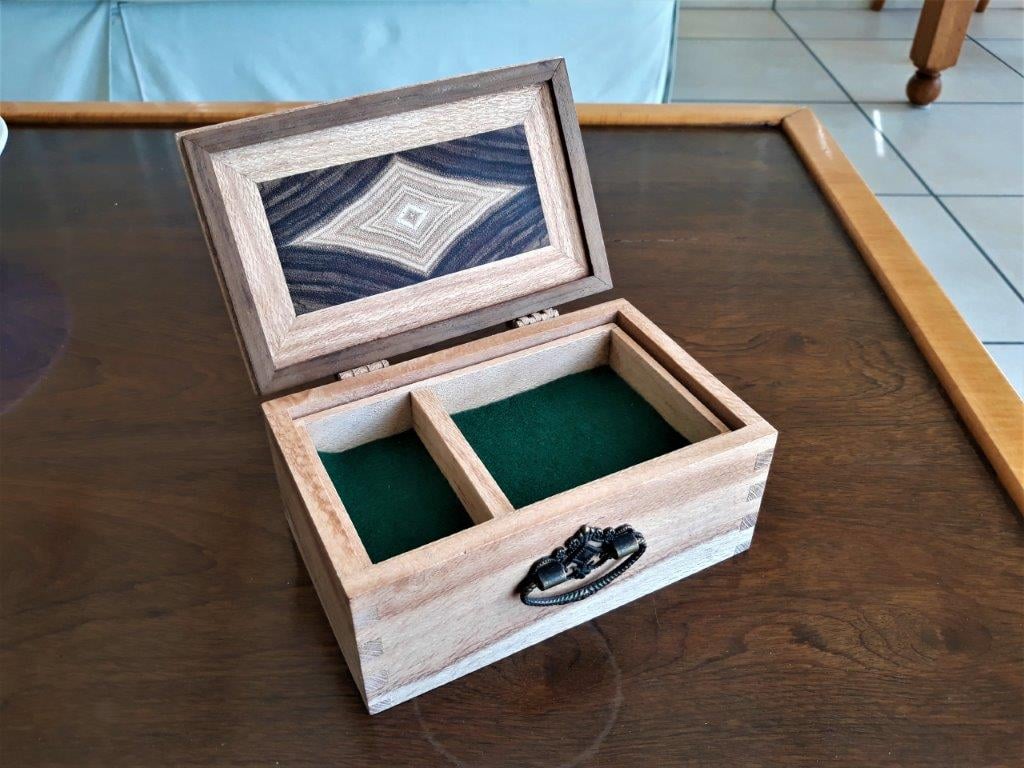
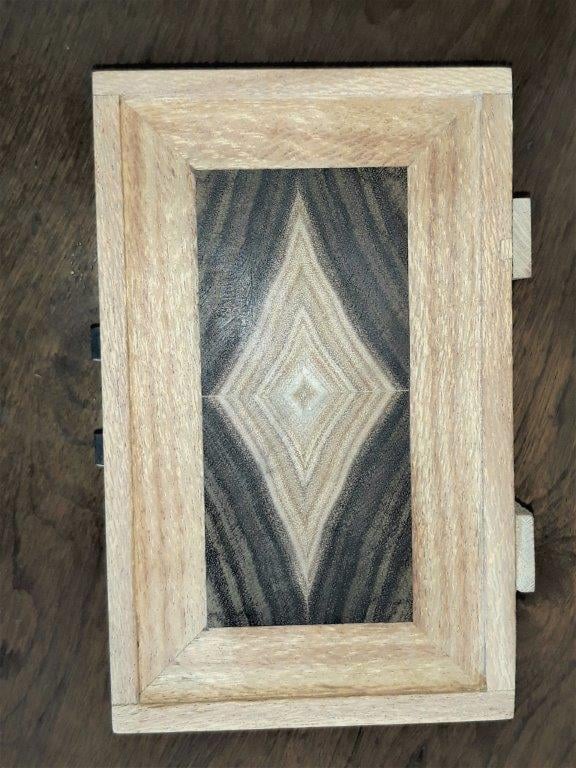
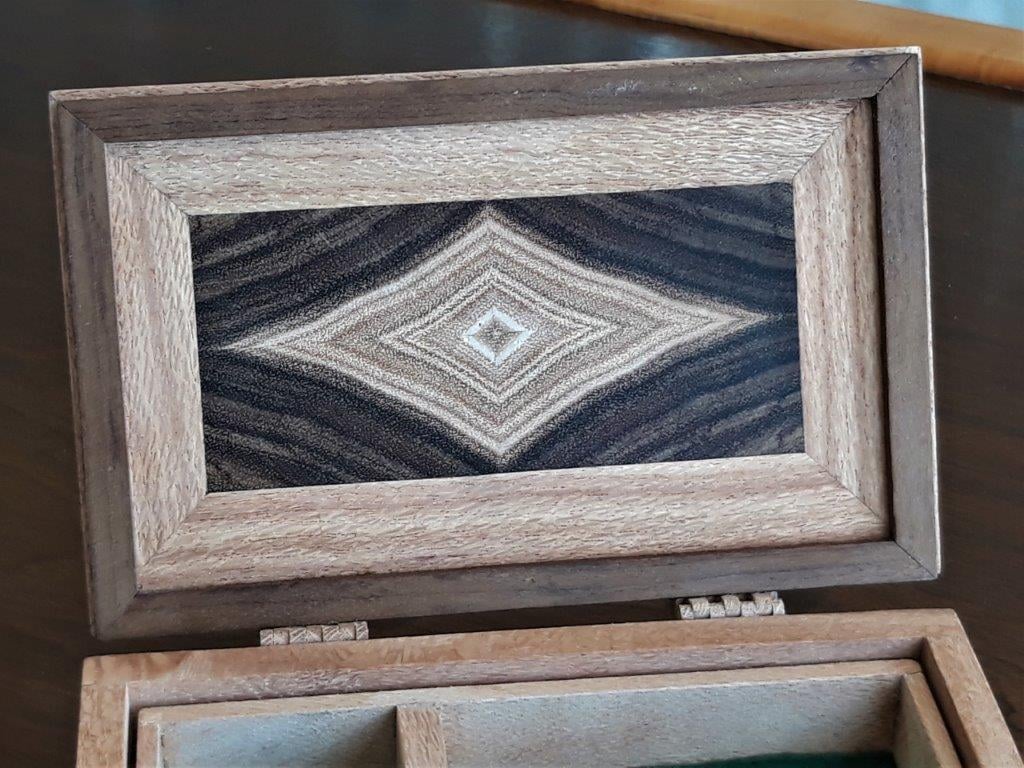
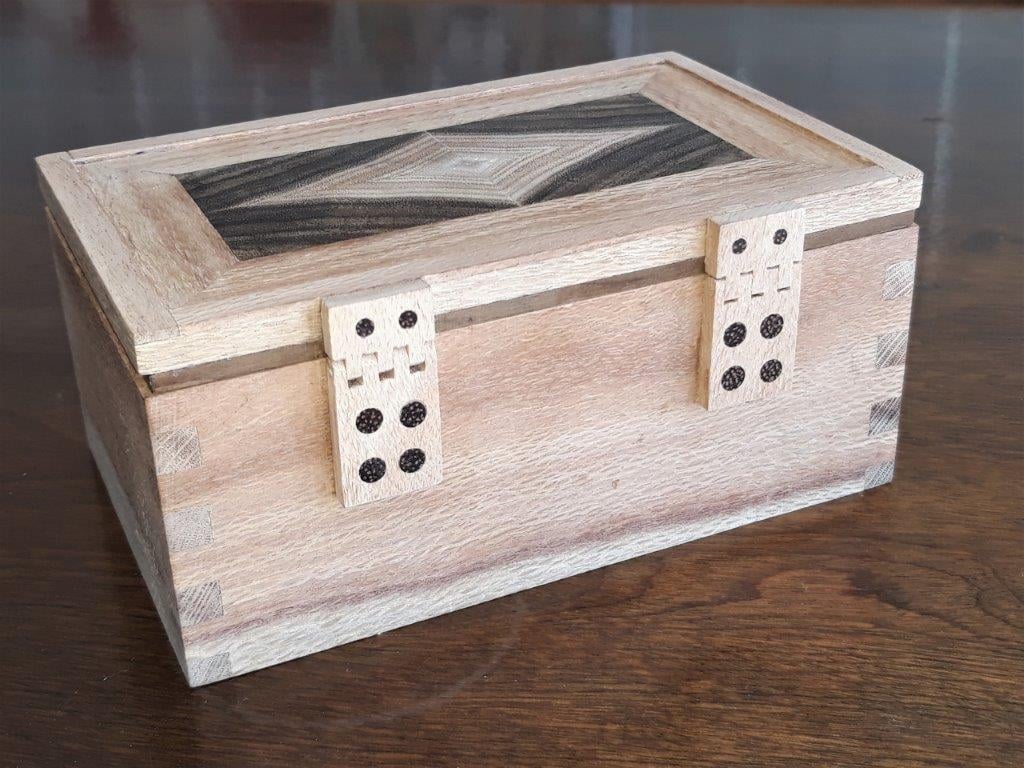
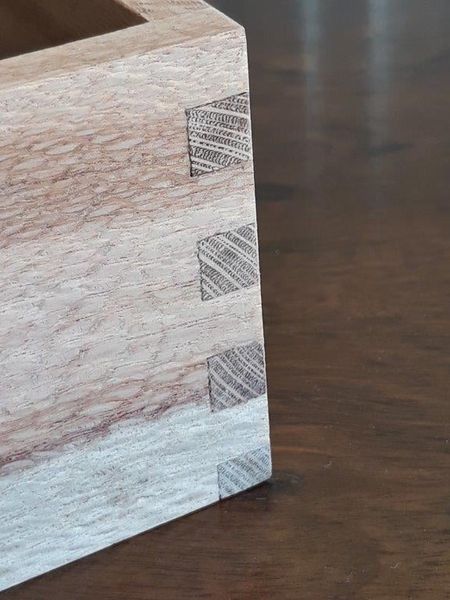
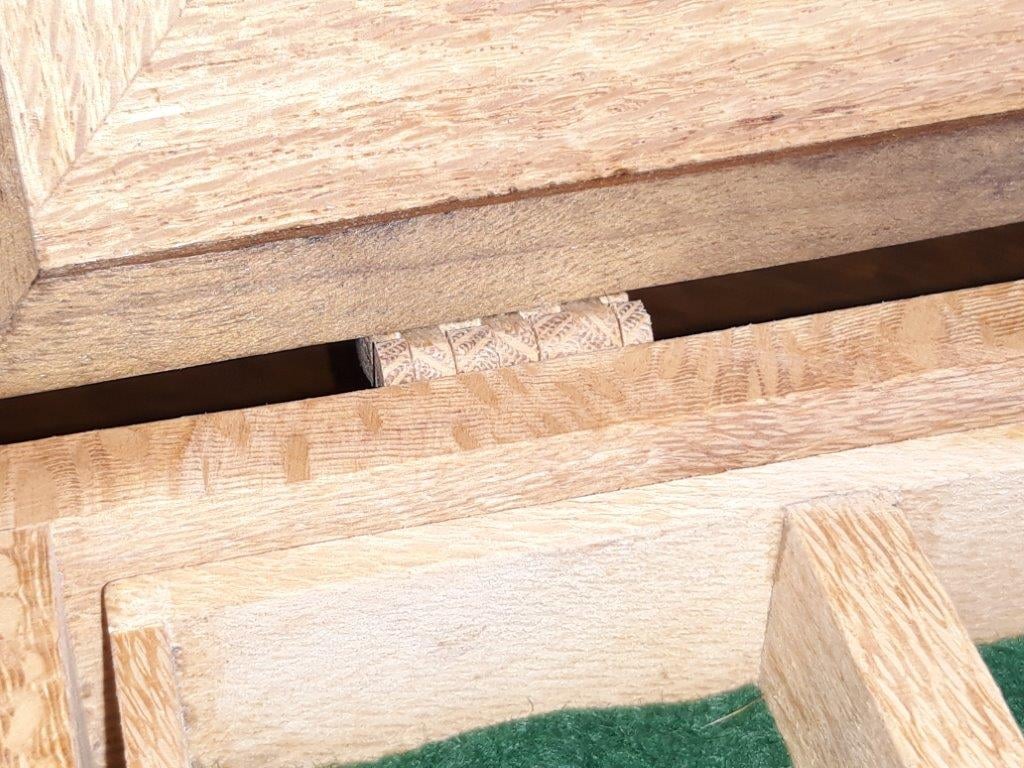
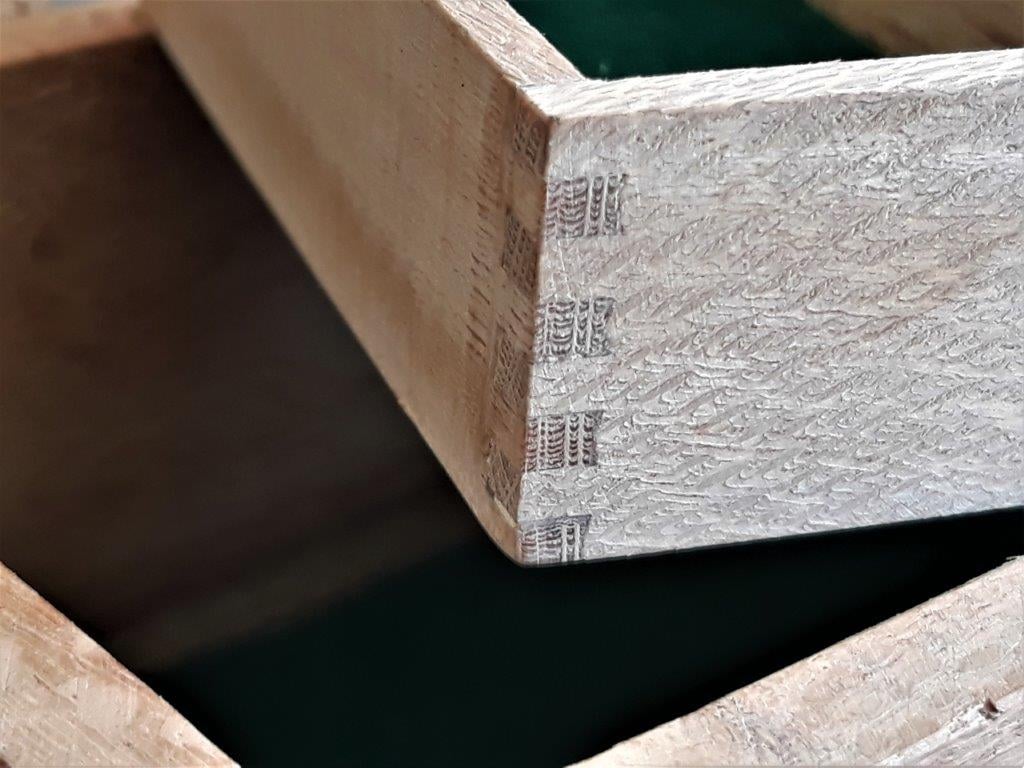
Hand-cut dovetail joints were used for this jewelry box for my daughter. It is made from a piece of firewood, that had such a beautiful pattern on it, I could not resist the temptation to make something out of it. Firewood was sold to me as oak, rather unusual for firewood.
It turned out to be Silky Oak, an invasive species I believe not much has anything in common with the oak we know except the name. Nevertheless, it turned out to be a great gift.
More info can be found @woodworking_by_alp Instagram page.
Fᴏʀ Tʜᴇ Lᴏᴠᴇ Oꜰ Wᴏᴏᴅᴡᴏʀᴋɪɴɢ
?????? ??????’? ????? ???? ??? ???????????:
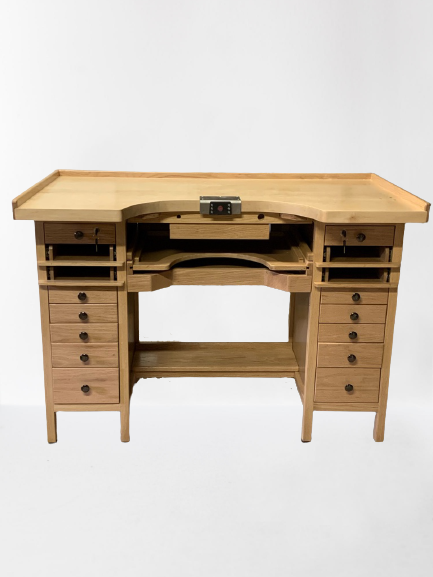
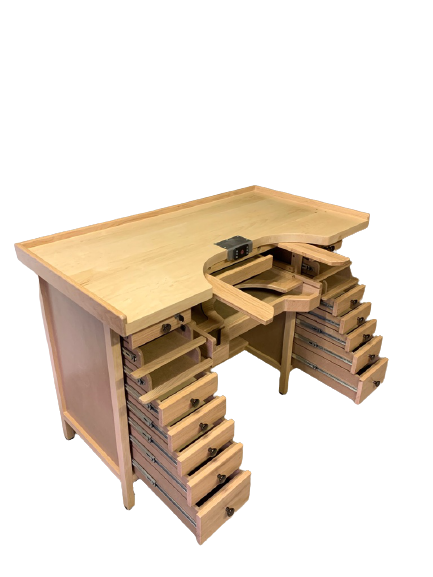
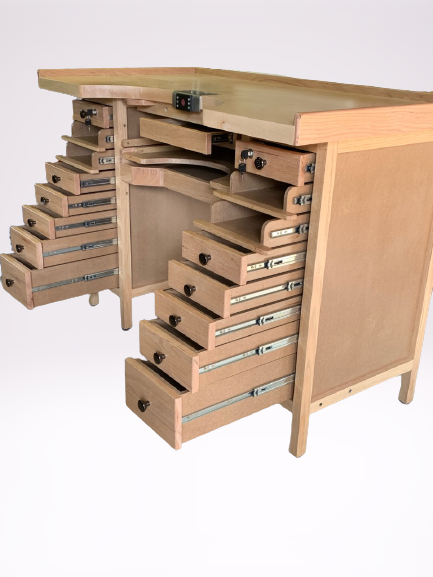
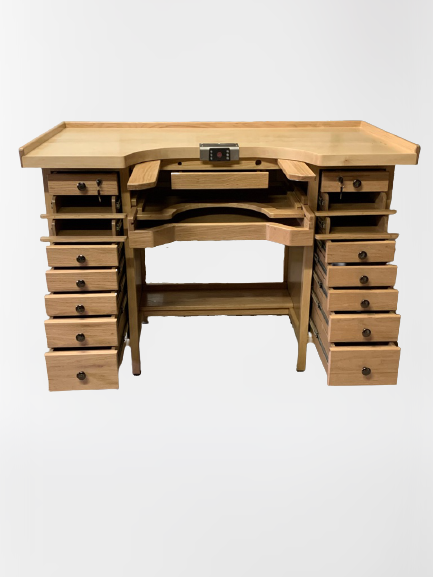
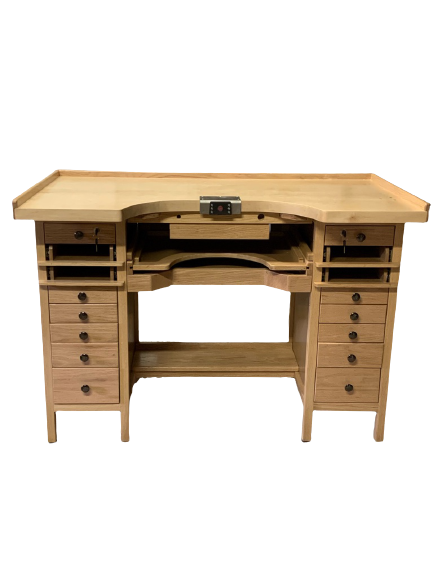
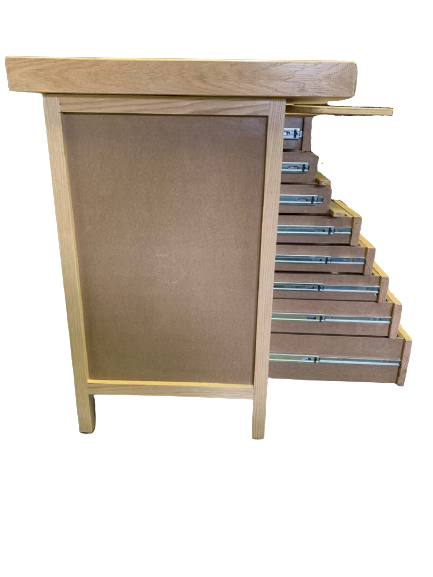
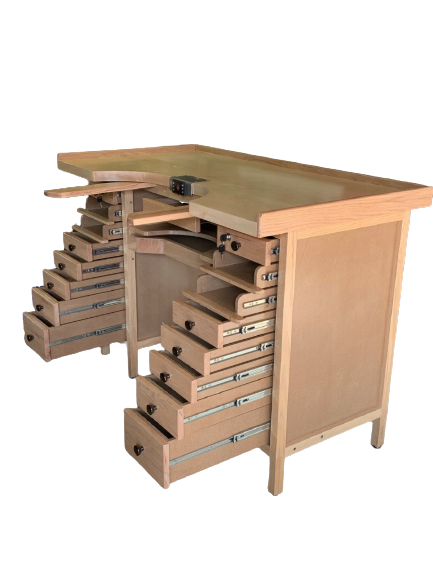
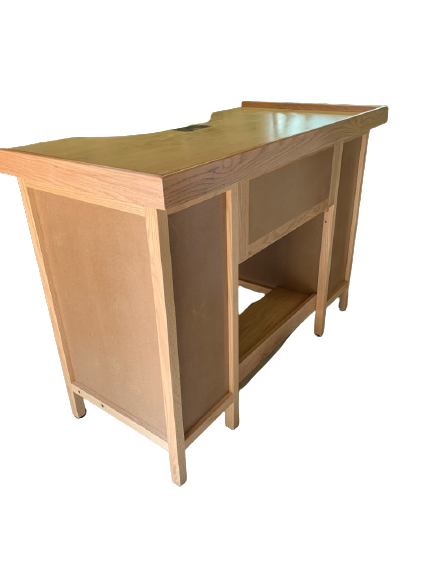
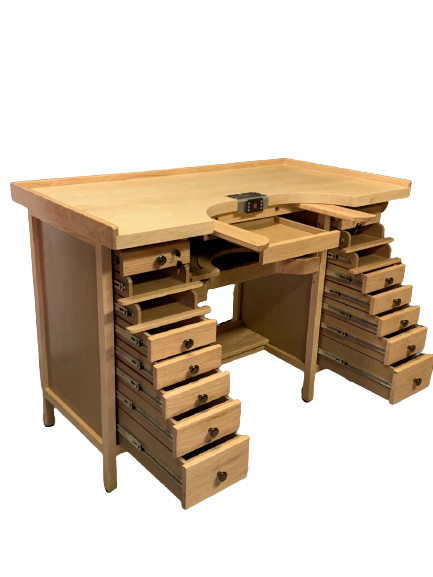
The Jewellery Workbench (JWB), as illustrated below, was handcrafted within a period of two and a half months after a research period of some 8 months.
The top is made out of 50mm solid hard maple and the top edges out of American Red Oak.
The Drawer units and centre piece is made out of American Red Oak and Supawood.
The unit was treated with Woodoc Floor Varnish (water based to prevent “yellowing”).
Timber was planned and jointed using a Jet 300mm Planer.
All timber was sawn using my Powermatic 3 HP saw.
Most of the joints (loose tennos) were made with a super-efficient and very accurate Festool South Africa Domino DF5 00 Q – Plus Machine.
Best of all it only took two 500ml of Alcolin Professional wood glue to complete the entire assembly
Fᴏʀ Tʜᴇ Lᴏᴠᴇ Oꜰ Wᴏᴏᴅᴡᴏʀᴋɪɴɢ
??????? ????????’? ????? ???? ??? ???????????:
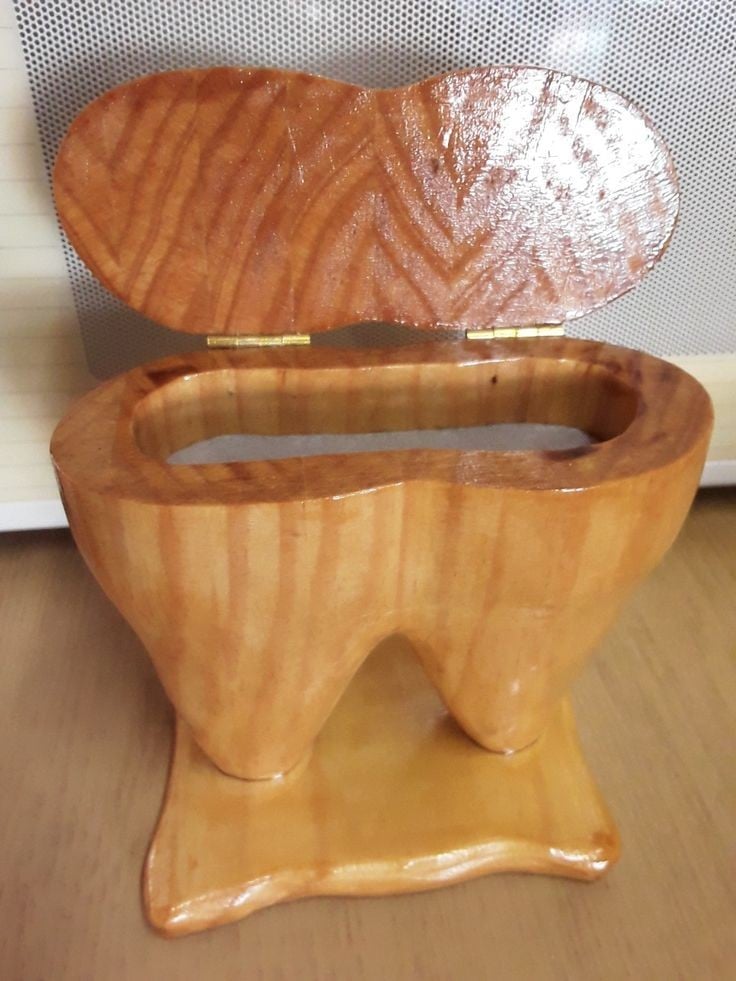
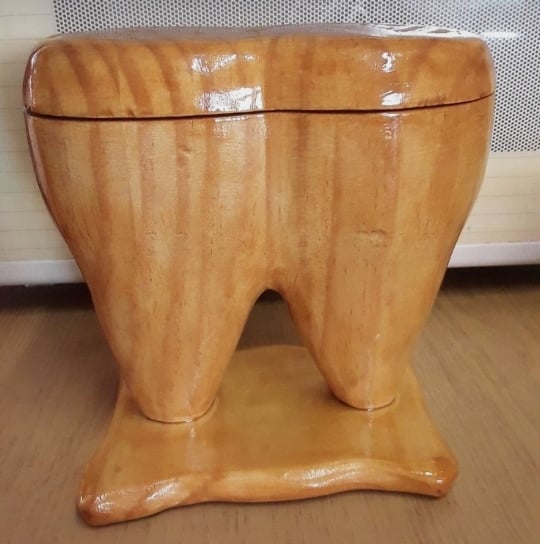
his project was not the traditional “valentine’s gift”, but it was made with lots of love for a girl who are teething. I made this box shaped like a tooth to keep her milk teeth in.
I used on long piece of pine plank. Cut it into a few same size lengths and then glued it together to form a solid block of wood.
I draw a rough outline of a tooth on the flat side of the block of wood and started grinding away with my grinder and a 60 grit flap disc on it.
It took me about two days to take all he wood away to get the shape of the roots of the teeth and the rounding of the top, but I came there in the end.
After the shape was done, I used a ordinary hand saw to cut of the top for the lid.
I routered out a pocket of about 3 cm deep and lined it with some green velvety material and put hinges on the lid, so that it can open and close.
After the tooth was finished, I added a base for stability.
And to date, all the milk teeth is in the same place
Fᴏʀ Tʜᴇ Lᴏᴠᴇ Oꜰ Wᴏᴏᴅᴡᴏʀᴋɪɴɢ
???? ??????’? ????? ???? ??? ???????????:
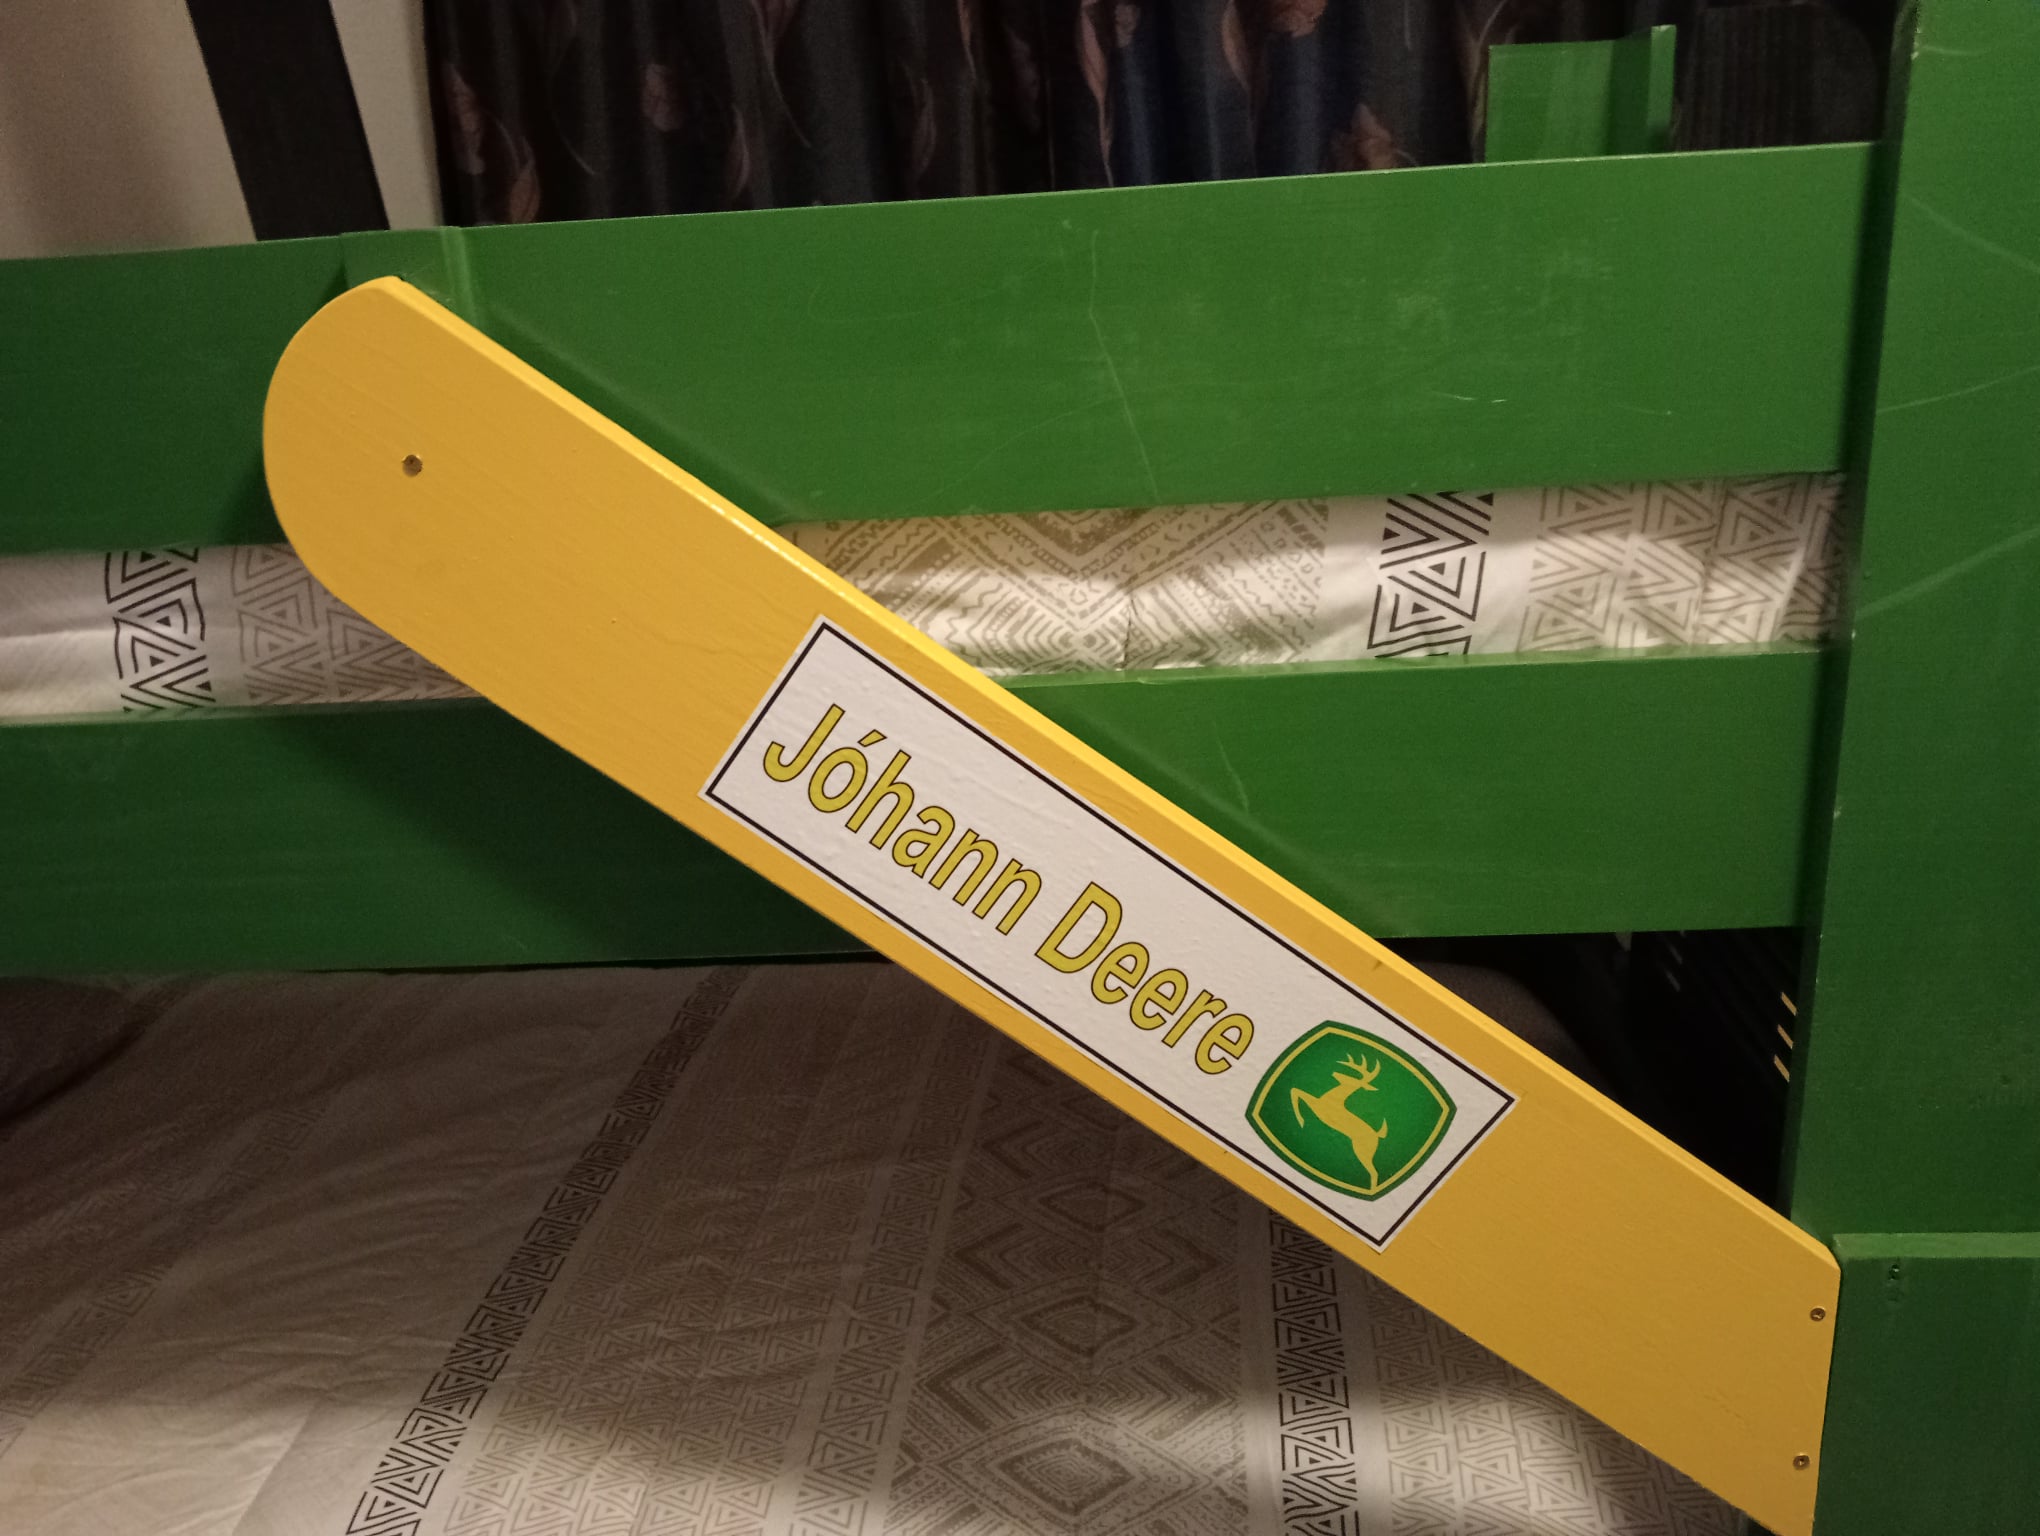
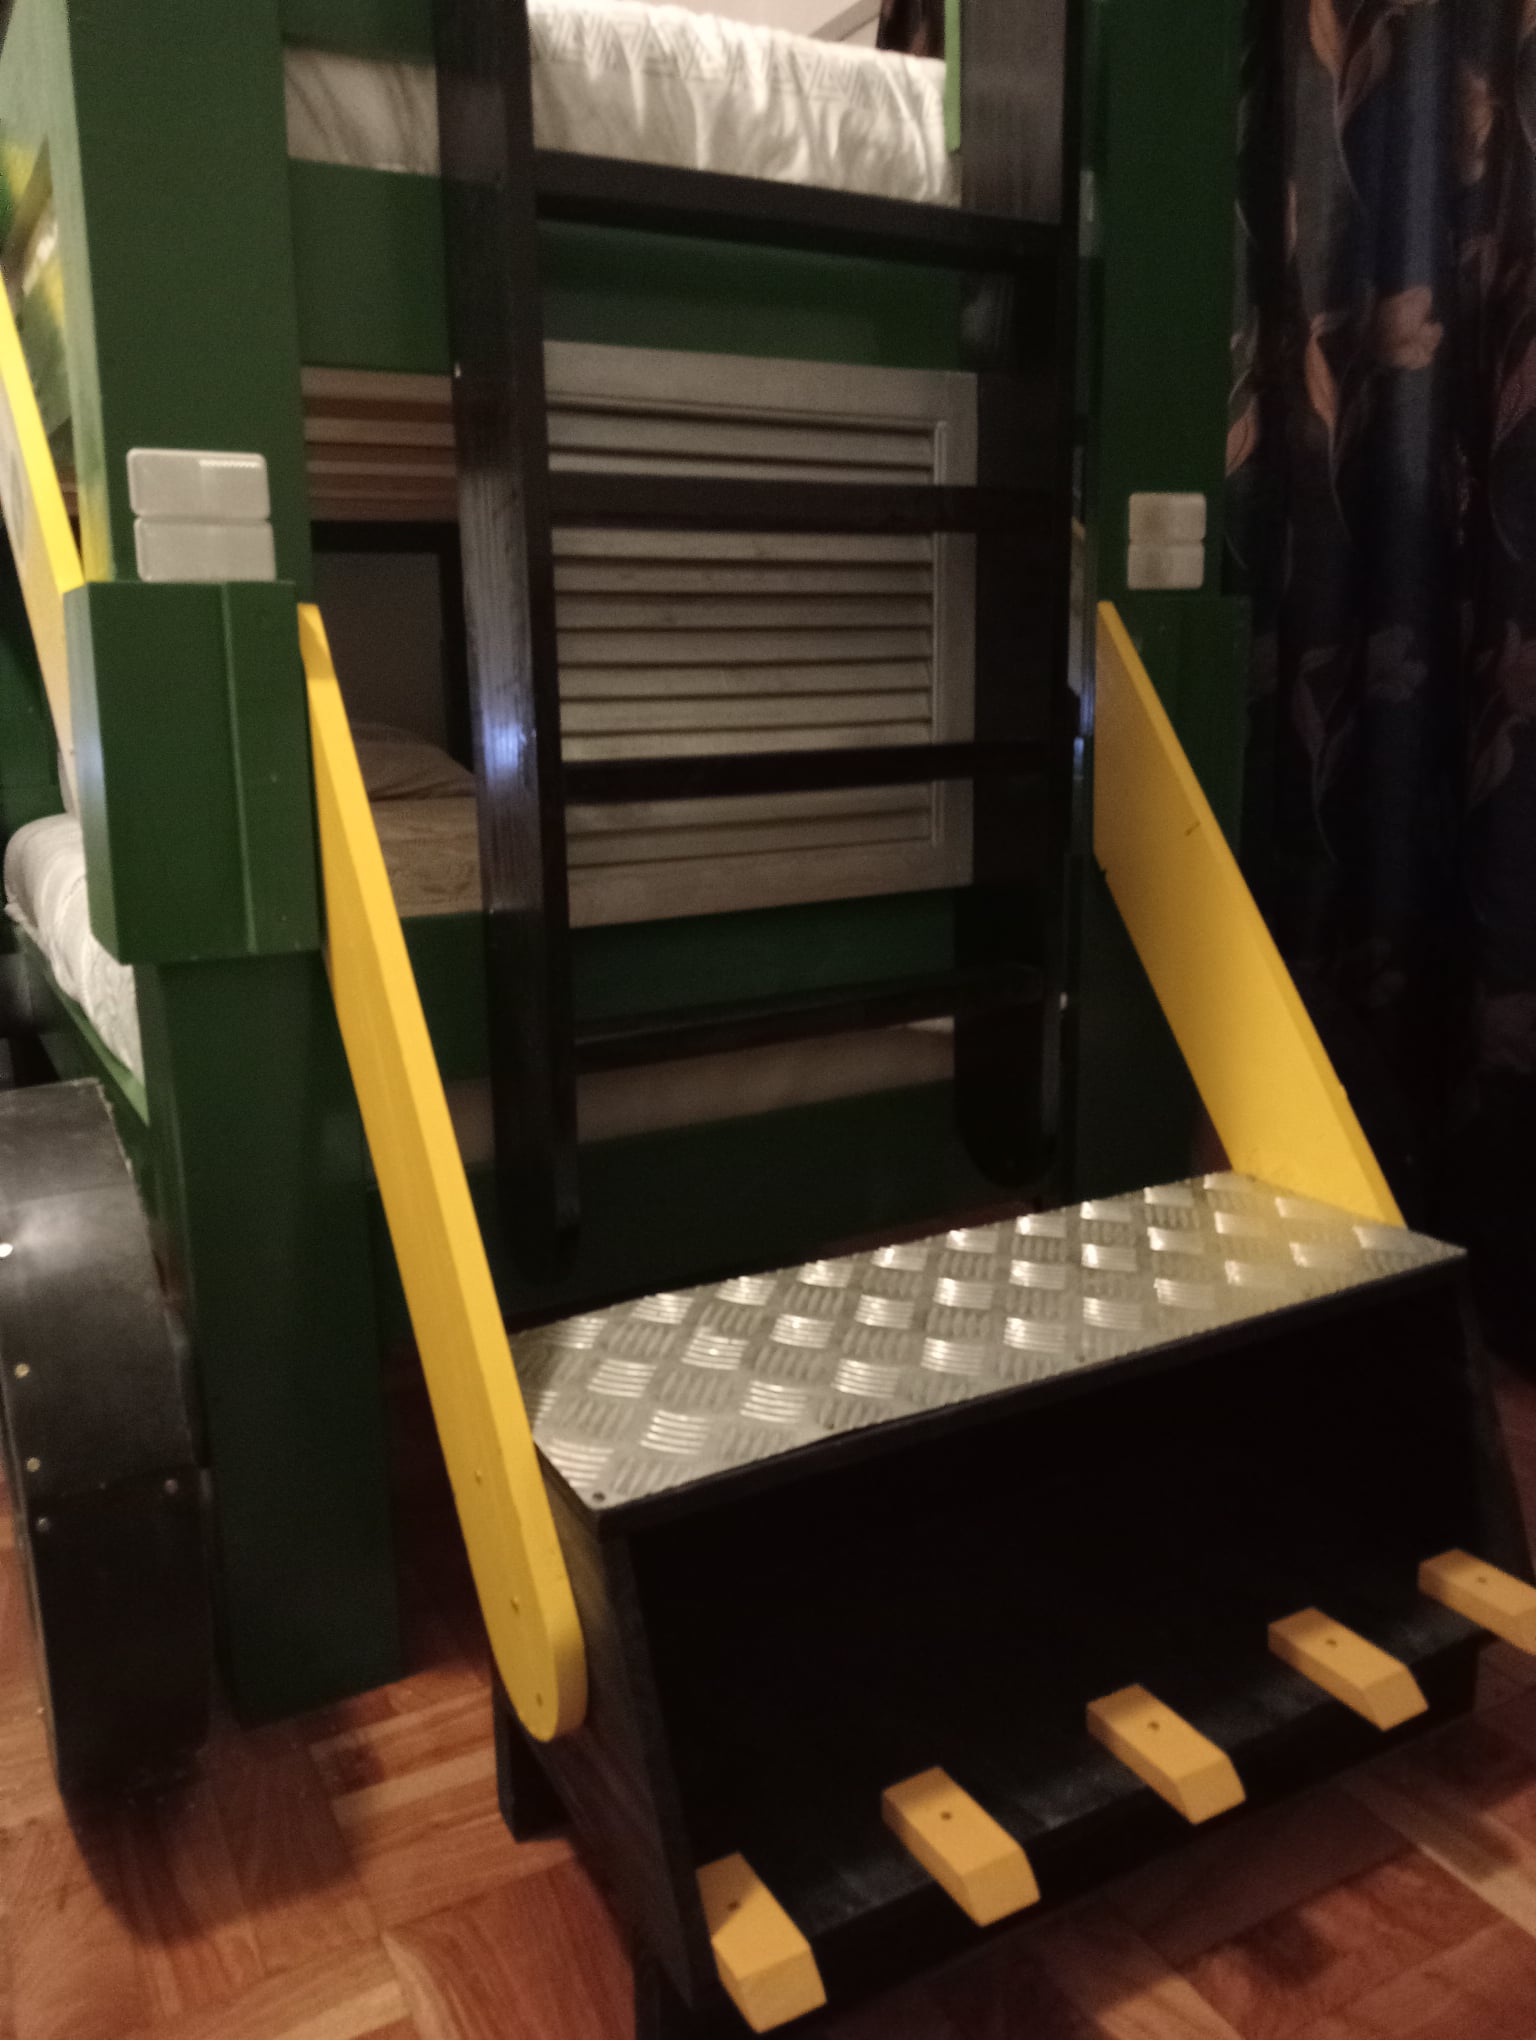
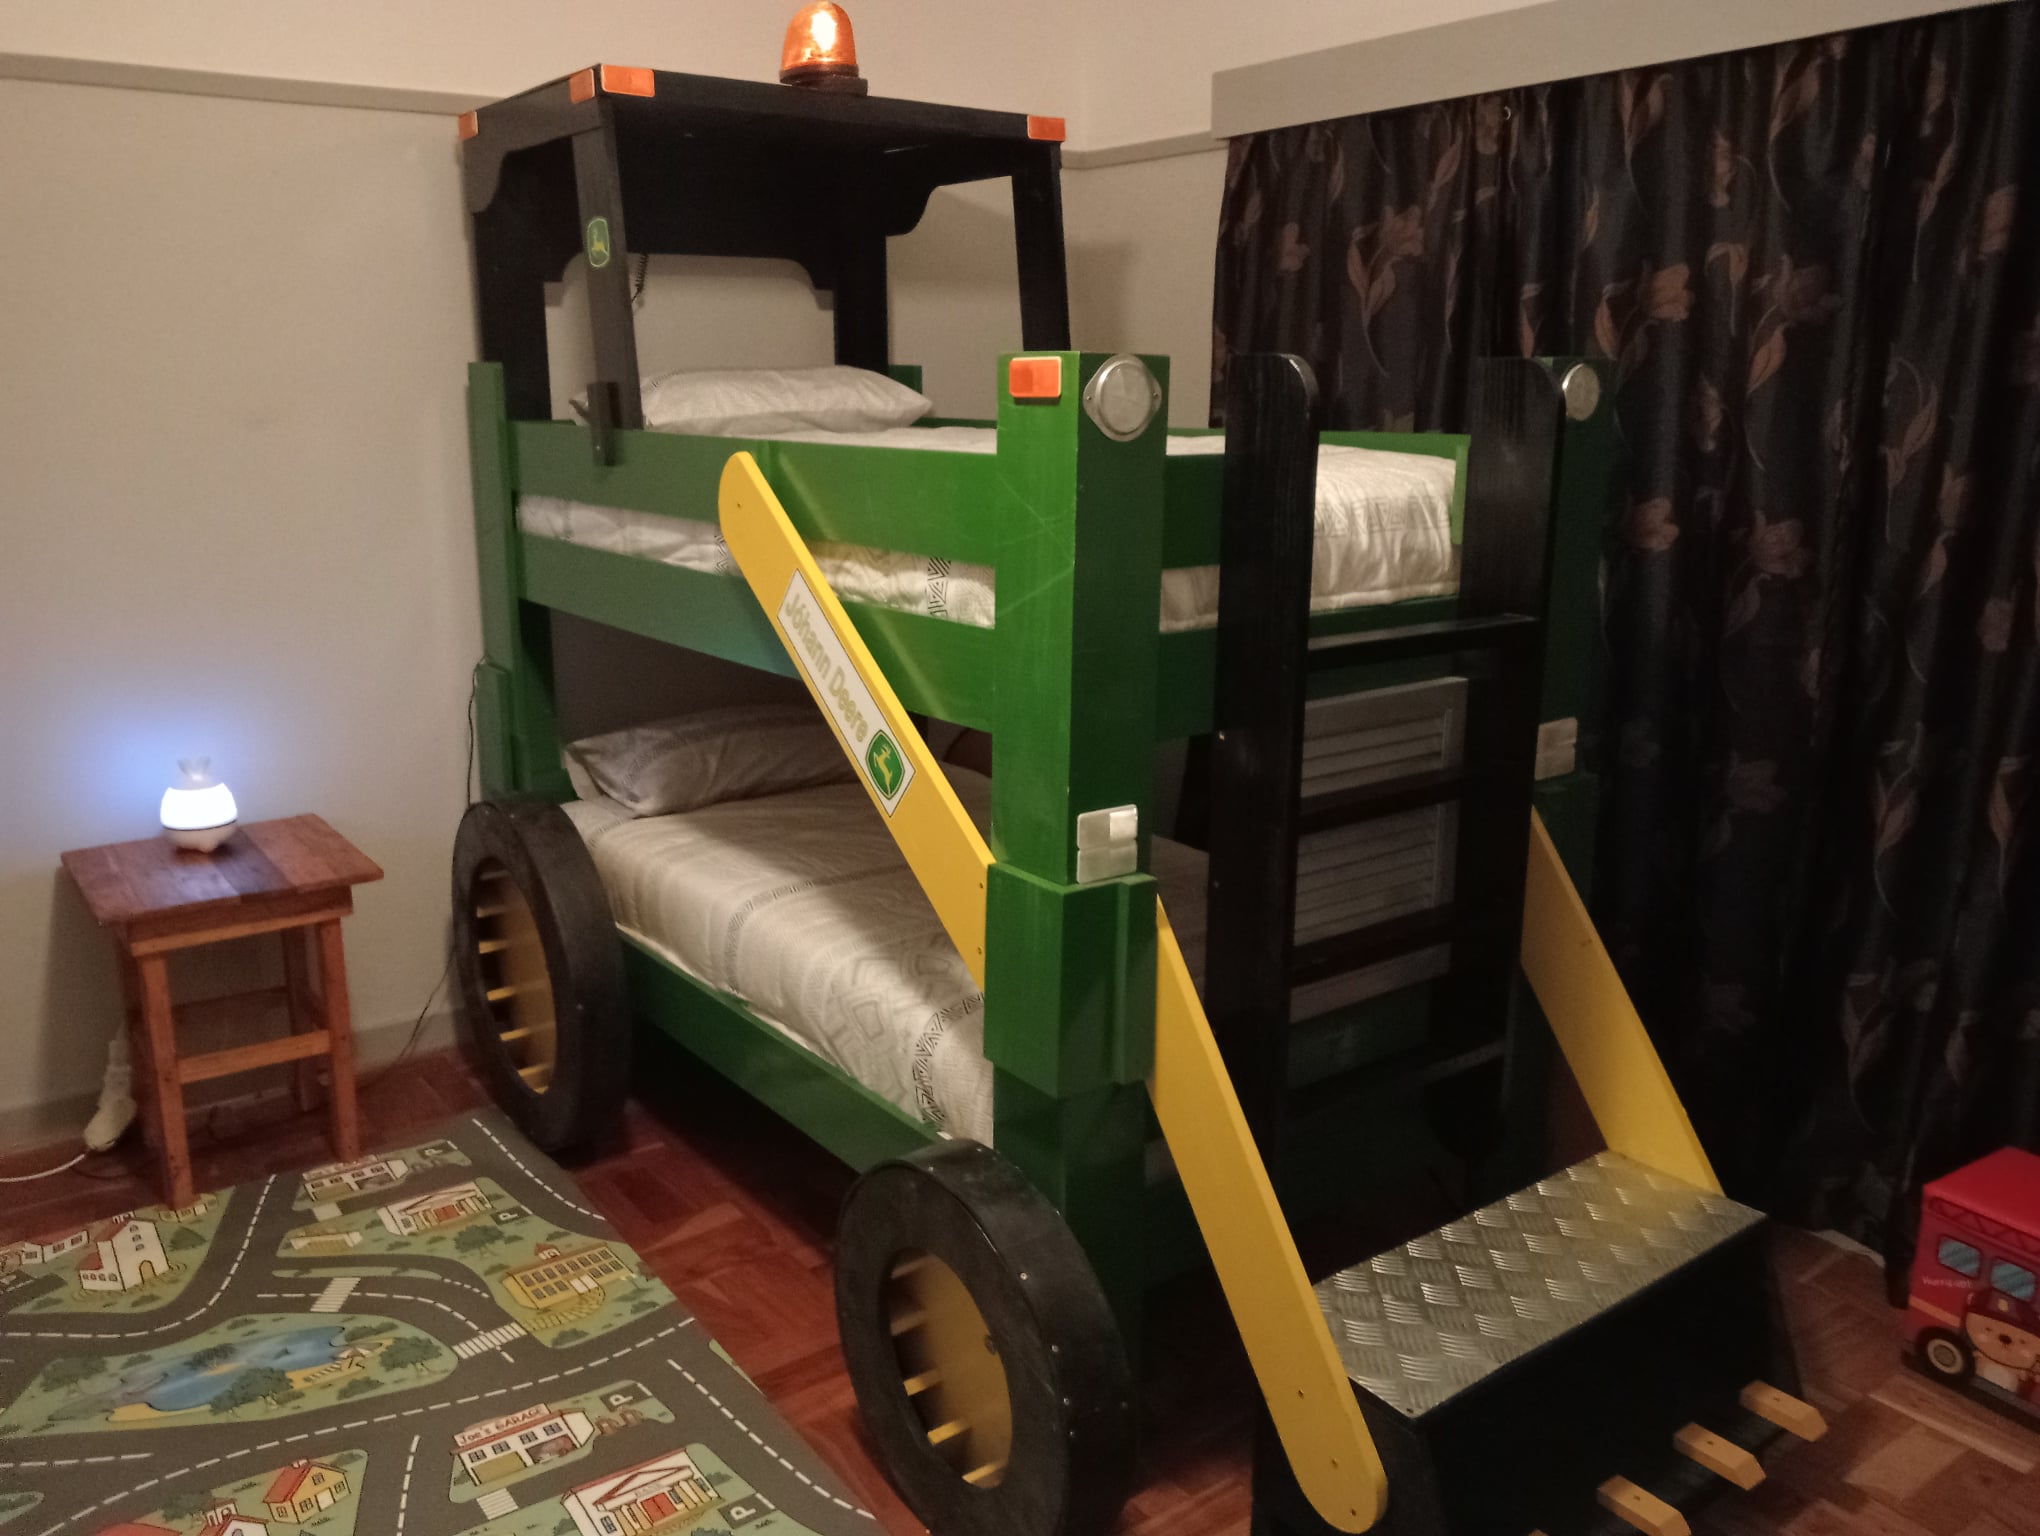
The main purpose of the project was to assemble in such a way, that stacked bunk beds can be used separately in the future thus four pieces.
The bunk beds
The roof and the front end loader
The beds were made from 140 X 3.0 X 20 pine planks
The beds were made custom to fit normal mattresses and linen ( 90 X 190 )
Tools used was:
Bosch table saw
Einhell Mitre saw
Cordless drill
Fᴏʀ Tʜᴇ Lᴏᴠᴇ Oꜰ Wᴏᴏᴅᴡᴏʀᴋɪɴɢ
?????? ??????’? ????? ???? ??? ???????????:
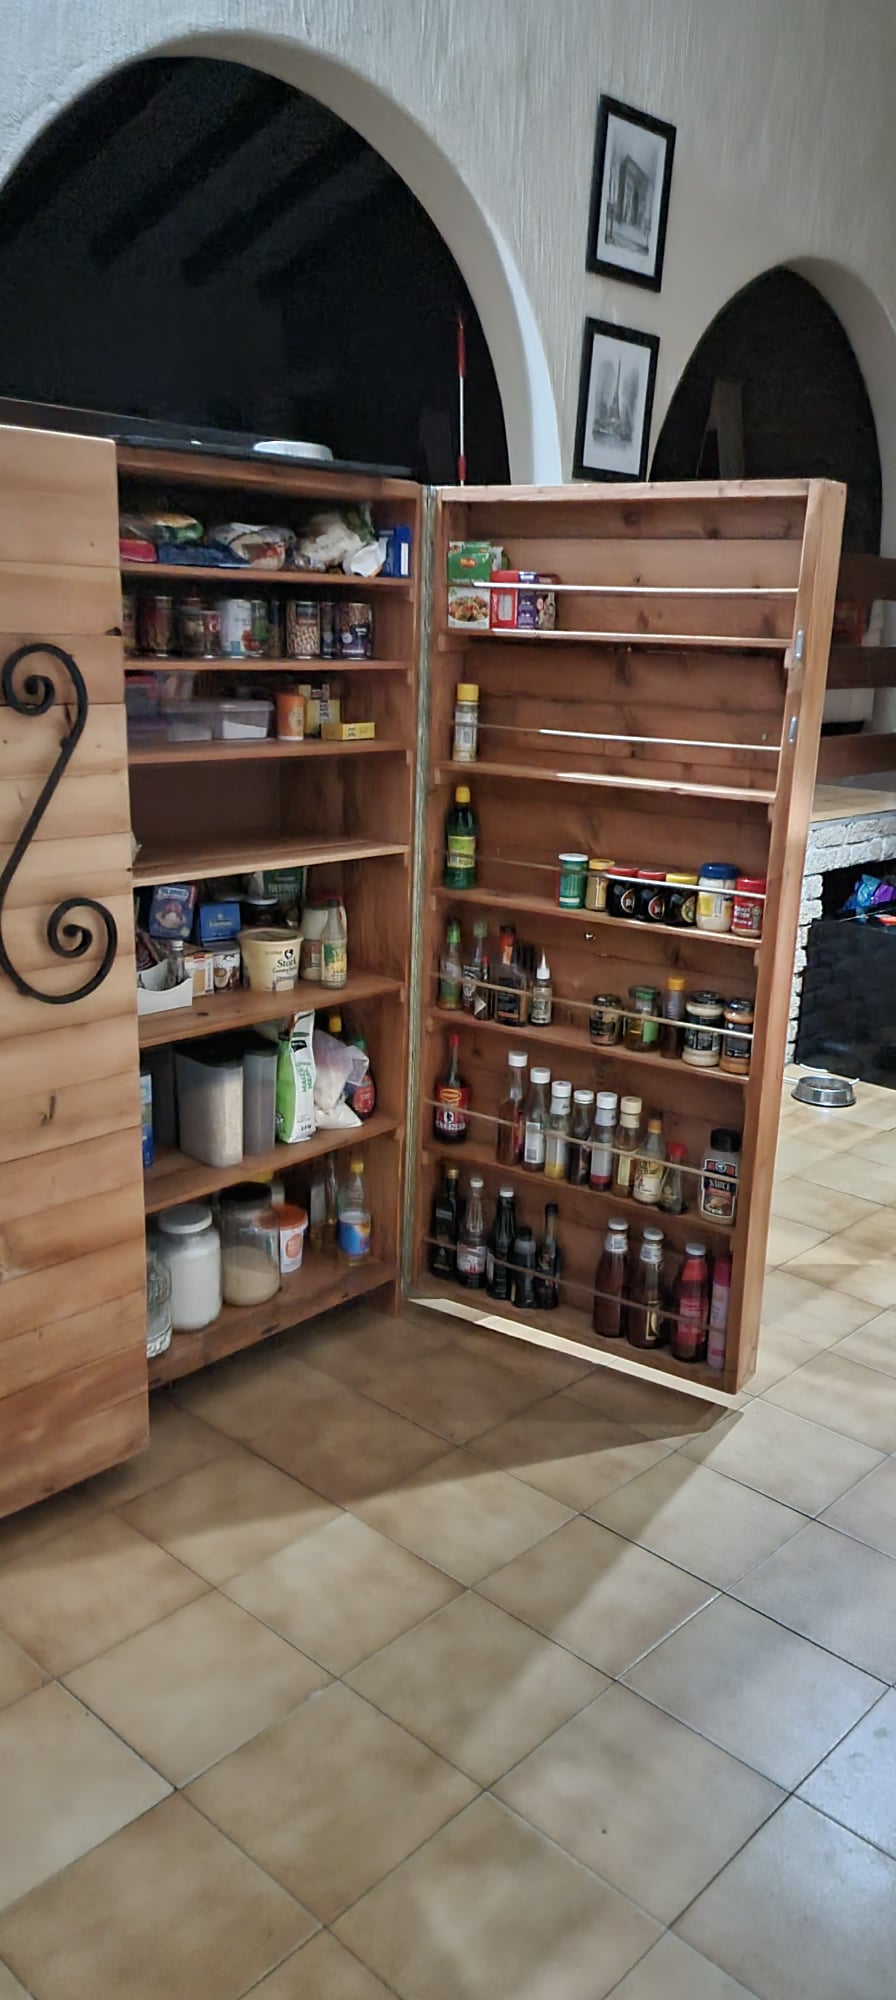
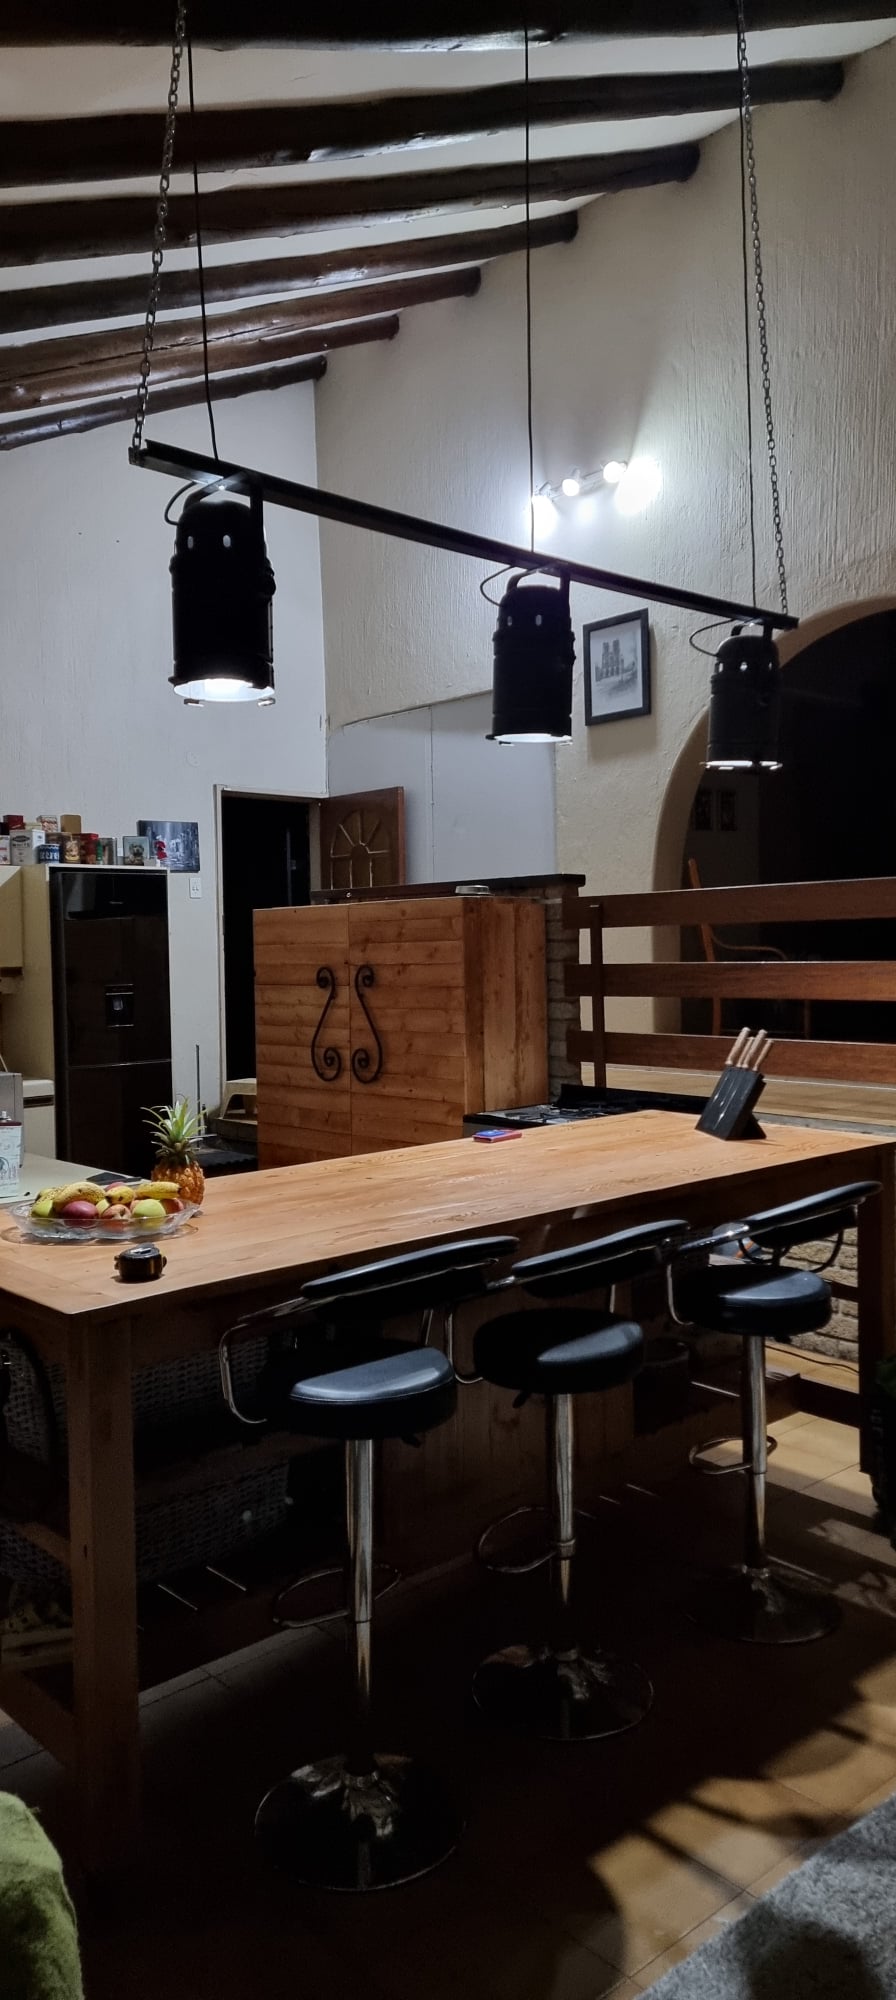
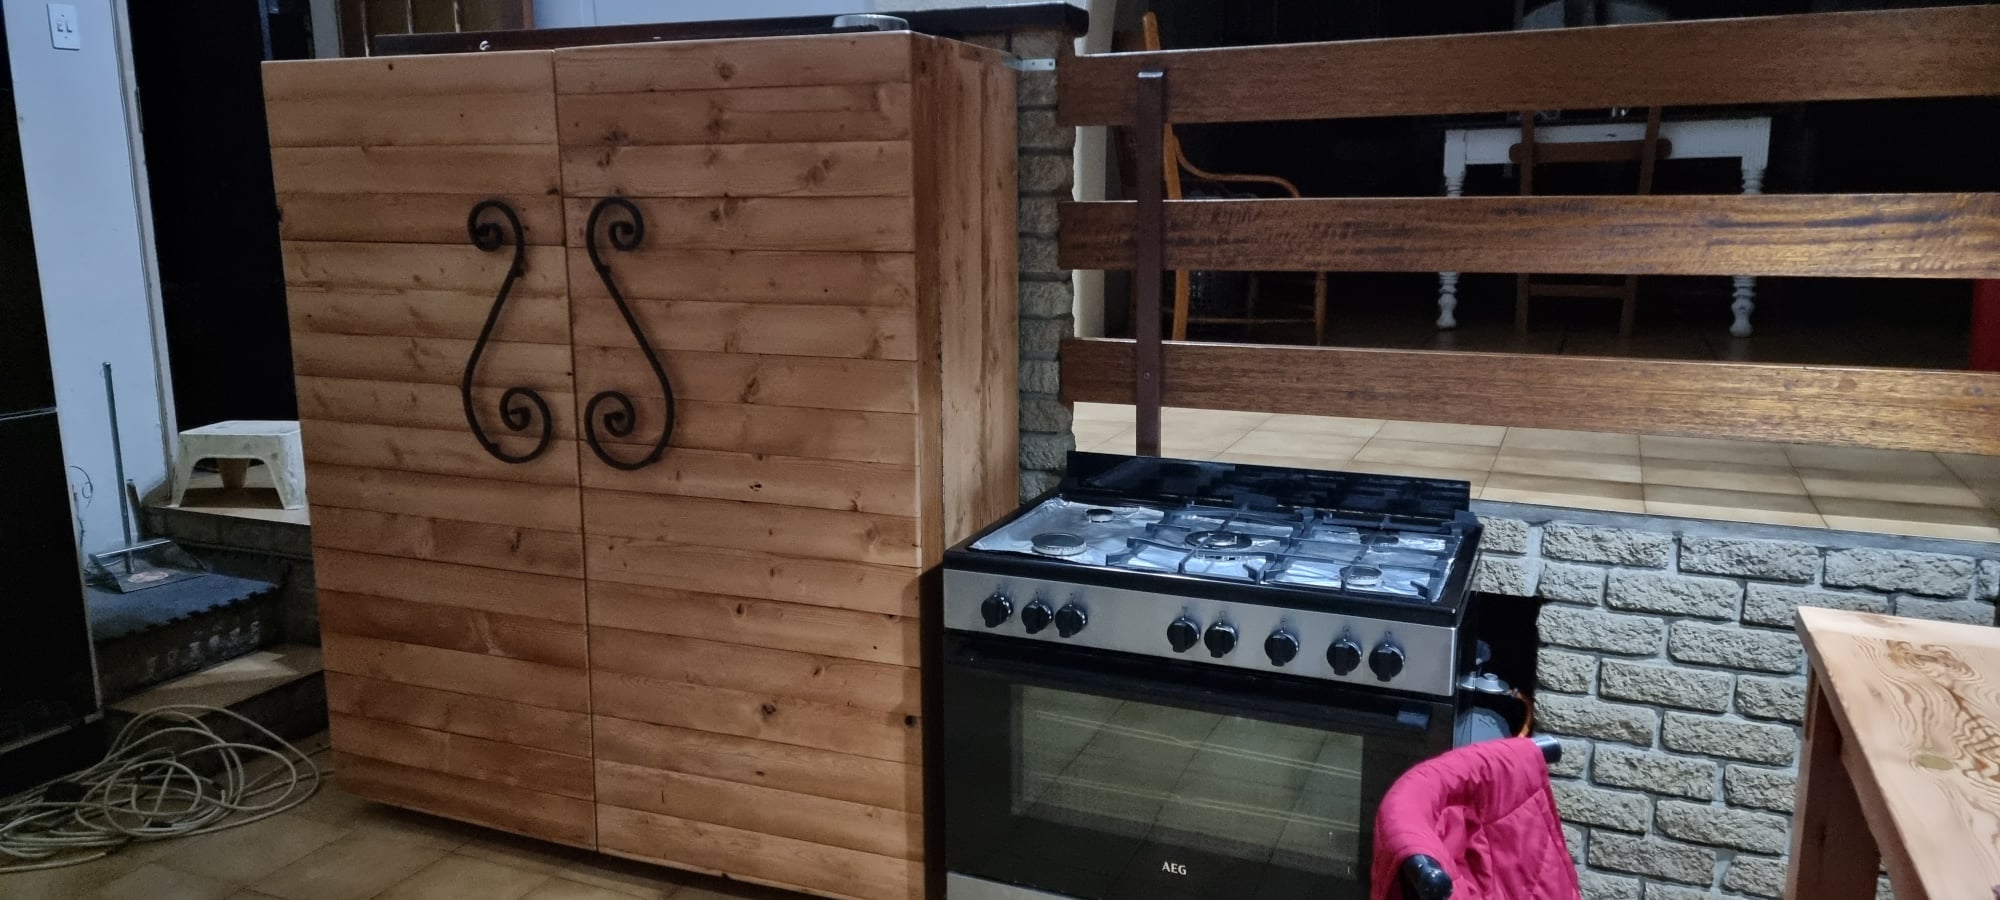
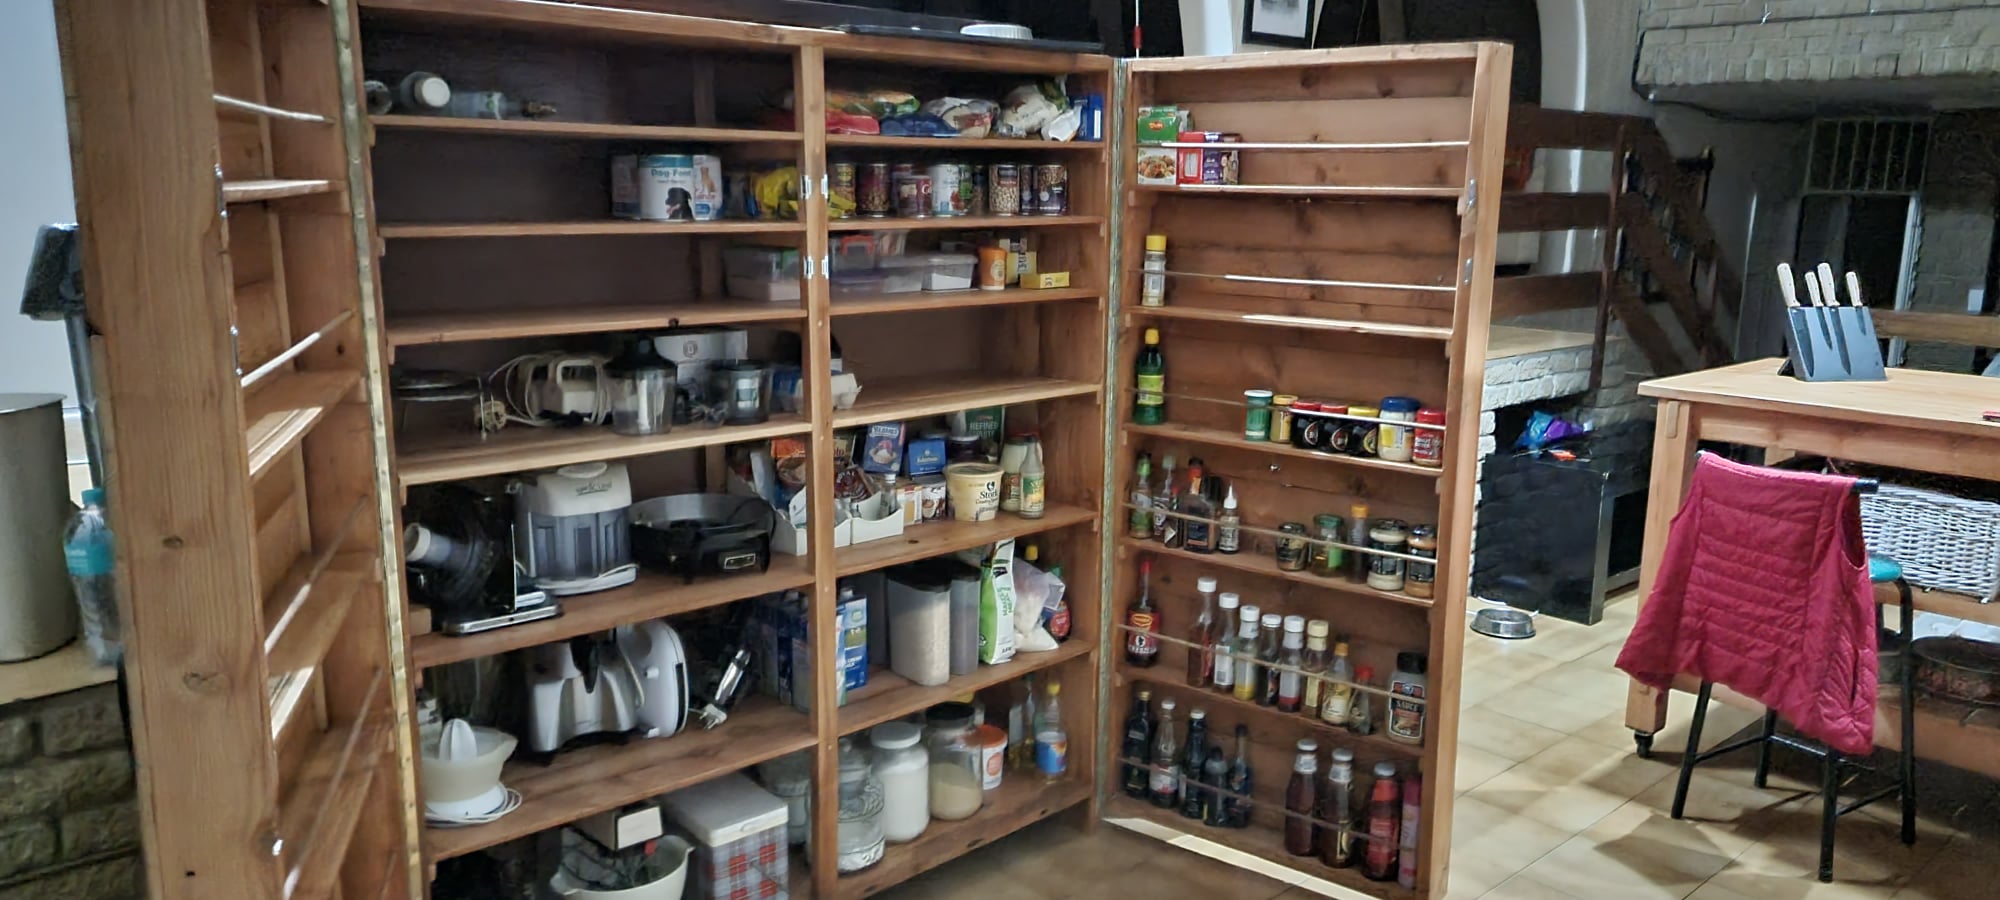
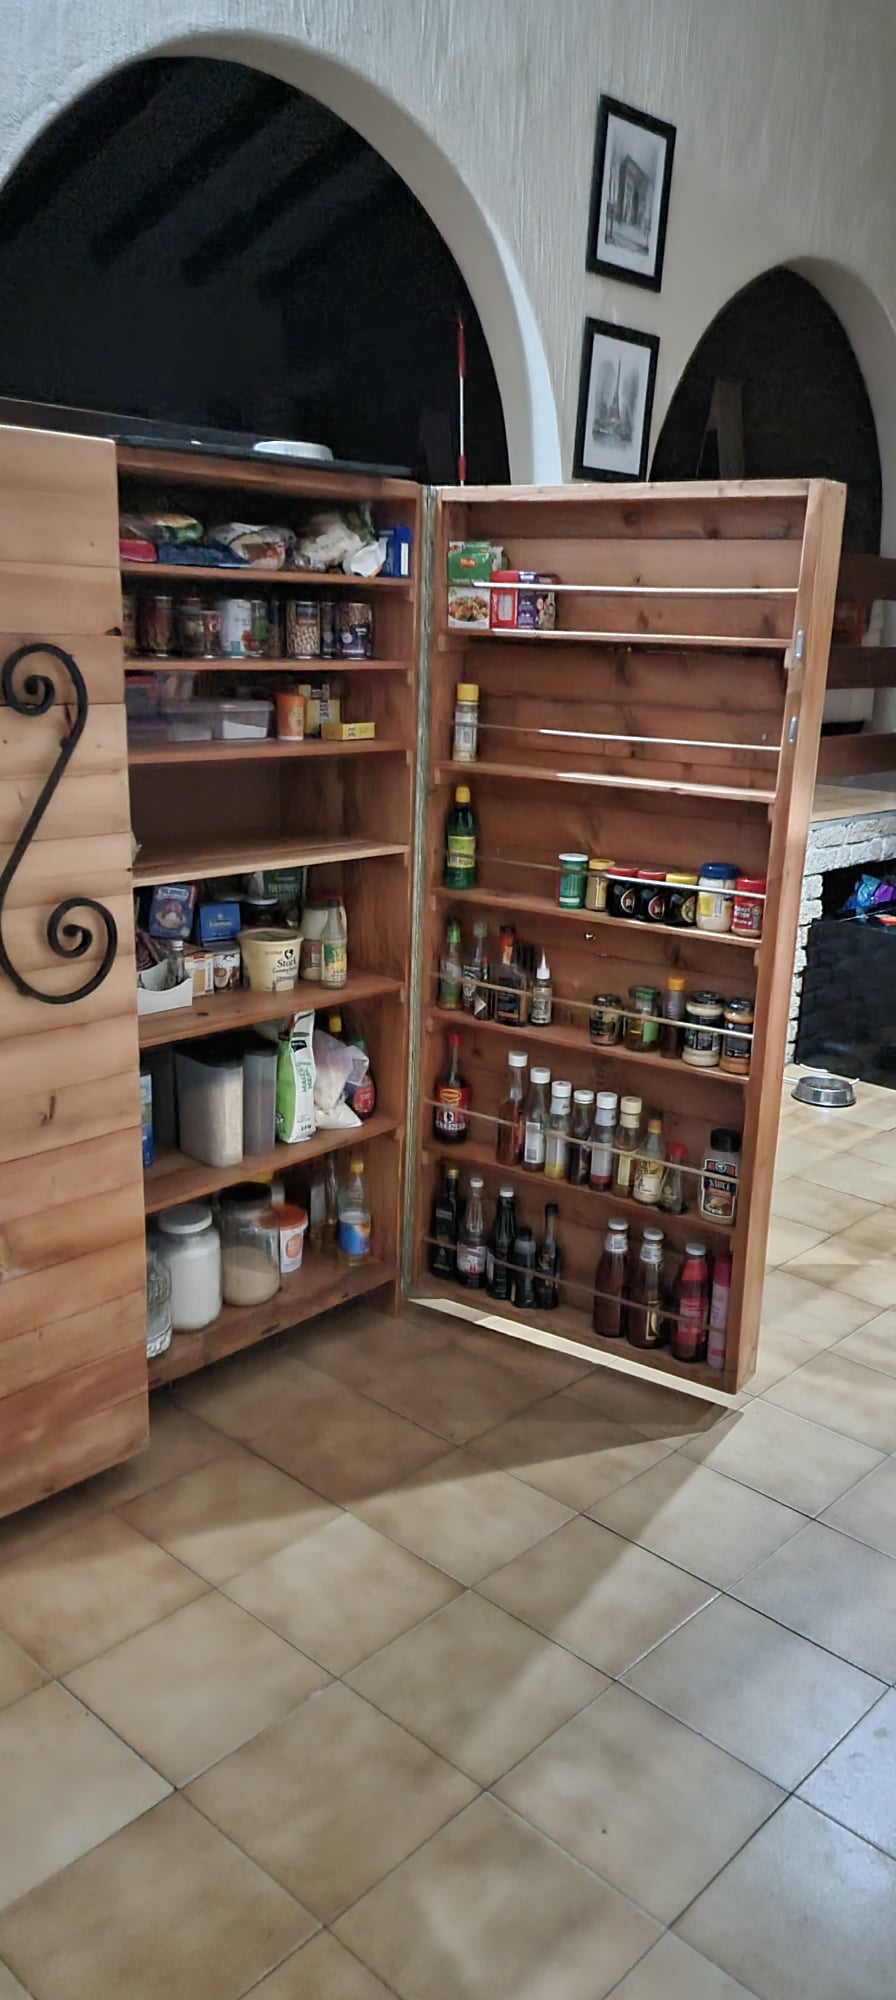
After completing the kitchen island I entered earlier, I’ve just completed the matching pantry cupboard. Again, it’s made from reclaimed Oregon Pine, with magnetic closers and wrought iron handles. The joints are overlap mortise joints. The lighting rig is made from old theater lights and completes the overall look.
Fᴏʀ Tʜᴇ Lᴏᴠᴇ Oꜰ Wᴏᴏᴅᴡᴏʀᴋɪɴɢ
?????? ??????????’? ????? ???? ??? ???????????:
And how the bug bit!
Not done any woodworking before – and somehow my husband convinced me to do a wood & epoxy course.
I LOVED EVERY SECOND!
Loved my experience – already purchased some more wood to make more items ?
And now I’m taking over hubby’s woodworking tools (thank goodness he’s amenable to sharing), so much planned, so little time.
Fᴏʀ Tʜᴇ Lᴏᴠᴇ Oꜰ Wᴏᴏᴅᴡᴏʀᴋɪɴɢ
???????? ?????’? ????? ???? ??? ???????????:
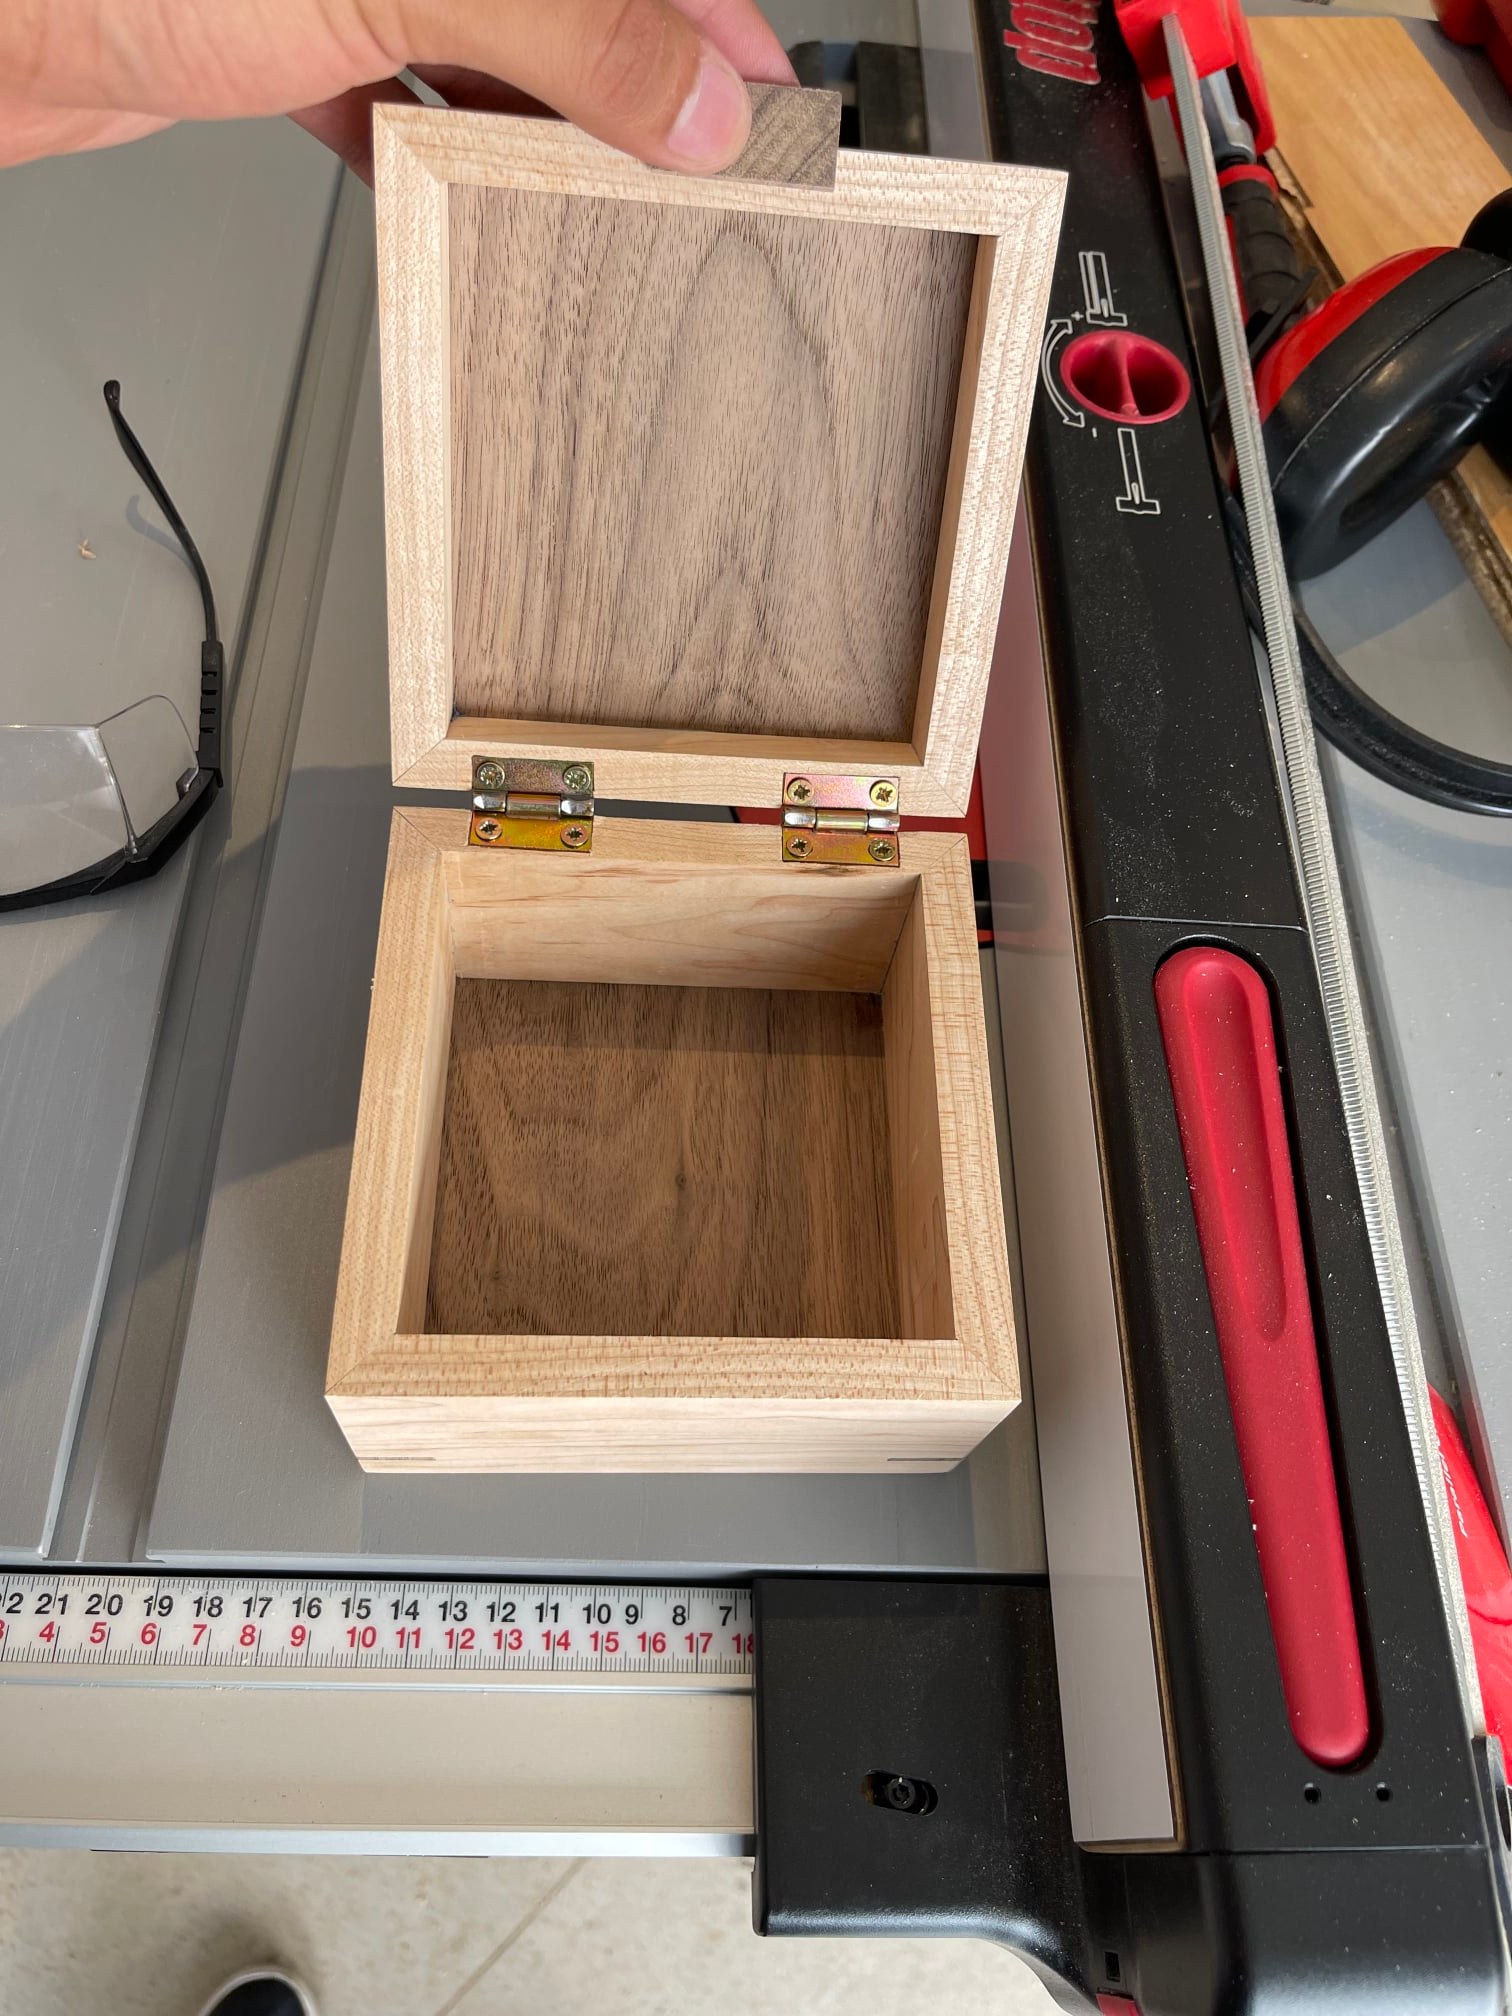
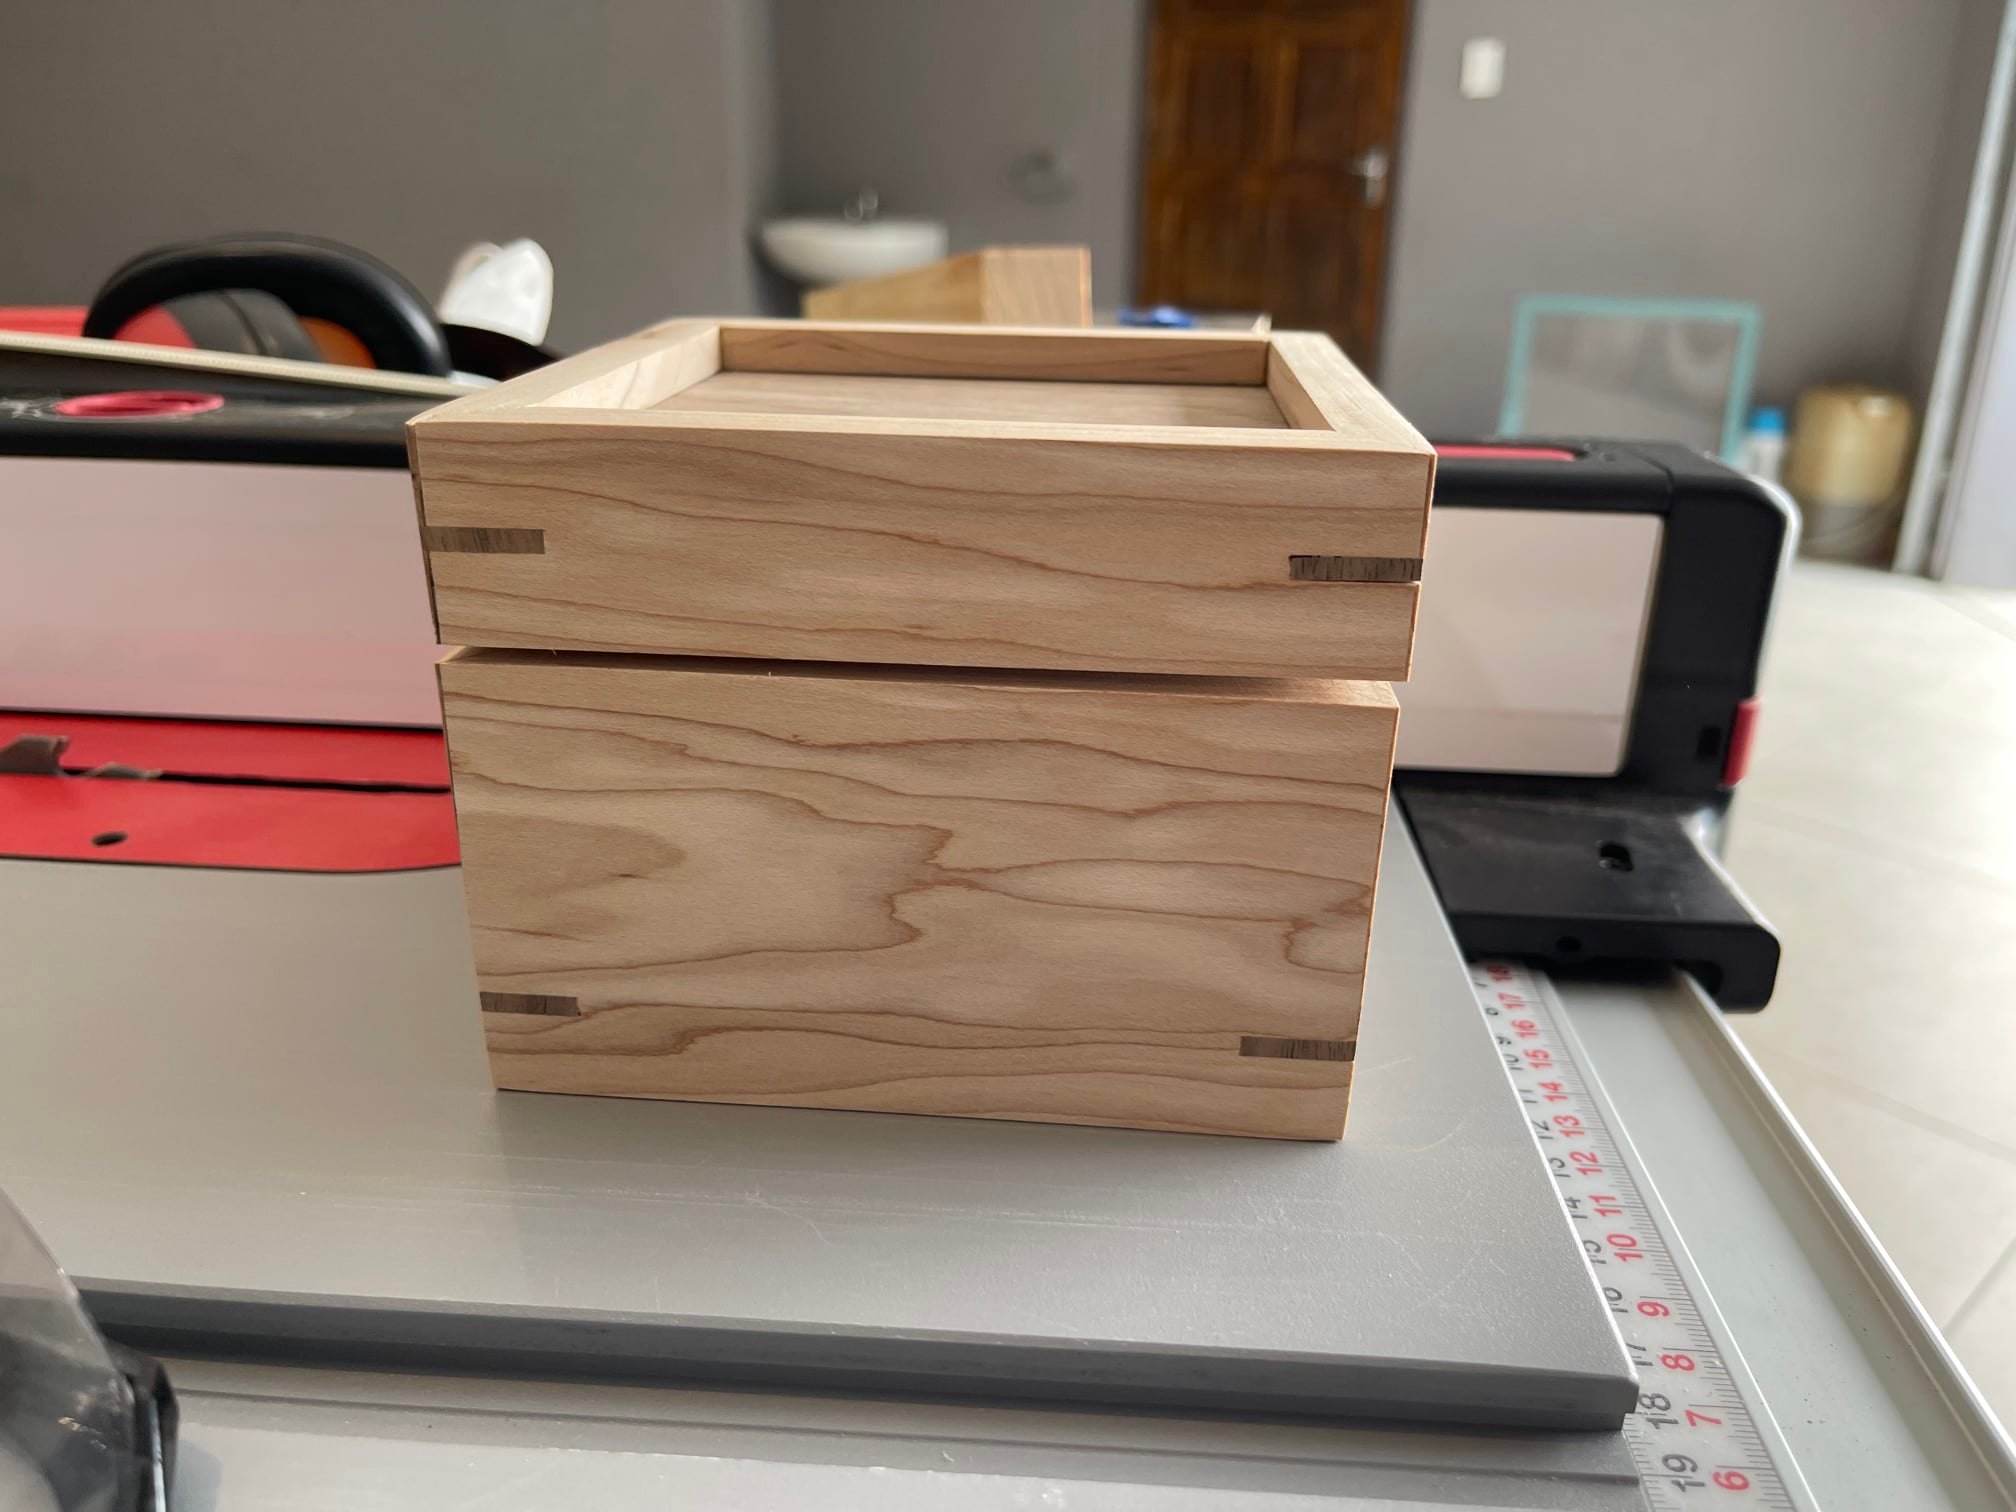
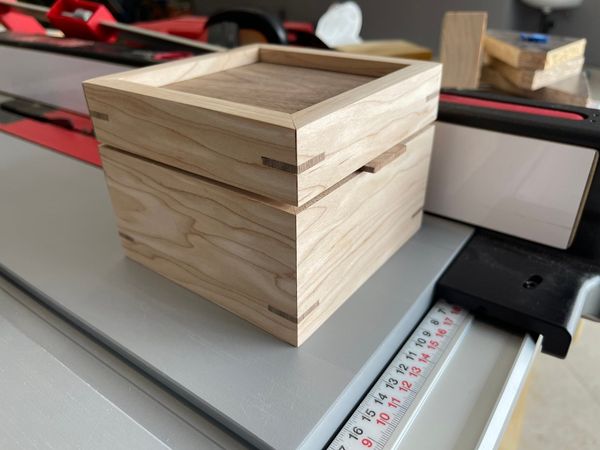
My first box as a new woodworker.
A valentines gift.
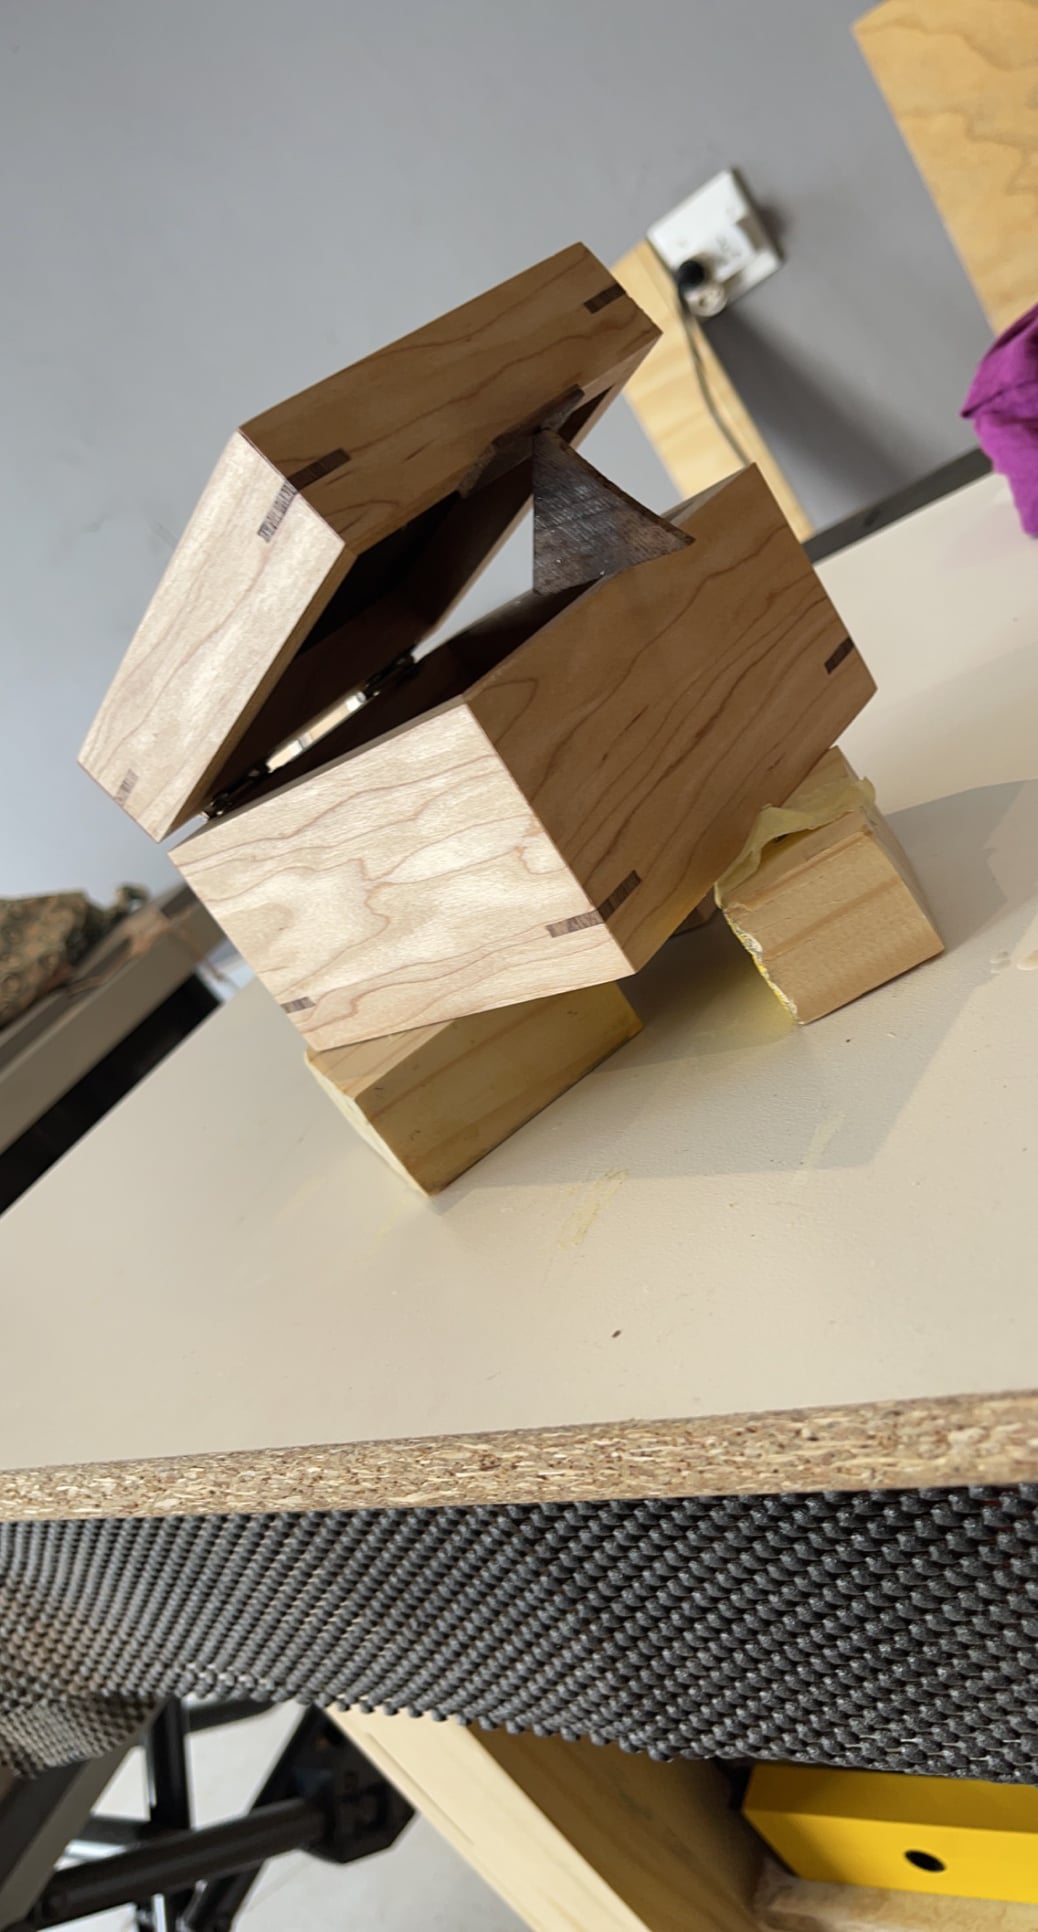
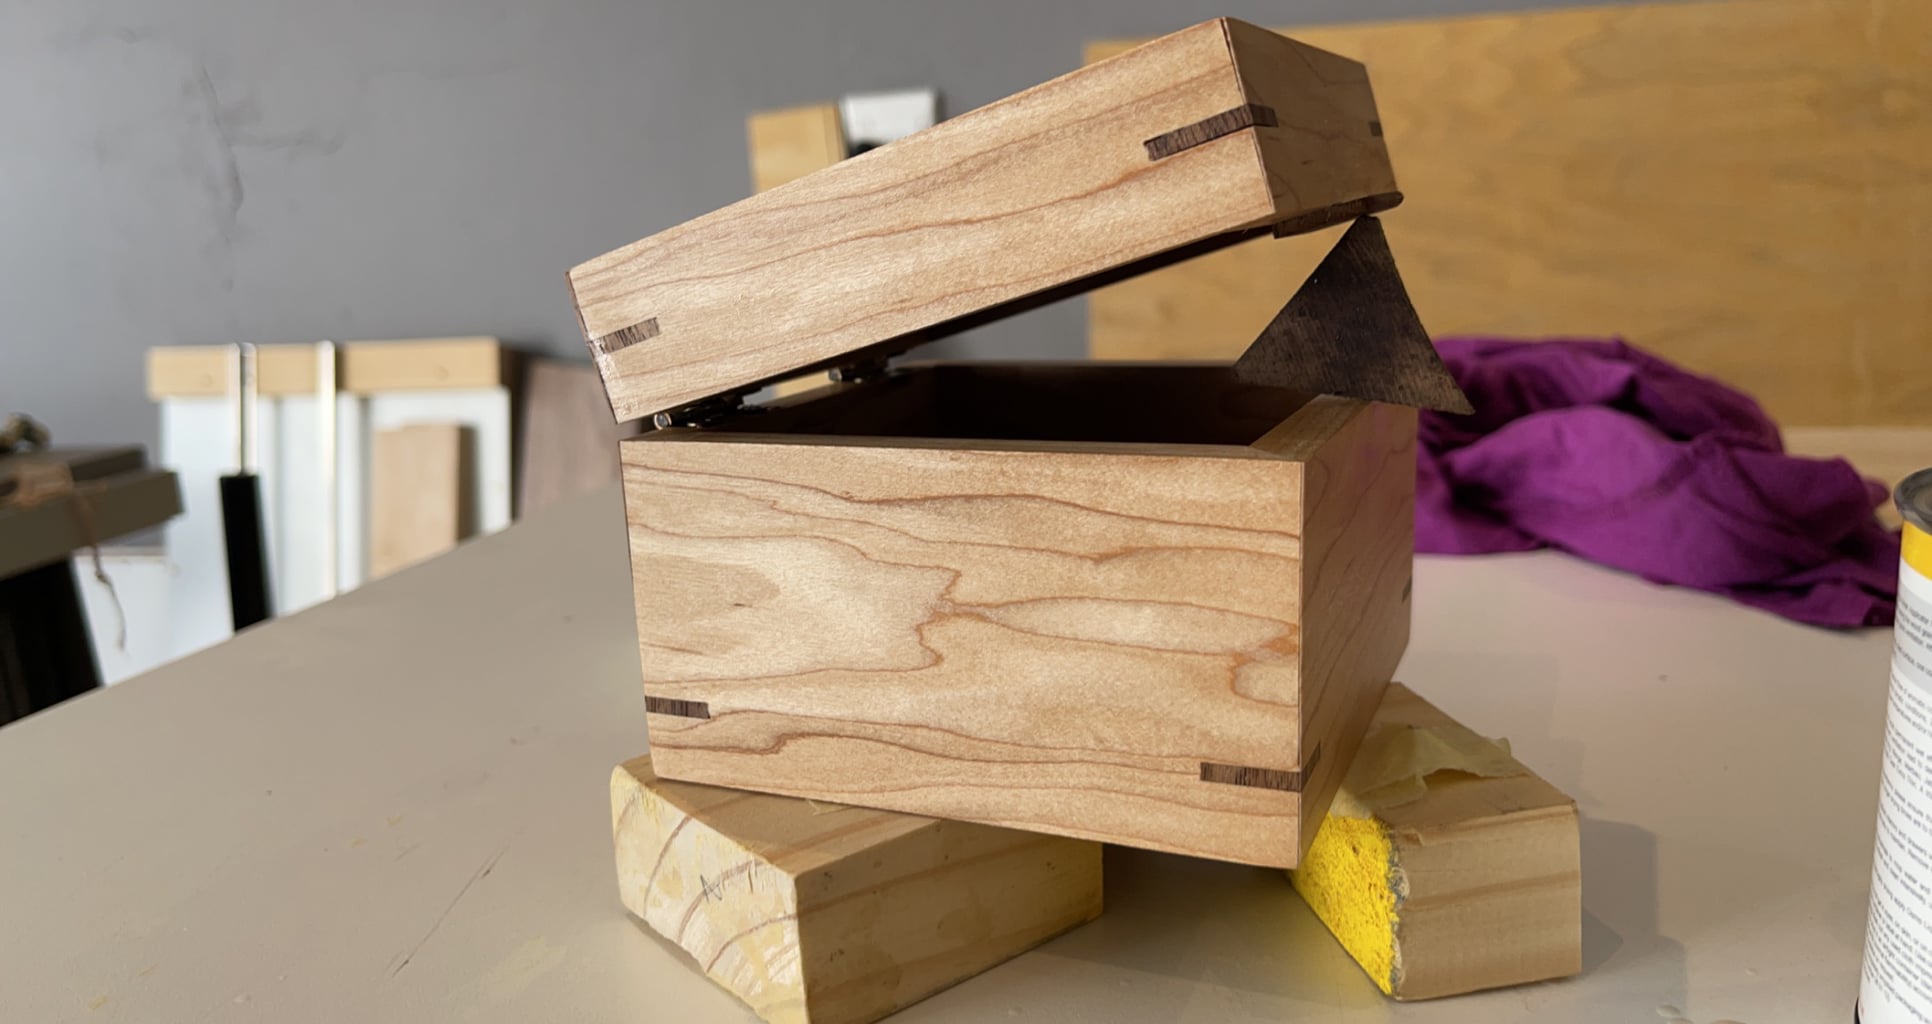
I started of with two small planks one of Walnut and the other of maple. Bought the planks surfaced on all sides but they had tear out and they were still warped. So I had to make a router sled as I don’t have a planer or thicknesser. Then had to resaw the boards on my table saw and surface it again.
Then setup my table saw to 45 degrees and cut the mitres. I then used the rip fence to cut the grooves for the top and bottom of the box. Used masking tape as clamps and glued the box together. Once the glue dried I used a 45 degree triangle of chipboard to hold the box at the right angle to cut the slots for the splines.
To cut the splines I used an easy method I found on YouTube where you run a board (reference board) through the table saw along the fence to make it perfectly fit the gap between the blade and fence. Then take the second board(has to have a perfect edge) and hold it against the first board and cut till about halfway by running along the fence.
The board now has a step, take the thinner piece of the board and hold it against the reference board leaving the wider part to protrude infront of the reference board. Run this through the table saw along the rip fence and it makes the perfect fitting spline for the blade kerf. The scariest part was after this when the splines were installed and I needed to cut the lid of the box off. Did this by running it through the table saw on each side and temporarily using the spline material and tape to hold the box together until all sides were cut. Mortised the hinges with a chisel (almost splitting the box completely). Placed a small tab to open the box and give the shadow line then lastly finished the box with some osmo Polyx oil in Matt clear.
Fᴏʀ Tʜᴇ Lᴏᴠᴇ Oꜰ Wᴏᴏᴅᴡᴏʀᴋɪɴɢ
???? ????’? ????? ???? ??? ???????????:
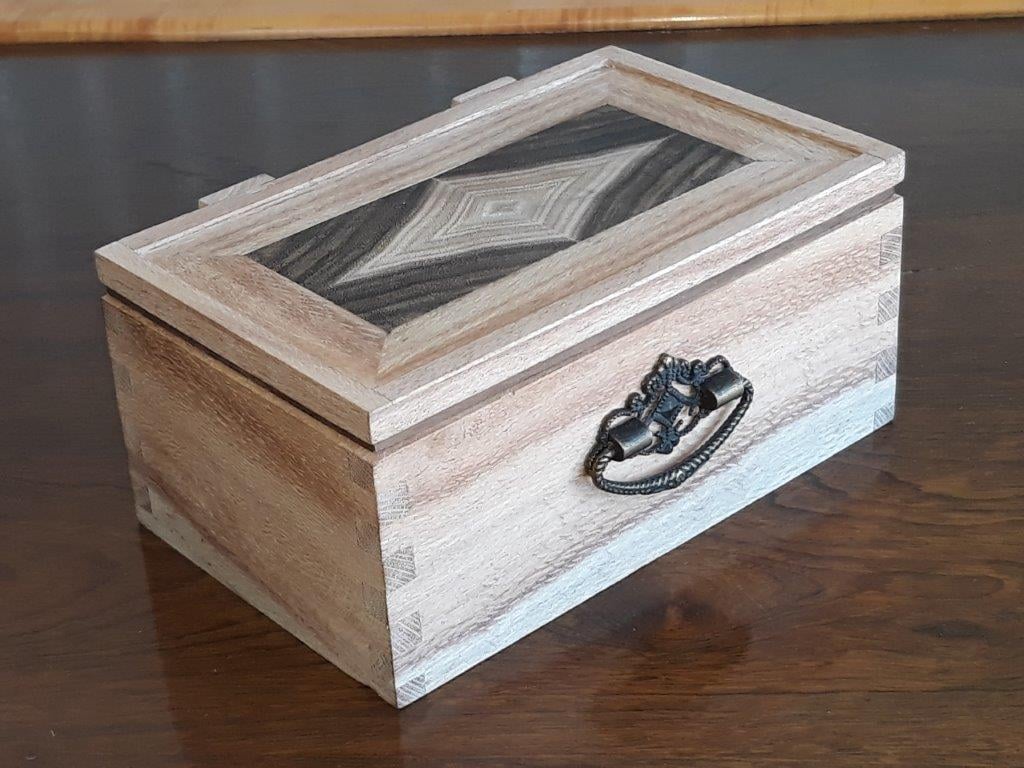
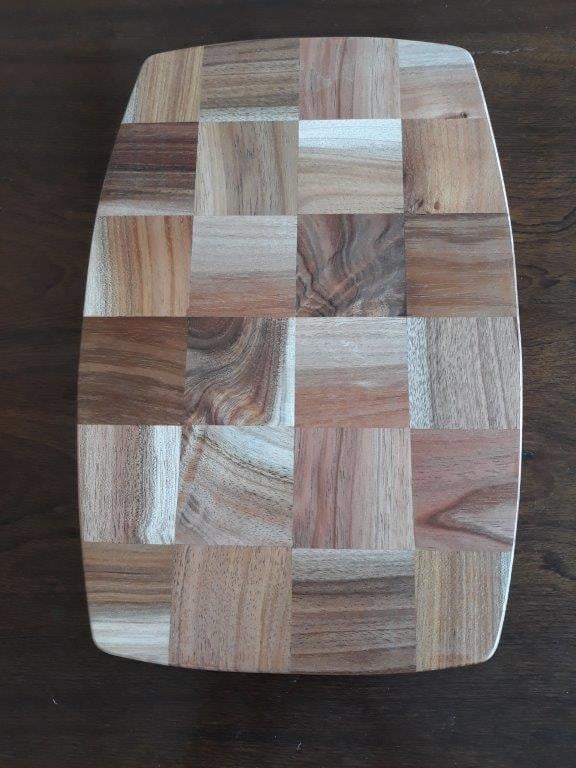
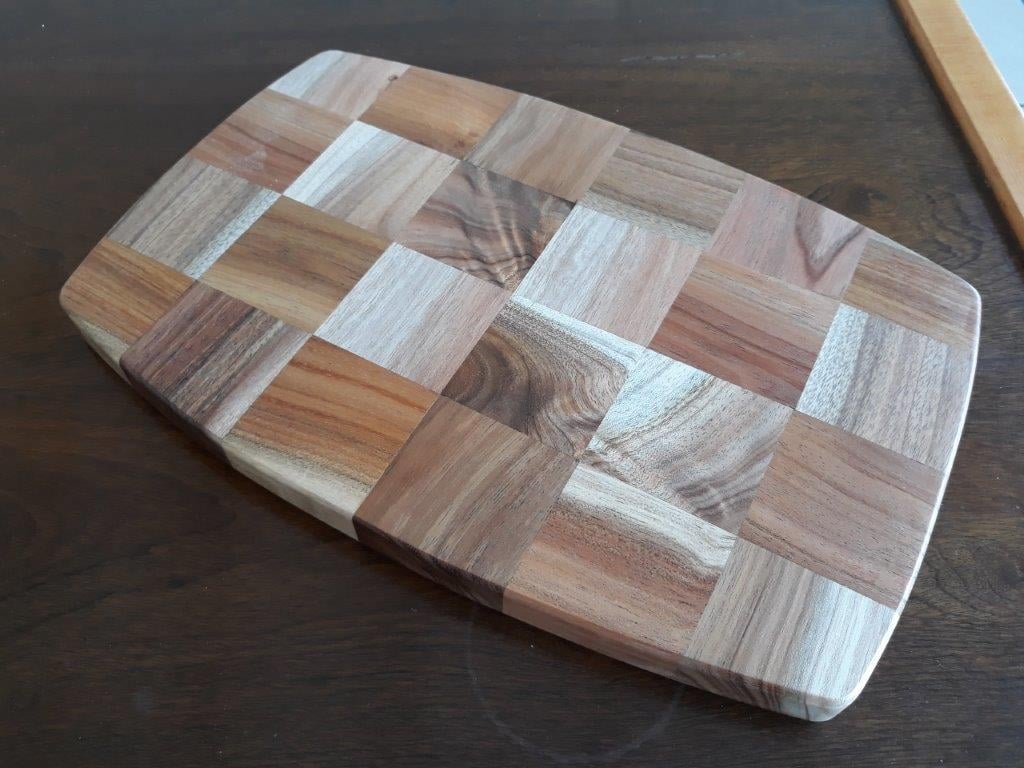
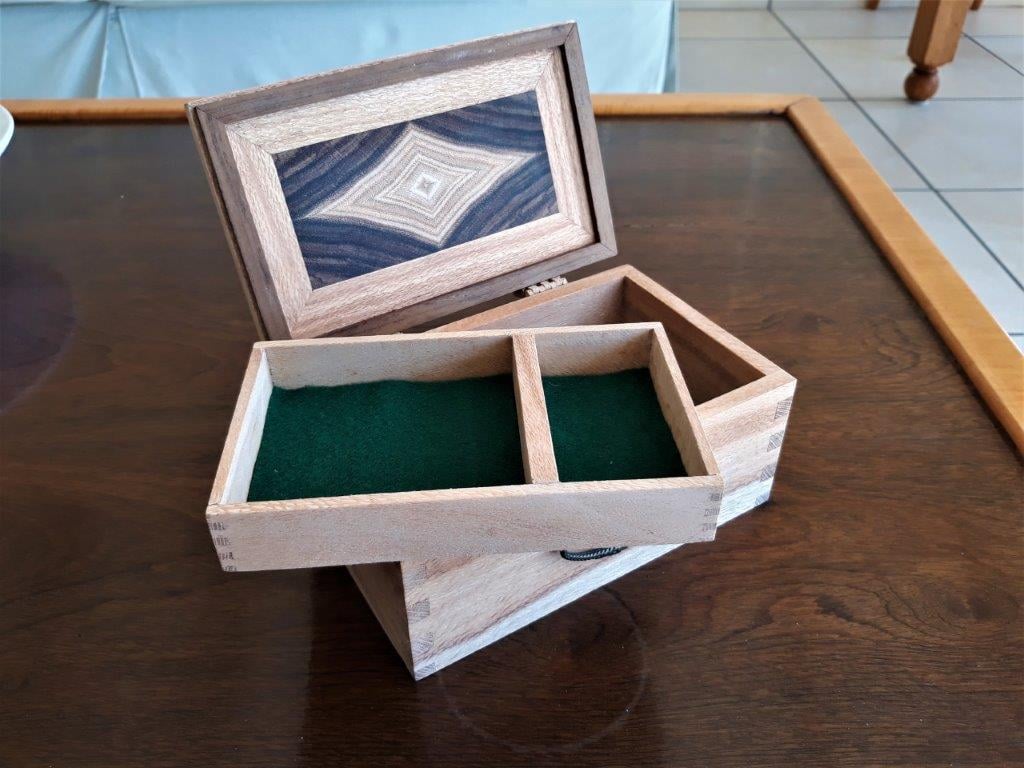
Attached please see my 2 x entries for the Tools4Wood Competition.
1) Jewellery Box for my granddaughter made from silky oak with an inlay of black wood end grain formed in a star configuration. Leaves of wooden hinges have been made
from silky oak using toothpicks for the knuckles. Hinges have been attached to the box with imbuia “studs”
2) Cutting Board for my daughter, made from 55mm squares of black wood. All squares have been joined by means of biscuits to prevent any future warping.
Thank you for the opportunity to enter into this competition.
Fᴏʀ Tʜᴇ Lᴏᴠᴇ Oꜰ Wᴏᴏᴅᴡᴏʀᴋɪɴɢ
???? ???????’? ????? ???? ??? ???????????:
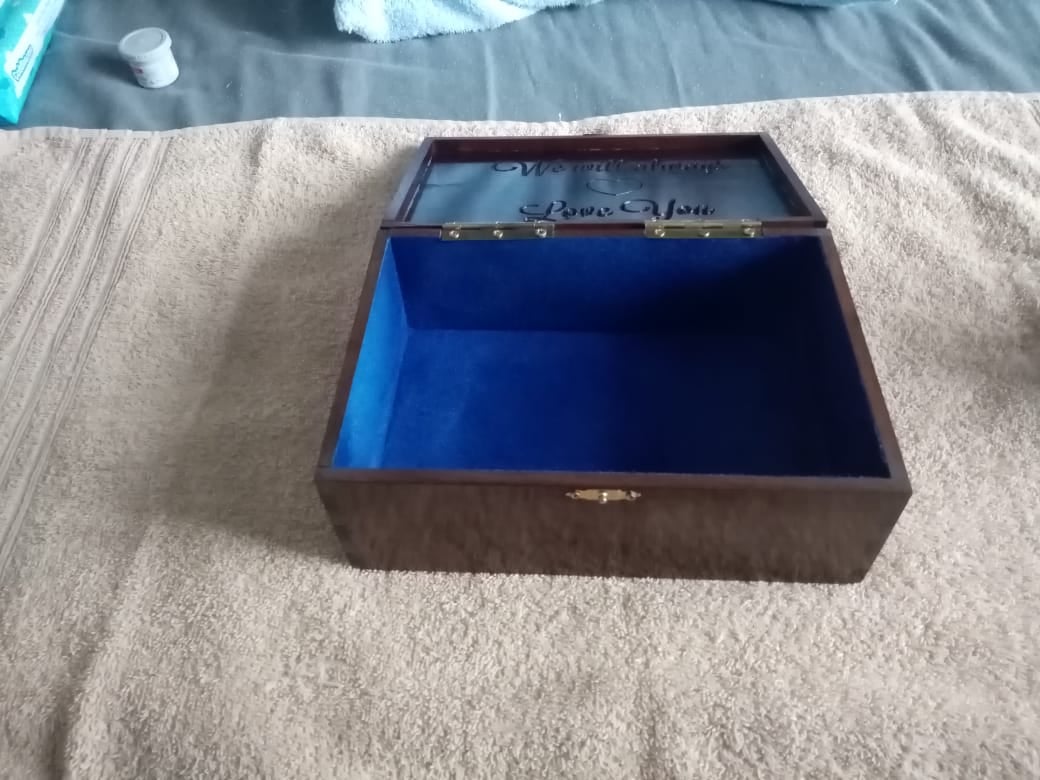
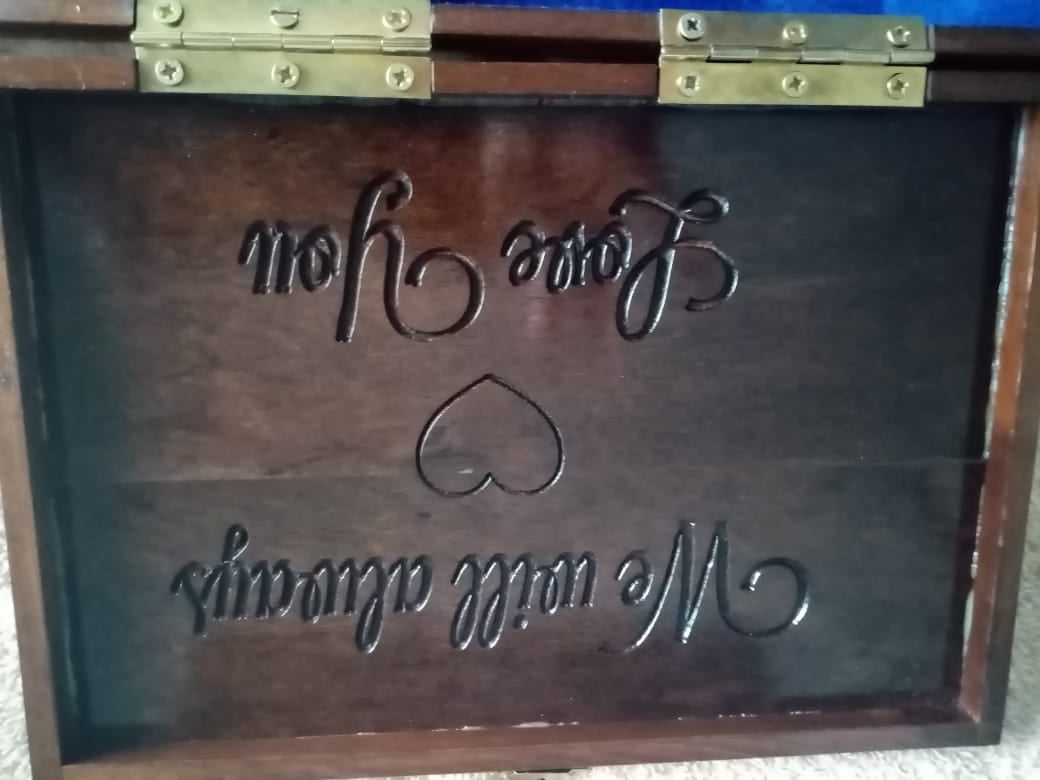
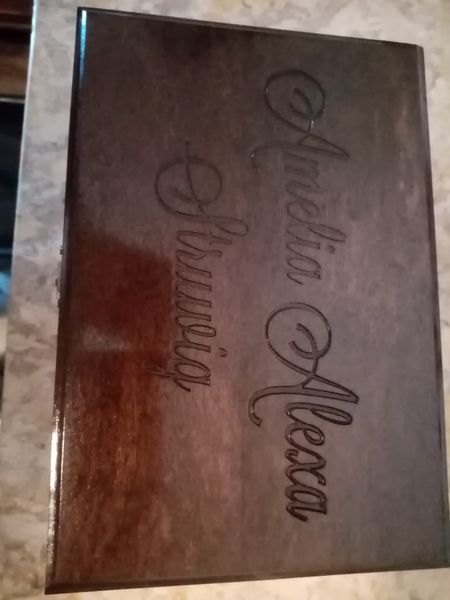
The box was made for my Granddaughter out of imbuia. The box was joined together with my triton finger jointer. The carving was done on a CNC router. The inside was done with blue flocking.
