Repairing a Broken Wooden Statue
Posted by Siphesihle Hato in How To Guides
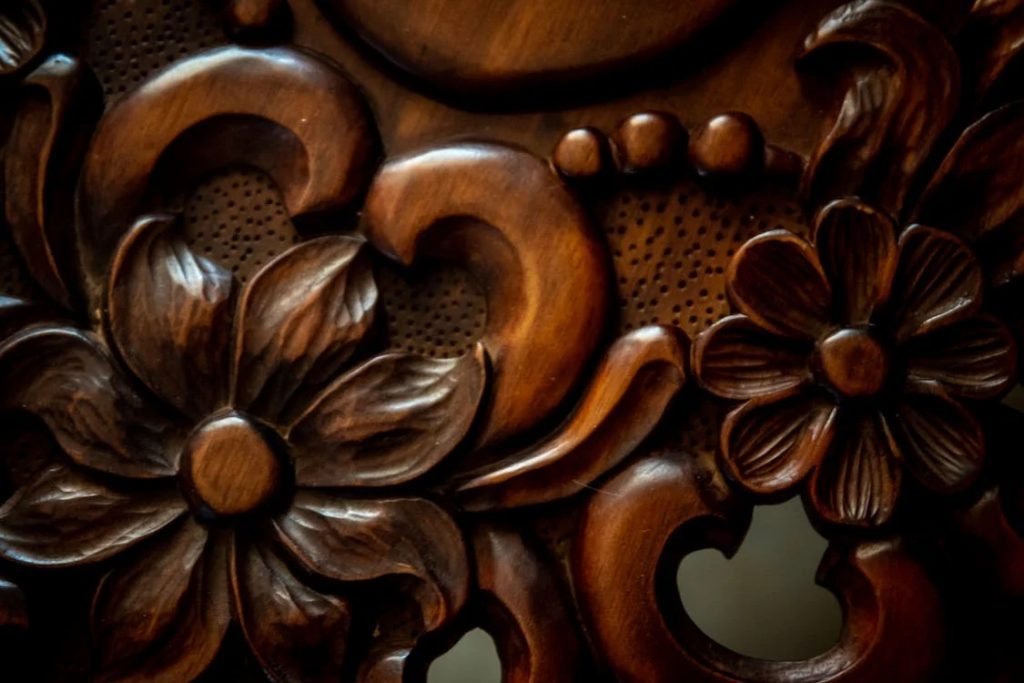
Many skills are required for carving. The obvious disciplines for carvers include sculpting, painting, engineering, designing, and more. Carvers should be capable of minor repairs. Damage and repairs are unpleasant to consider since they represent a setback or at the very least a break in the carving process. Several techniques are used to repair damaged carvings. A carving in progress requires a few simple adjustments. Repairs ought to be long-lasting and undetectable. It is better to make unseen repairs. Repairs should be made with the same care as other carving procedures because they might diminish a carving’s aesthetic appeal.
Matching the carving’s texture to the mended region so the barbed lines don’t break is my hardest repair. Texture and damage determine treatment. Epoxy fillers and inserts are used for most basic repairs. Epoxies vary in machineability. The heat from a burning pen melts and crumbles most epoxies, making charred texture difficult. Most bonding epoxies don’t replace stoned or scorched texture. Knowing which epoxy to use for a repair reduces frustration and lost time.
Woodcarving Repair
 A part of the carving includes repairs. Do not squander time assuming the sculpture is damaged. Choose the best invisible solution instead. While some repairs are simple, others need more creativity. Keep in mind that once the carving is finished and the damage is concealed, the time and effort put into the restoration will pay off.
Quikwood, and Quick-Cure Epoxy are used for repairs.
FIXING
Repairs are part of the carving. Stop wasting time presuming that the sculpture is broken. Instead, choose for the best undetectable solution. While some fixes are straightforward, others require more imagination. Remember that the time and effort put into the restoration will pay off after the carving is finished and the damage is hidden.
All three are “two-part” epoxies with a resin and hardener. Quikwood is a stick of resin and hardener. Cut the desired amount off the stick with a knife and knead until the two parts form a putty-like consistency. Quikwood repairs stone-textured areas. After hardening, this material machines nicely and can replicate a bird’s stoned texture. Water-soluble until hardened, this material sets up in 15 minutes. I have not tried to burn this material with a burning pen, as other carvers do.

The taller bottles on the left contain five-minute Quick-Cure Epoxy. Mixing equal volumes of resin and hardener on a level surface creates a thick liquid with three to five minutes of open time. This clear epoxy bonds wood and non-wood.
The right bit and tool speed can shape or remove any of the three epoxy kinds with a grinder. Due to heat from bit-epoxy friction, all epoxies perform poorly at higher grinding speeds. Heat softens epoxy, clogging almost any bit. Slower grinding rates reduce heat and cut or abrade better.
Carbide cutters work effectively for bulk removal. Carbide cutters accelerate material removal since the grinding speed is modest. Sharp, pointed tools clean “toothed” bits like carbide cutters and stump cutters.
The carbide cutter and bud-shaped stump cutter perform well for bulk removal and clean easily.
Two flame-shaped diamond bits with medium grit form cured putty-like epoxies well. Diamond bits need a slower grinding speed because their abrasive surface can easily load with epoxy. Light strokes, low rpm, and patience yield great results. Acetone or foam oven cleaning can clean these parts if they pile up (with proper ventilation).
Ceramic stone rods are solid 3/32″ diameter rods with diamond lap stone inverted cone ends. This bit grinds barb lines well. Control and form modification is simple. By grinding microscopic grooves in the inverted cone, the ceramic stone rod may be controlled better. Grind grooves using a safe-end, fine-grit diamond. The grooves leave tiny teeth on the cone’s edge. These teeth make the bit slightly more aggressive and simpler to manage when stroking from wood to epoxy. I put four evenly spaced grooves around the cone.
A slightly inverted cone-shaped synthetic stone is another good texturing tool. The ceramic stone rod and synthetic stone bit texture Quikwood epoxy nicely.
Comments
Add comment