Organise your Bathroom
Posted by jasonmain in Project Plans
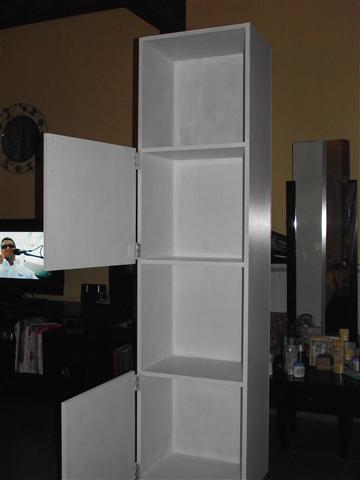
Our bathroom had an excuse for a bathroom cabinet. Actually, you couldn’t call it a cabinet; it was a plastic thing with holes in it. Alta and I became so frustrated with it because it was too small and everything was disorganised. This prompted me to build a decent bathroom cabinet.

DIFFICULTY: Easy
ESTIMATED TIME: A weekend.
COST: R1000.00
MATERIALS AND TOOLS:
- Tape measure
- Adjustable square
- Pencil
- Drill, drill bits and screwdriver bits
- Clamps
- Paint roller
- Paintbrush
- 2.90 square metres of MDF
- Glue
- Screws
- Primer
- Topcoat
- Wood filler
CUTTING LIST:
- One length 1 760mm x 450mm
- Two lengths 1 760mm x 300mm
- Two lengths 450mm x 452mm
- Five lengths 418mm x 300mm

Step 1:
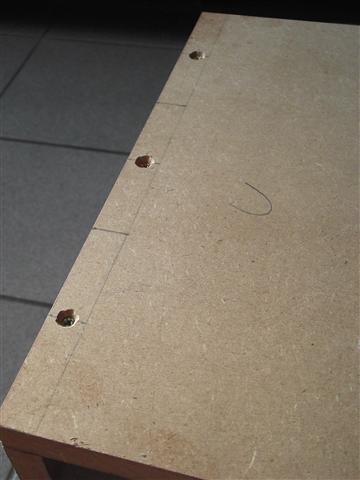
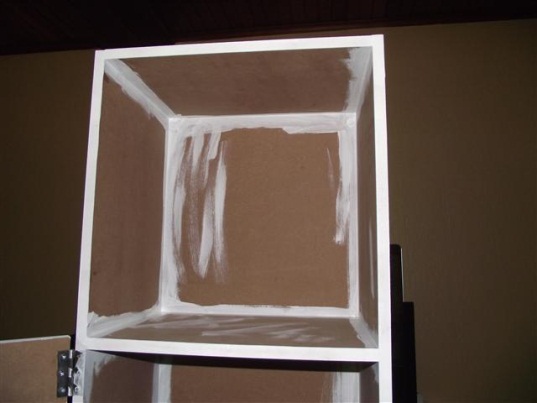
Construct a large rectangle by putting the sides, top and bottom together. The top and bottom should go between the two sides. Therefore, screw the face of the sides to the edges of the top and bottom pieces. The width of the sides is 300mm, so drill 3mm pilot holes at the 50mm, 150mm and 250mm marks.This will prevent the edge of the top and bottom parts from splitting when the screws are attached.
Countersink each of the holes to enable the screw heads to go below the wood’s surface. Put some wood glue on the edges of the top and bottom pieces and place them against the face of the sides. Once everything is flush, screw it all together. I used 3.5mm screws.
Step 2:
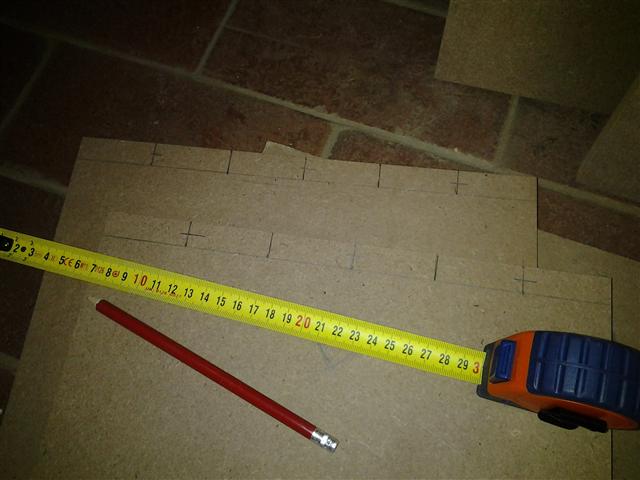
Before the three shelves can be installed, you first need to mark where they should go. The distance between the shelves is 420mm.
From the inside of the top piece measure 420mm downwards on both sides and mark it. With the rectangle standing on the bottom piece, place the first shelf in place and secure it with a clamp. Do not make the clamp too tight as you will need to make adjustments to the shelf to get it level. Once the shelf is level, drill pilot holes through the sides and countersink the holes again.
Now secure the shelf in place by screwing it to the sides. To get the mark for the second shelf, measure 420mm downwards from the inside of the first shelf. Once the second shelf is in place, do the same for the third shelf.
Step 3:
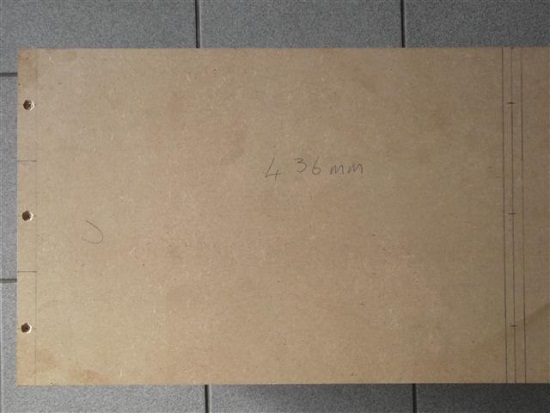
For the backboard choose which side you want as the front and place it on the ground with the back facing upwards. Put some wood glue all around the edge of the cabinet as well as on the edges of the shelves. Now place the backboard onto the cabinet. Again drill 3mm pilot holes around the edge and where the backboard touches the shelves. Countersink these holes as well. Now fasten the backboard to the cabinet.
Step 4:
Flip the cabinet onto the backboard so you can attach the doors. This cabinet only has two doors; one at the bottom and the second at the top. Place the hinges on the edge of the cabinet’s side. Transfer the screw holes from the hinge onto the cabinet. Once again drill pilot holes and then fasten the hinge to the cabinet. Do this with all four hinges.
Step 5:
To get an indication of where the hinges should sit on the door, close the hinges and place the door on the hinges while making sure the door is flush with the cabinet all around. With a pencil, mark where the hinges sit on the inside of the door. Now take the door off and flip it over so the inside is facing upwards. Line up the hinges with the marks you made and transfer the screw holes onto the door. Drill pilot holes and screw the door in place.Remember to use shorter screws than before, otherwise they will push through the door.

Step 6:
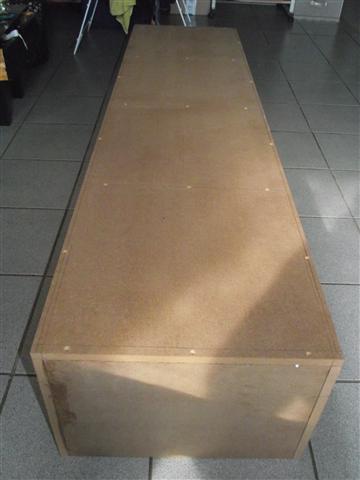
To get the placement for the feet draw a line 35mm inwards from the side all around the bottom of the cabinet. Drill pilot holes and once again use shorter screws to fasten the feet to the cabinet.
Step 7:
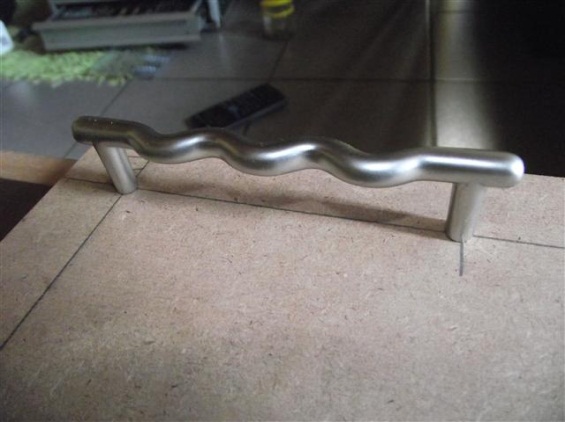
I placed the door handles in the top right-hand corner of the doors. Depending on the handles used, drill holes in the door the same distance as the screw holes of the handles. These were 100mm. With the holes drilled fasten the handles with the provided screws from the inside of the doors.
Step 8:
Time to prime. Because this cabinet will be standing in a bathroom that has a wet environment, the cabinet needs to be properly primed. We used Prominent Paints Ultra Prime. It is easier to first paint the inside corners with a small paintbrush and then move on to paint roller.
After applying the first coat of primer you will see that the wood underneath is still visible in some places. It is recommended to give it a second coat of primer. Leave the primer to dry for at least 18 hours.
Step 9:
Paint the bathroom cabinet in the colour of your choice.
* Tip!
Tip!
Before you start painting, cover all the trimmings, such as door handles, hinges and feet with masking tape to protect them from the paint.
Comments
Add comment