Optimizing Bandsaw Performance: A Guide to Properly Tensioning a Bandsaw Blade

A bandsaw is a versatile and indispensable tool in any woodworking shop, capable of making intricate cuts and curves with precision. However, to harness the full potential of a bandsaw and achieve optimal results, proper blade tensioning is essential. In this guide, we’ll explore the importance of tensioning a bandsaw blade correctly and provide step-by-step instructions for achieving the ideal tension.
Understanding the Importance of Blade Tension:
Blade tension is critical for bandsaw performance and cutting accuracy. Insufficient tension can lead to blade flutter, wandering cuts, and premature blade wear, while excessive tension can cause blade breakage and strain on the saw’s components. Proper tension ensures that the blade tracks correctly and maintains consistent contact with the wheels, resulting in smooth, precise cuts.
Assessing Blade Tension:
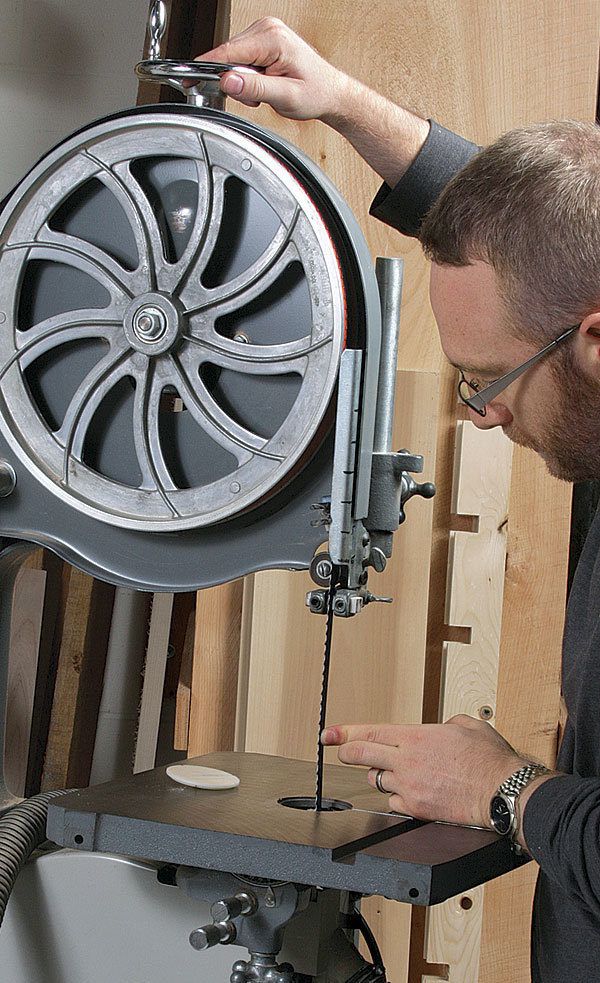
Before tensioning the blade, it’s essential to assess its current tension. Start by releasing tension on the blade tensioning mechanism and tapping the blade lightly with a finger. A properly tensioned blade should produce a clear, distinct “ping” sound. If the blade feels loose or produces a dull thud, it indicates insufficient tension and requires adjustment.
 Step-by-Step Tensioning Process:
- Turn off the Bandsaw: Ensure the bandsaw is powered off and unplugged before attempting to tension the blade. This prevents accidental activation of the saw and minimizes the risk of injury.
- Loosen the Blade: Use the tensioning knob or lever to release tension on the blade, allowing it to slacken. This step makes it easier to install the blade and adjust tension accurately.
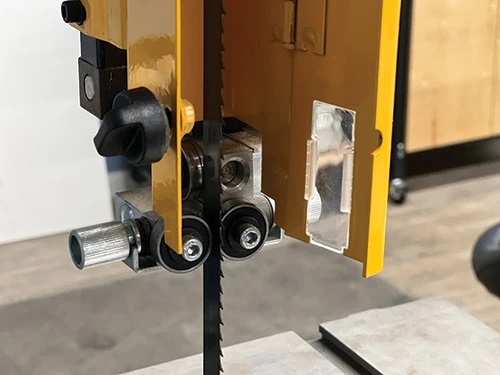
- Install the Blade: Carefully position the blade on the bandsaw wheels, ensuring it sits properly in the wheel grooves and around the guides and tensioning mechanism.
- Apply Tension: Gradually increase tension on the blade using the tensioning knob or lever. Monitor the tension gauge or tensioning spring to achieve the manufacturer-recommended tension level for your blade size and material.
- Check Tension: Once tensioned, tap the blade lightly with a finger to confirm proper tension. Listen for the desired “ping” sound, indicating that the blade is correctly tensioned.
- Fine-Tune Tension: Make small adjustments to the tension as needed to achieve optimal blade performance. Avoid over-tensioning the blade, as this can lead to stress on the saw’s components and reduced blade life.
- Test Cuts: After tensioning the blade, perform test cuts on scrap wood to ensure the bandsaw tracks correctly and produces smooth, accurate cuts. Make any necessary adjustments to blade tension or tracking to achieve desired results.
By following these steps and paying close attention to blade tension, woodworkers can maximize the performance and longevity of their bandsaw blades, resulting in cleaner cuts, reduced blade wear, and overall improved woodworking efficiency. Proper tensioning is a fundamental aspect of bandsaw maintenance that should not be overlooked, as it directly impacts the quality of work produced and the lifespan of the saw’s components.
Comments
Add comment