What is Chip Carving?
Posted by Siphesihle Hato in Encyclopedia of Woodworking
Chip carving is a traditional woodworking technique that involves removing small chips or “chips” from a wooden surface to create intricate designs and patterns. This ancient craft has been practiced for centuries and continues to be popular among woodworkers and artisans. If you’re interested in learning chip carving, here’s a beginner’s guide to help you get started.
- Understanding Chip Carving
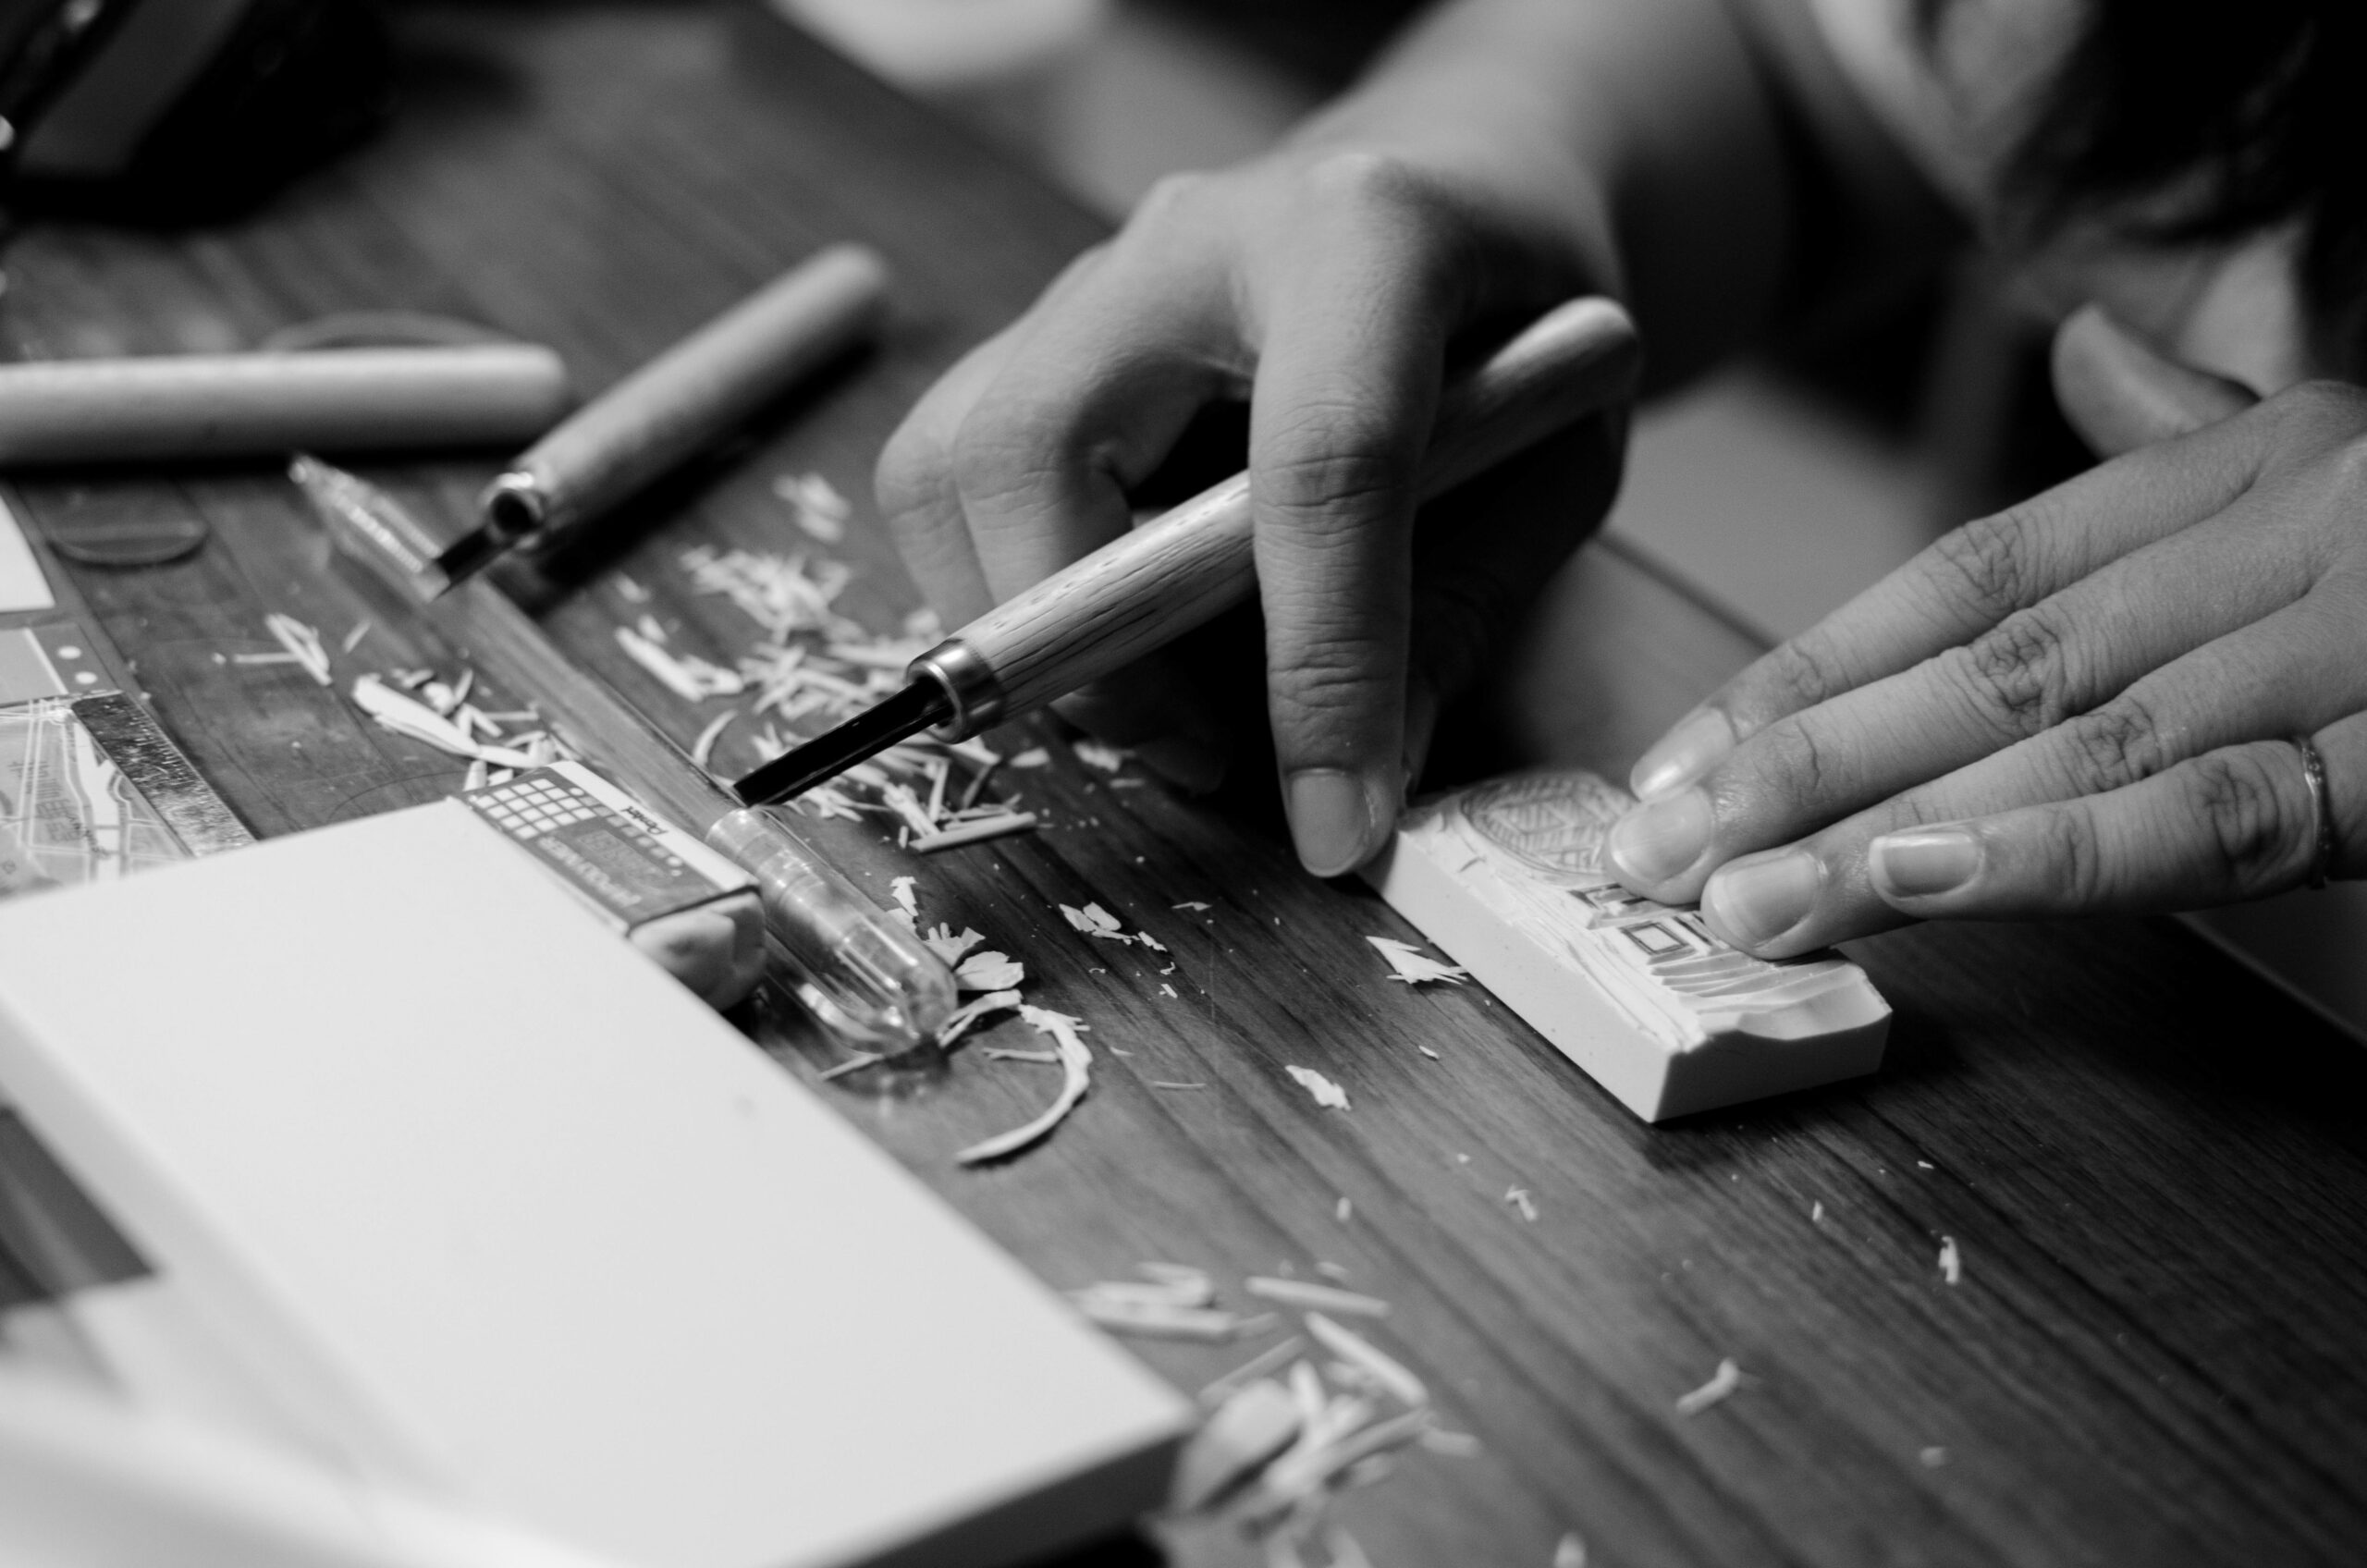
Chip carving is a form of relief carving where triangular or trapezoidal chips are removed from a wooden surface using a carving knife or chisel. The depth of the cuts determines the contrast and texture of the design. This technique is often used to embellish boxes, furniture, and decorative objects with geometric patterns, floral motifs, and intricate designs.
- Essential Tools and Materials
To begin chip carving, you’ll need the following tools and materials:
- Wood: Choose a smooth, straight-grained hardwood such as basswood, butternut, or cherry for chip carving. Avoid woods with pronounced grain patterns that may interfere with delicate cuts.
- Carving Knife: Select a sharp, precision carving knife with a thin, angled blade. Chip carving knives typically have a triangular blade shape designed for making precise cuts.
- Sharpening Supplies: Keep your carving knife sharp with a sharpening stone or strop. Sharp tools are essential for clean and accurate cuts.
- Layout Tools: Use a pencil, ruler, and compass to sketch and layout your design on the wood surface before carving.
- Safety Gear: Wear safety goggles and a carving glove to protect your eyes and hands from sharp tools and flying wood chips.

- Basic Techniques
Begin by practicing basic chip carving techniques:
- Incised Lines: Make shallow, straight cuts along the design lines using the tip of your carving knife. These incised lines serve as guidelines for removing chips.
- Chip Removal: Position the blade of your carving knife at a shallow angle to the wood surface and gently push or pull to remove chips along the design lines. Start with small, controlled cuts to avoid overcutting.
- Stop Cuts: Create stop cuts at the ends of design elements to prevent chips from splintering beyond the intended area. Make a small perpendicular cut at the end of a design line before removing the chip.
- Practice Board: Use a practice board to experiment with different cuts, angles, and designs before working on your final project. This helps refine your technique and gain confidence.
- Design Ideas
Explore different design ideas and patterns for chip carving:
- Geometric Patterns: Create intricate geometric patterns such as diamonds, triangles, squares, and circles using repetitive chip cuts.
- Borders and Frames: Add decorative borders, frames, and edging to wooden objects like boxes, trays, and panels.
- Floral Motifs: Incorporate floral motifs, leaves, and vines into your designs for a natural and organic look.
- Lettering and Monograms: Practice chip carving letters, numbers, and monograms to personalize your woodworking projects.
- Finishing and Care
Once you’ve completed your chip carving design, sand the surface lightly to remove any rough edges or tool marks. Apply a wood finish or sealant to protect the carved surface and enhance the natural beauty of the wood. Regularly maintain and sharpen your carving tools to ensure clean and precise cuts for future projects.
Chip carving is a rewarding and meditative woodworking technique that allows you to create intricate and beautiful designs on wood surfaces. With practice, patience, and attention to detail, you can master chip carving and add a unique decorative touch to your woodworking projects.
Comments
Add comment