Use The Full Capabilities Of Your Router Table
Posted by Siphesihle Hato in Encyclopedia of Woodworking
A router table is an indispensable asset in any woodworking shop, offering enhanced precision and versatility for a variety of tasks. To maximize its potential and ensure safety, consider the following tips and techniques:
- Create Custom Moldings
One of the standout advantages of a router table is the ability to craft your own moldings. By setting up the appropriate bit and using featherboards to hold the workpiece securely against the fence, you can produce smooth, burn-free moldings. It’s crucial to feed the board at a steady rate to avoid burn marks, adjusting the feed based on the bit type and wood species.
- Prioritize Safety
Given the high-speed rotation of router bits, safety should always be paramount. Essential safety practices include:
- Unplugging the router when changing bits.
- Ensuring the bit is properly seated in the collet, with at least two-thirds of the shank engaged.
- Using protective guards, safety glasses, and hearing protection.
- Utilizing featherboards and push sticks to keep fingers away from the bit.
- Feeding workpieces from right to left against the fence and moving them counterclockwise around a piloted bit.
Additionally, avoid positioning the fence so that the workpiece is trapped between it and the bit.
- Rout End Grain with Precision
Shaping end grain can be challenging, but a router table simplifies this process. By employing a square push block, you can stabilize narrow workpieces, allowing for clean cuts without tear-out. This method also permits the use of non-bearing-guided bits, expanding your routing possibilities.
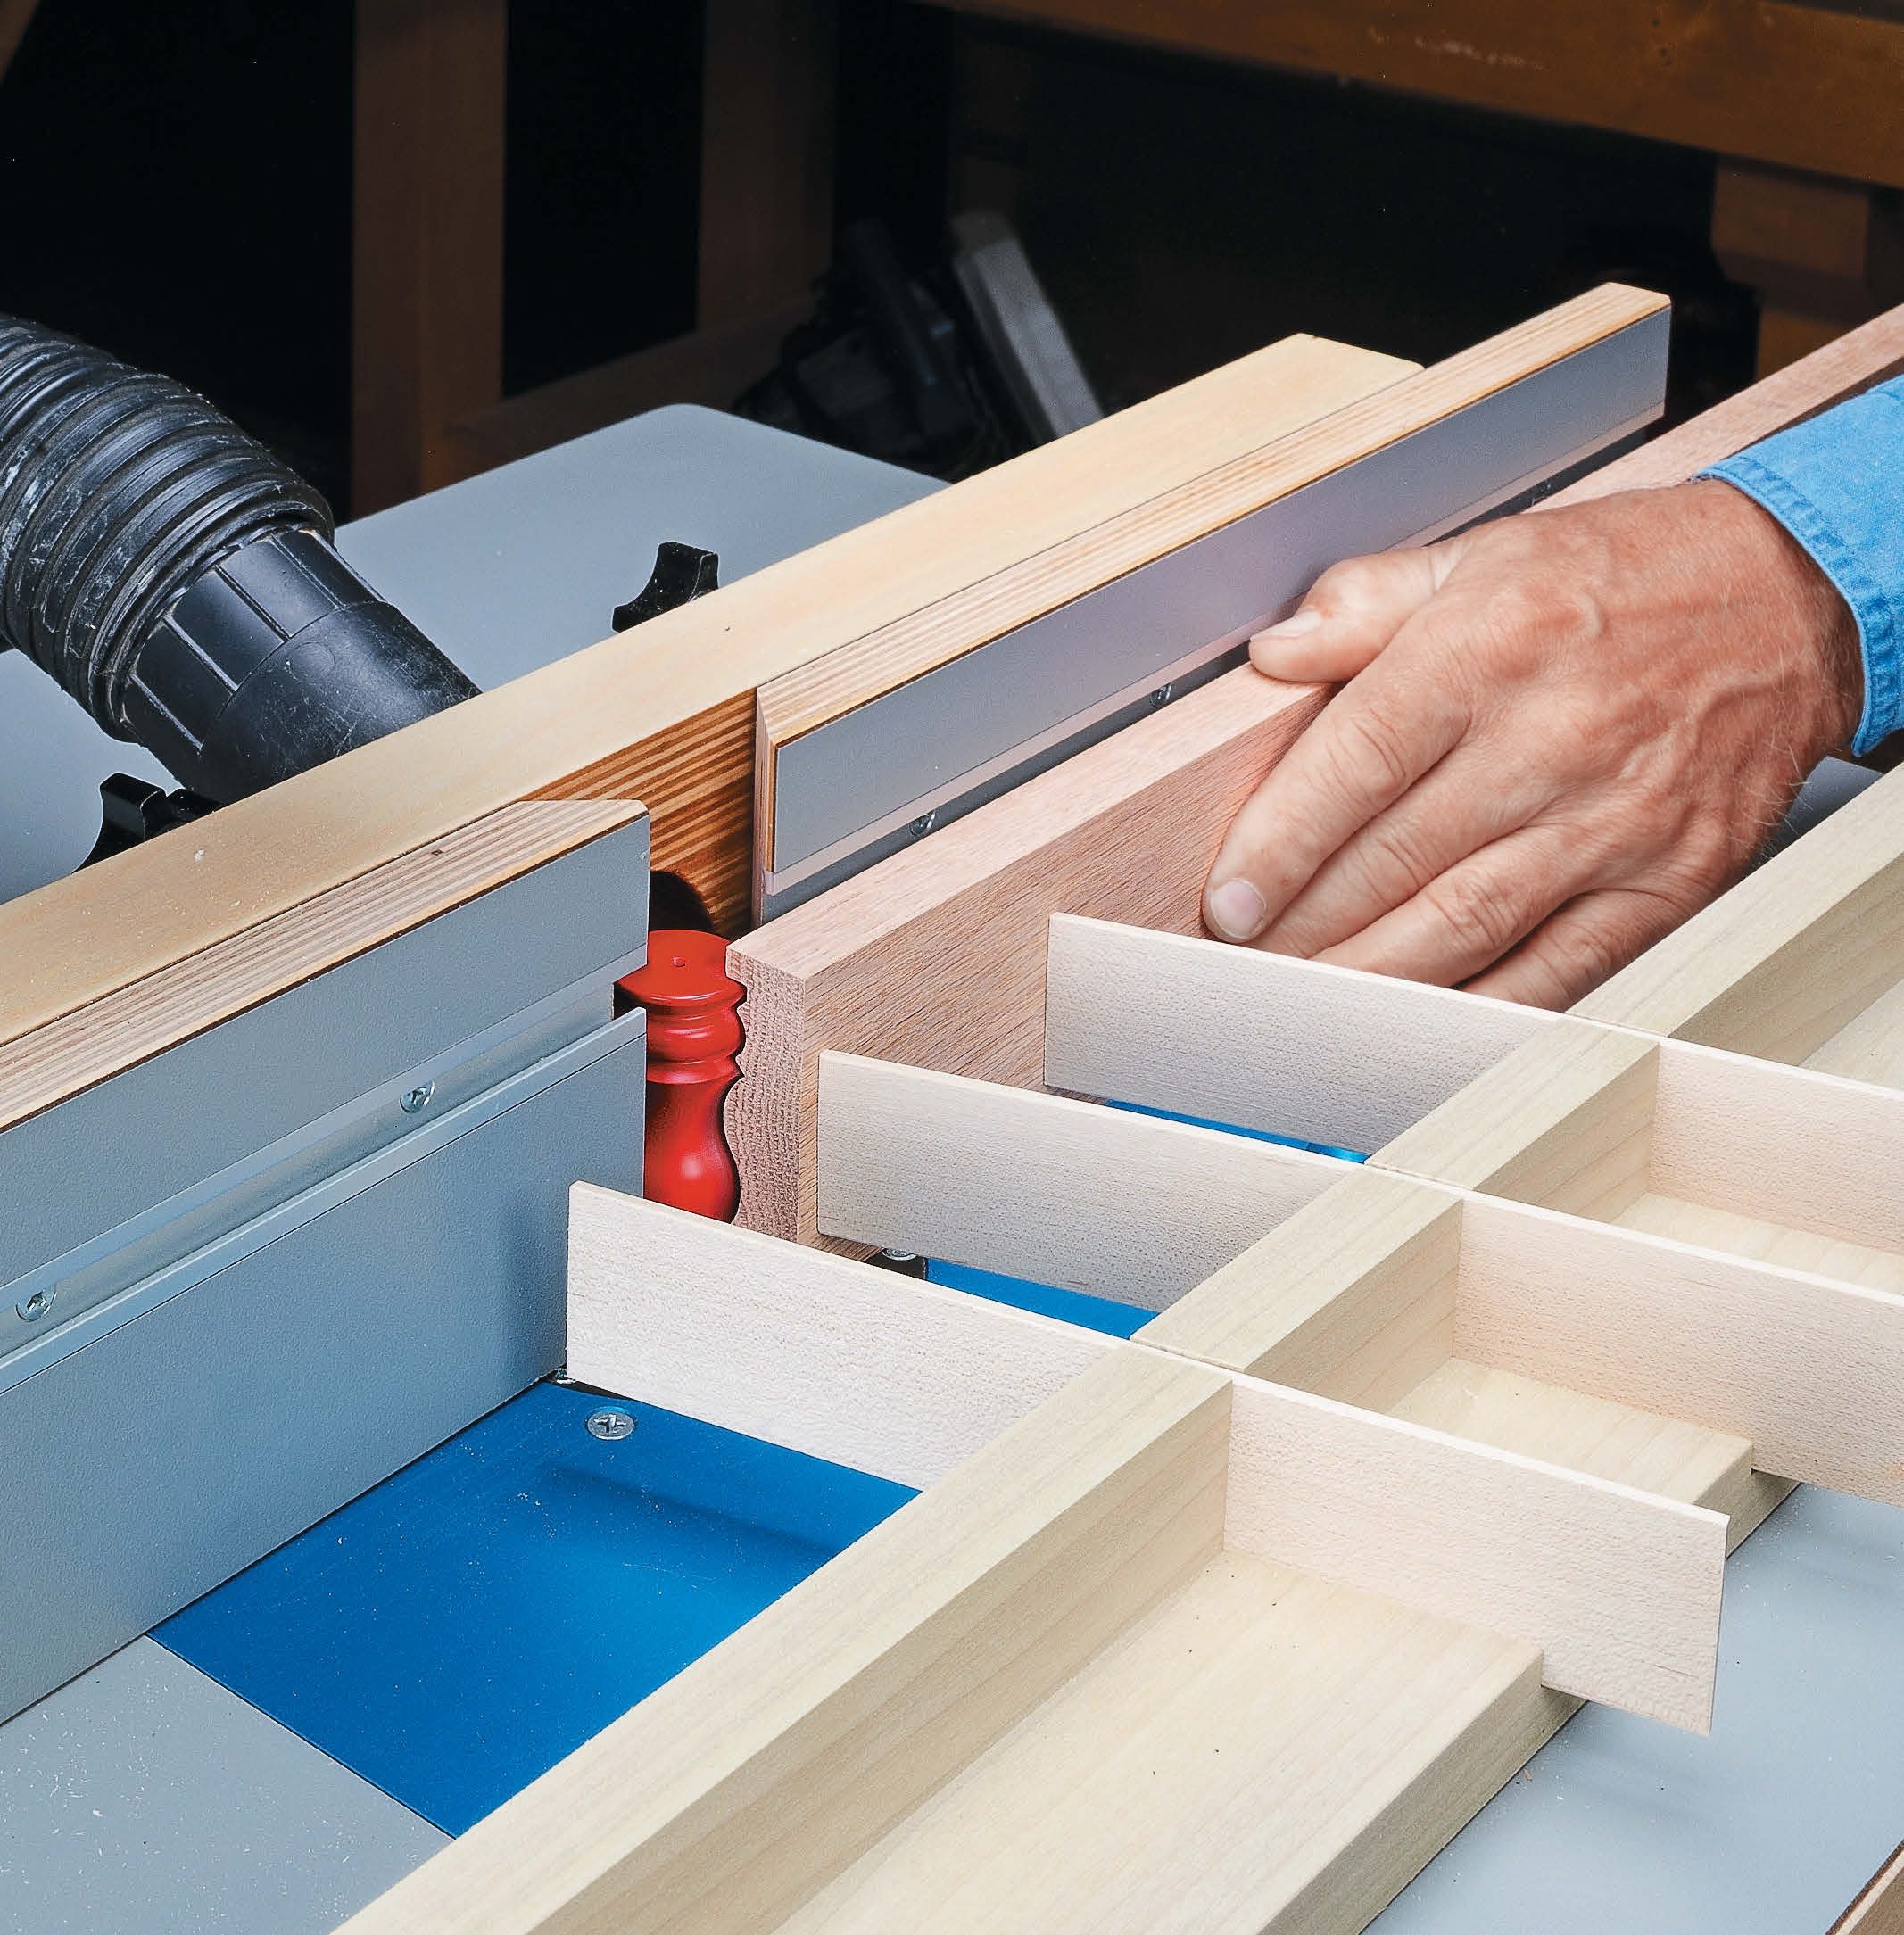
- Enhance Stability for Small Parts
Routing small parts can be hazardous if they fall through oversized table inserts or if fingers get too close to the bit. To mitigate this risk, create a zero-clearance support by drilling a hole slightly larger than the bit diameter in a piece of 1/4-inch plywood and clamping it to the table. Additionally, using a handscrew clamp can help hold small parts securely, keeping your fingers at a safe distance.
- Utilize a Starter Pin for Freehand Routing
Initiating a cut on a router table can be tricky, especially with irregularly shaped pieces. Installing a starter pin about two inches from the bit provides a pivot point, allowing you to guide the workpiece into the bit safely and accurately.

- Enlarge Holes Accurately
If you need to enlarge an existing hole, a router table offers a precise solution. By using a rabbeting bit followed by a flush-trim bit, you can incrementally increase the hole’s diameter without compromising accuracy.
By integrating these tips and techniques into your woodworking routine, you can fully harness the capabilities of your router table, leading to more efficient and precise projects.
Comments
Add comment