The Keys to Making a Sound MDF Joint: Tips and Tools for Strong, Durable Connections
Posted by Siphesihle Hato in Encyclopedia of Woodworking, How To Guides
 MDF (Medium Density Fiberboard) is a popular material in woodworking, especially for cabinetry, furniture, and decorative projects. Its smooth surface and uniform density make it easy to work with, but it can be tricky when it comes to joining pieces together. Unlike solid wood, MDF doesn’t have grain patterns to help hold fasteners, so making strong, durable joints requires a little extra attention to detail.
In this blog post, we’ll explore the key factors for creating solid MDF joints, including the right tools, techniques, and tips for getting reliable connections every time.
Why Are MDF Joints Different?
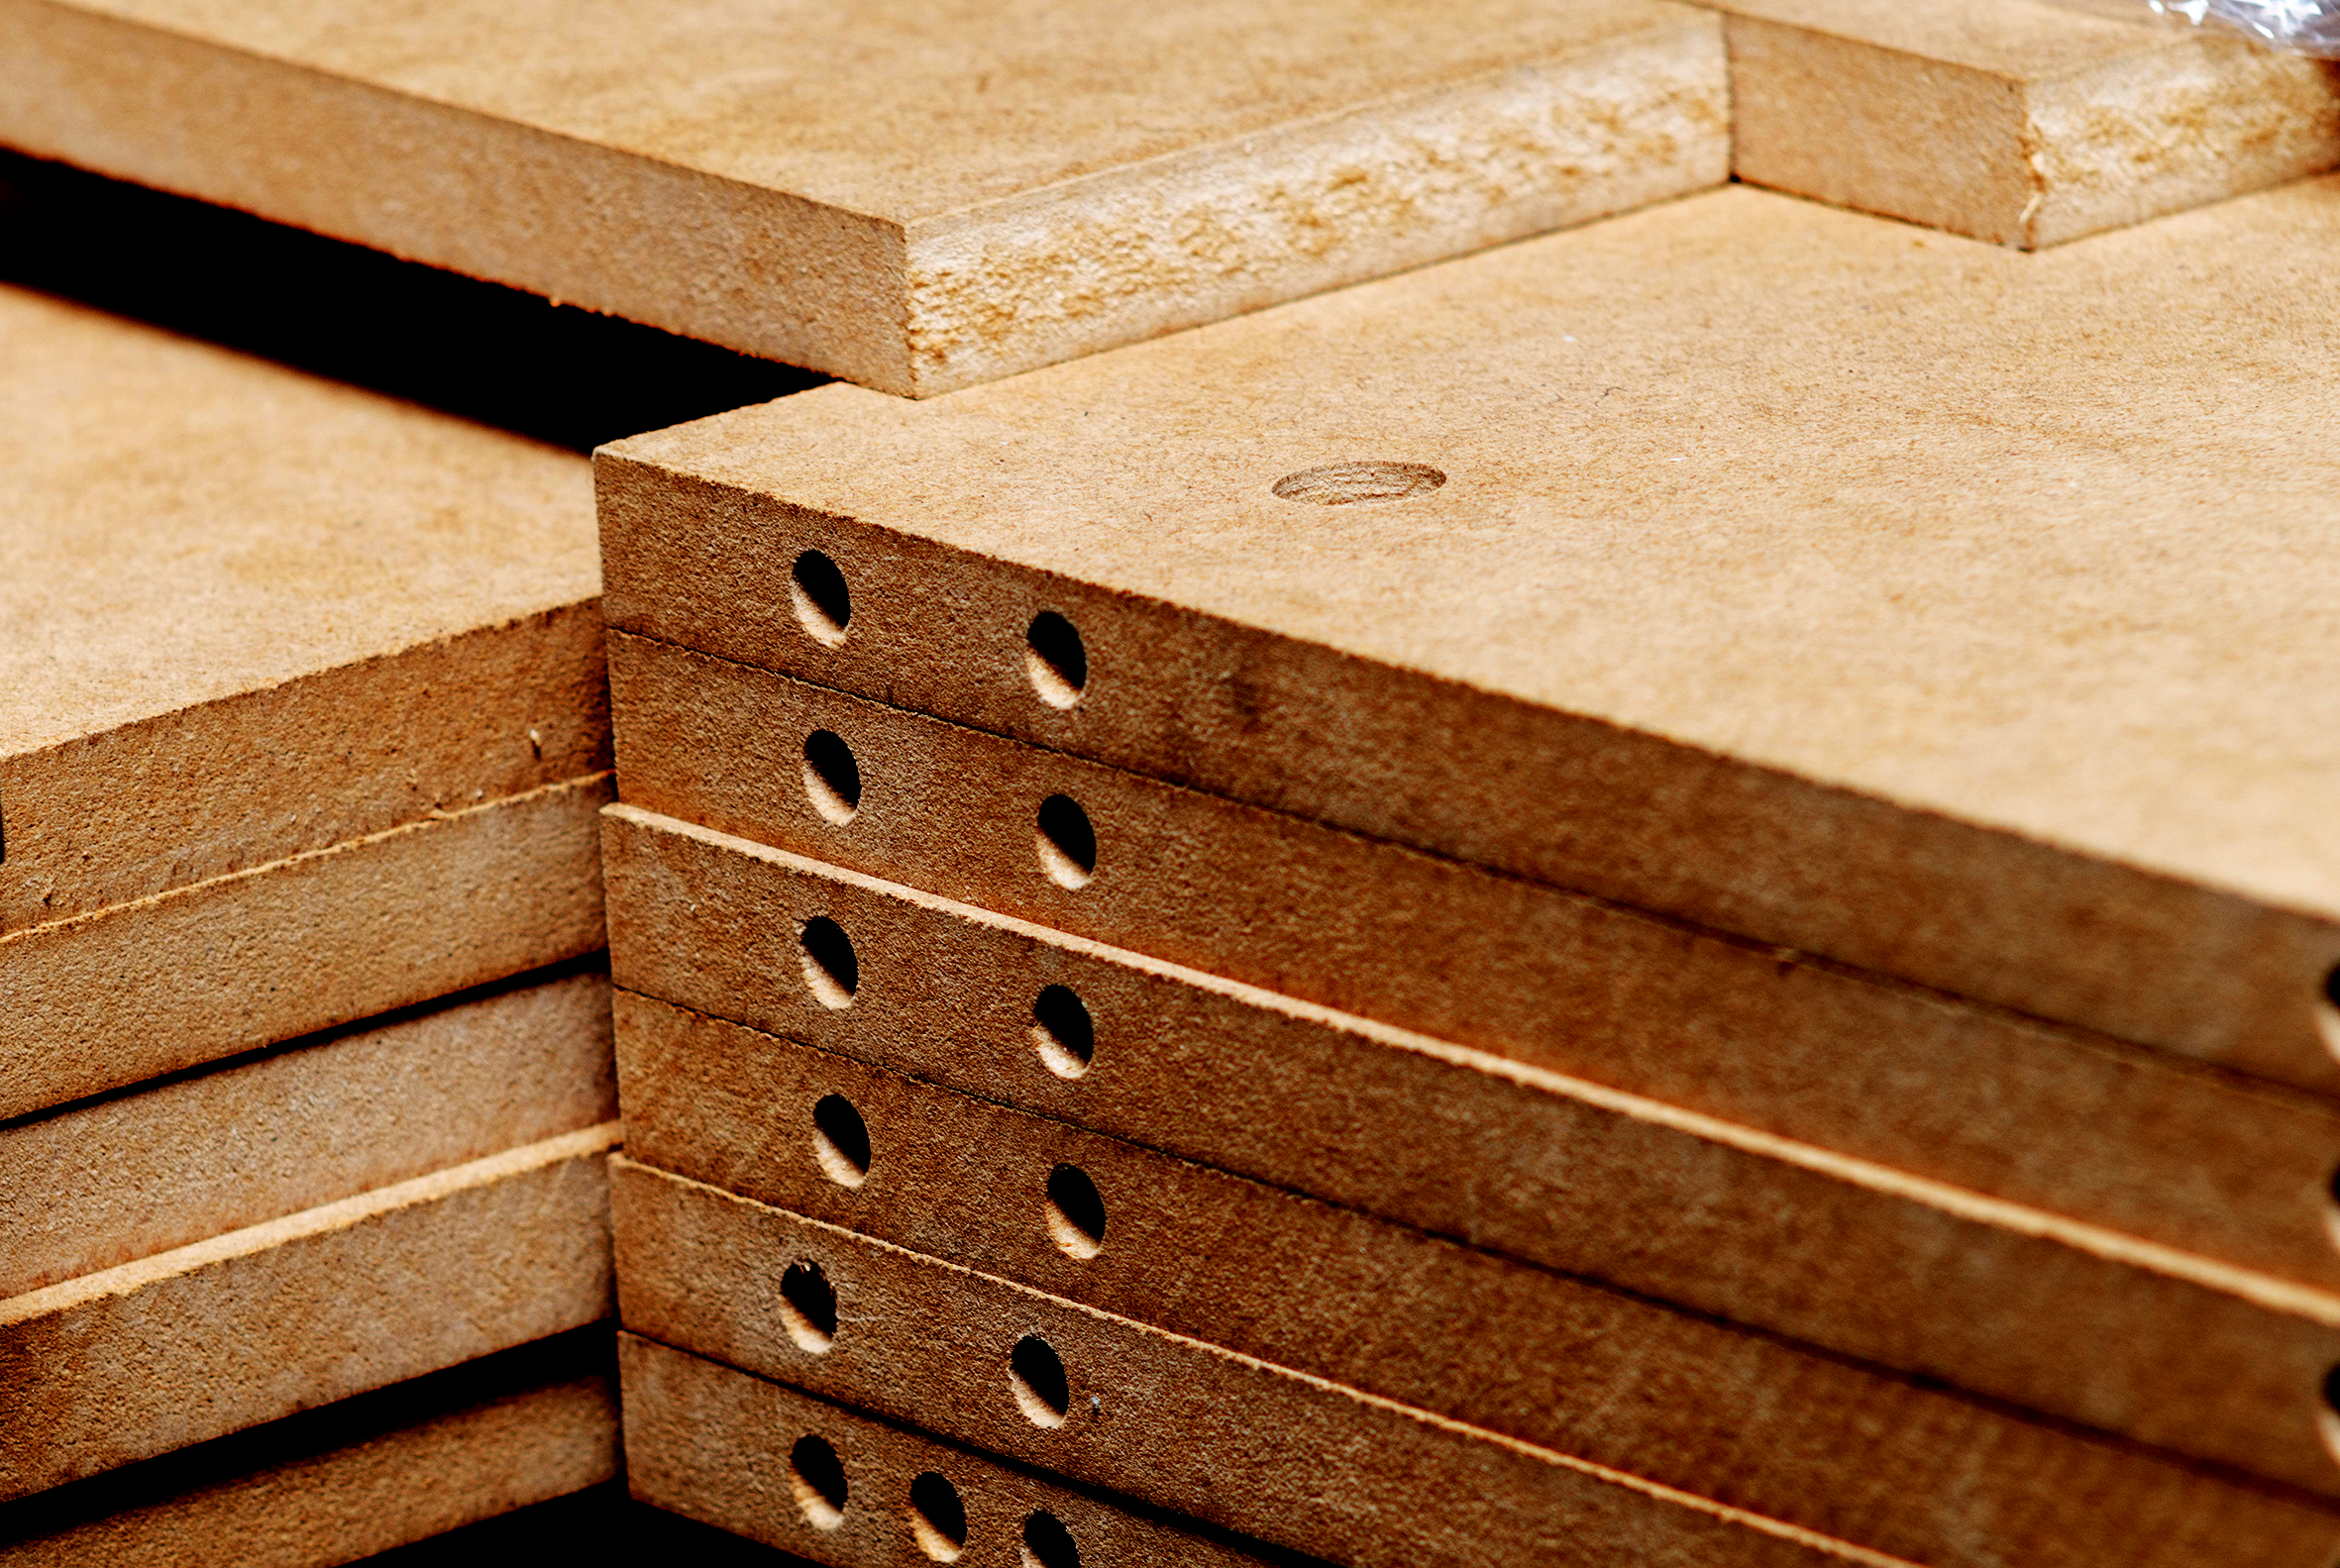
MDF is made from wood fibers compressed and bound together with resin. While it offers a smooth, consistent surface ideal for painting and veneering, it lacks the natural strength of hardwoods or plywood. As a result, you need to take extra care when joining MDF pieces to ensure the joints stay strong under pressure.
When making MDF joints, you won’t get the same natural gripping power that you would with wood grain. This means you need to rely on both strong adhesives and mechanical fasteners, as well as precise joinery techniques, to create durable connections.
 Common Types of Joints for MDF
There are several common types of joints used for MDF, including butt joints, dado joints, rabbet joints, and miter joints. Each type of joint offers its own advantages, depending on the project.
- Butt Joints: Simple but effective, butt joints are created by joining the ends of two pieces of MDF. While this is one of the easiest joints to make, it requires strong glue and possibly screws or dowels for added strength.
- Dado and Rabbet Joints: These joints involve cutting a groove (dado) or a recess (rabbet) in one piece of MDF, allowing another piece to fit into the groove for a more secure and aligned connection.
- Miter Joints: Miter joints are made by cutting the ends of two pieces of MDF at an angle (usually 45 degrees). These joints are often used in picture frames, cabinets, or any project where you need a neat, clean corner.
Tools You’ll Need for Strong MDF Joints
To achieve reliable, clean joints in MDF, you’ll need the right tools for both cutting and joining. Here’s a rundown of the essential tools you’ll want to have on hand:
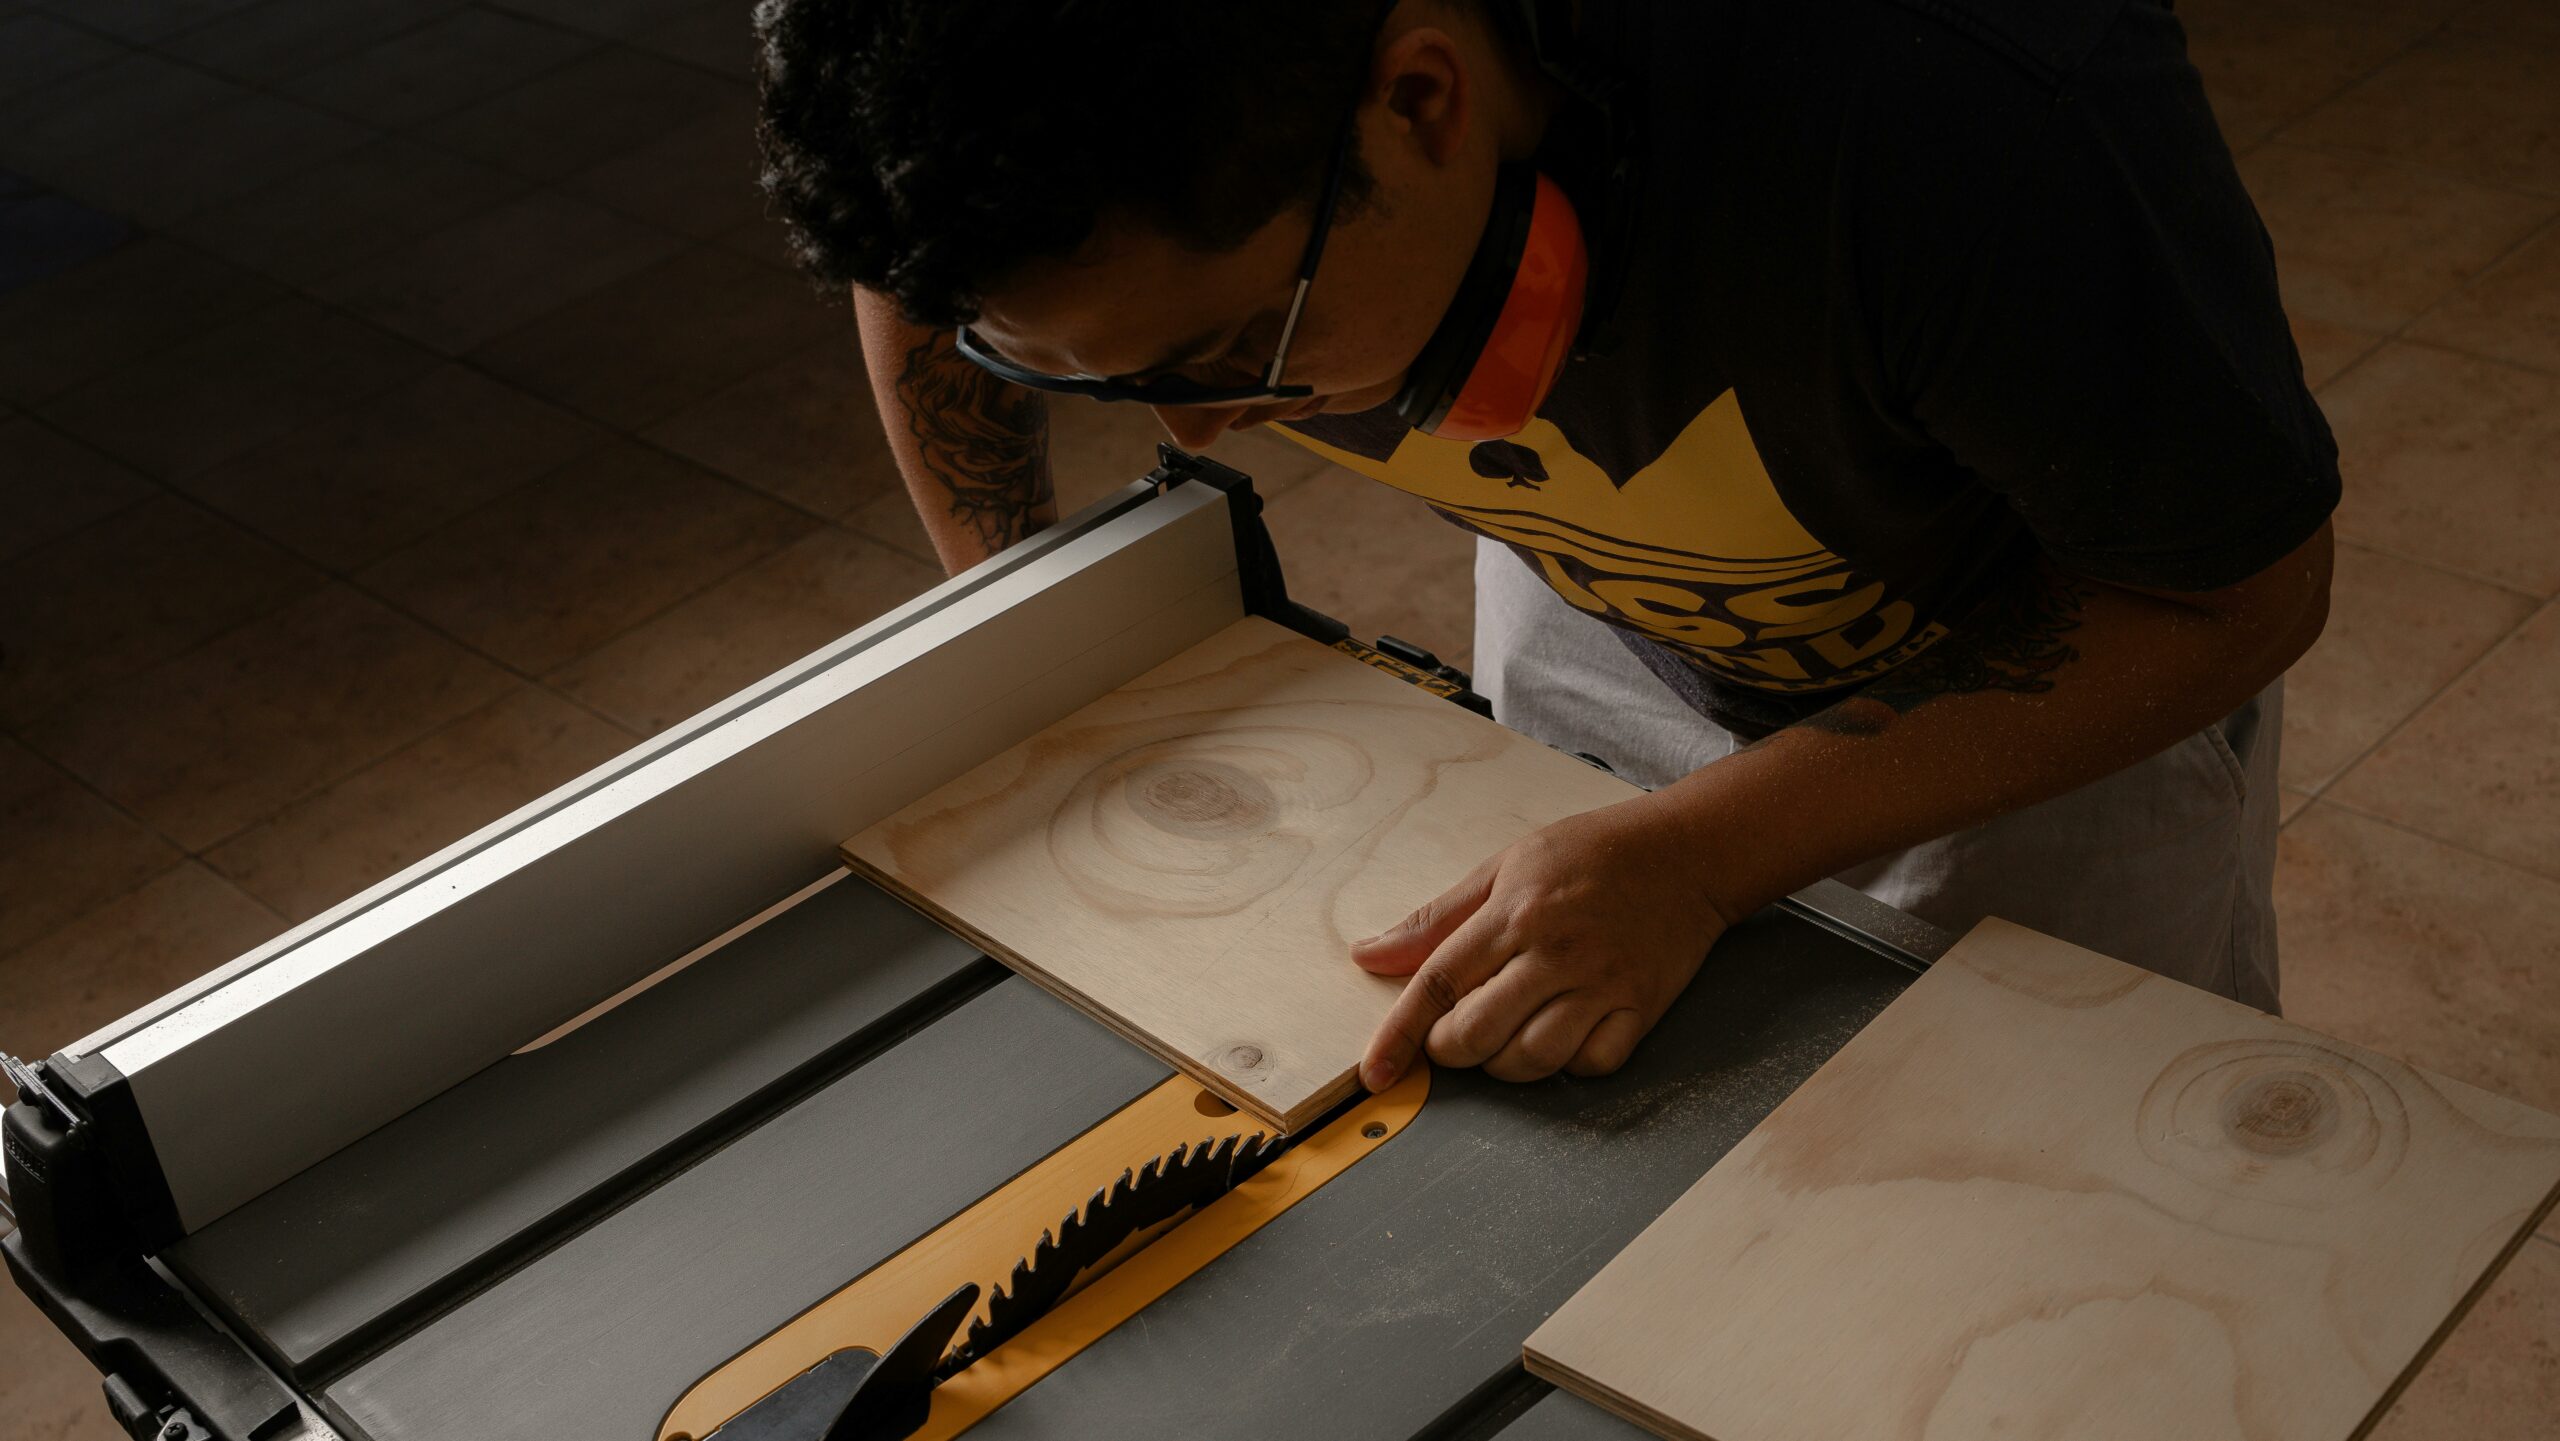
1. Table Saw or Circular Saw
When making MDF cuts, a table saw or circular saw is essential for precision. You’ll use these tools to cut the pieces to the correct size and shape for your joints, whether you’re cutting butt joints, dados, or angled miters.
- Tip: Use a fine-tooth carbide blade to prevent rough edges when cutting MDF, and always use a dust mask, as MDF generates a lot of fine dust that can be harmful.
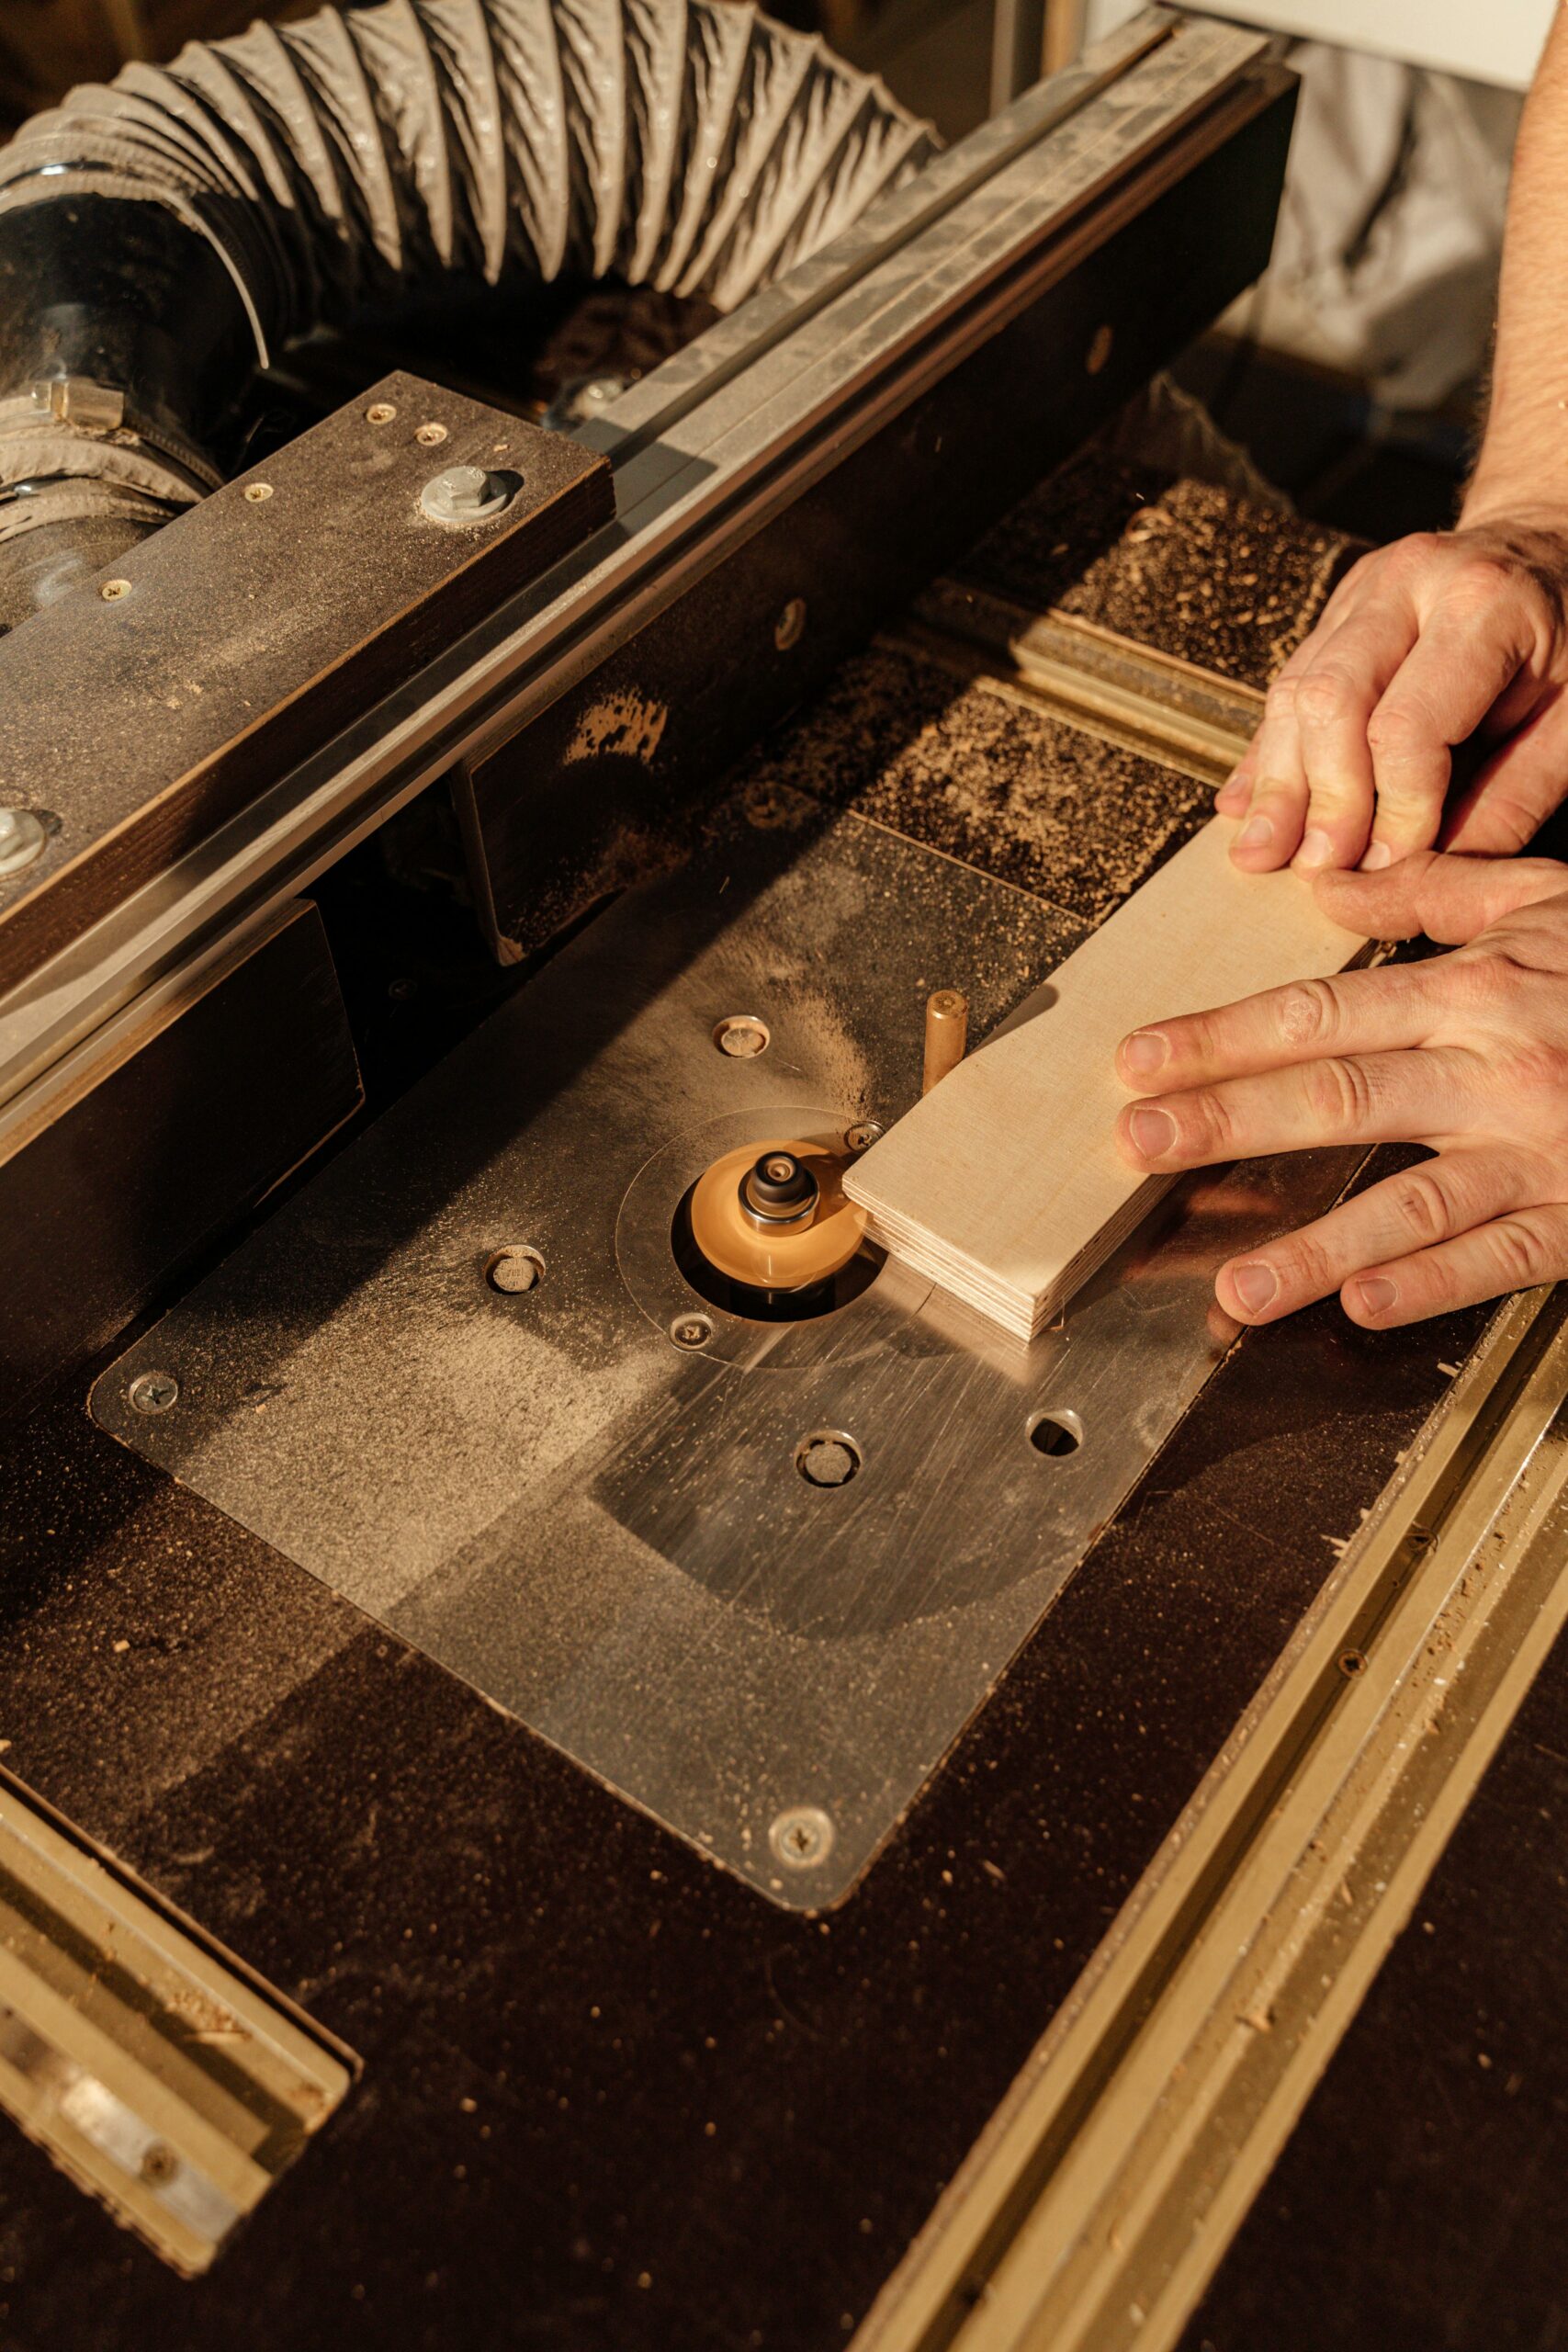
2. Router with a Straight Bit
A router with a straight bit is great for cutting dado and rabbet joints in MDF. The router allows for smooth, accurate cuts, and can help you create grooves or recesses for stronger connections.
- Tip: To achieve a clean, precise cut, use a guide fence or a router table to keep the router steady.
3. Doweling Jigs or Biscuit Joiner
To reinforce MDF joints, you can use doweling jigs or a biscuit joiner. Both of these tools help ensure alignment and add extra strength to your joints by providing additional mechanical support.
- Tip: Use dowels or biscuits when working with larger pieces of MDF, as these reinforcements help keep the joint secure under stress.
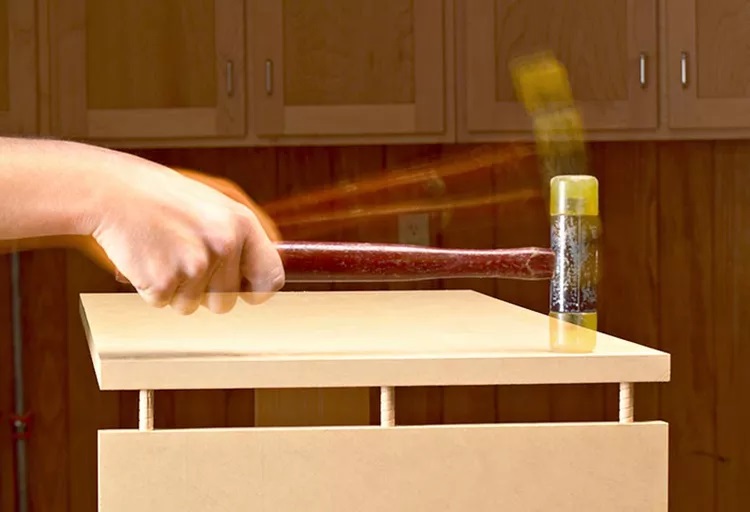
4. Clamps
Good clamps are essential for holding your MDF pieces together while the glue dries. For large projects like cabinets or shelves, you’ll need several clamps to apply even pressure across the entire joint.
- Tip: Use bar clamps or C-clamps to apply even pressure along the joint. Make sure to keep the pieces aligned as the glue sets.
5. Wood Glue (or MDF-Specific Adhesive)
A high-quality wood glue is your primary adhesive for MDF joints. Use PVA glue (polyvinyl acetate) for most projects, or consider an MDF-specific adhesive for extra bond strength. Unlike solid wood, MDF is highly absorbent, so you need to apply an even layer of glue to ensure a strong bond.
- Tip: Be sure to clamp the joint tightly while the glue dries to create the strongest connection.
Techniques for Making Strong MDF Joints
Now that you’ve got the tools, let’s go over the techniques for making strong and durable MDF joints.
1. Prepare the Edges
Before joining pieces of MDF, ensure that the edges are clean and square. A table saw is ideal for cutting straight, square edges, which is crucial for creating tight joints. If you’re working with a lot of edges, consider using a router with a chamfer bit to soften the edges slightly, giving the joint a more professional look.
2. Use Dowels or Biscuits for Alignment
MDF doesn’t have the same natural interlocking properties as solid wood, so you’ll often need extra reinforcement. Dowels and biscuits can help align and strengthen joints. Use a doweling jig to drill precise holes for dowels, or a biscuit joiner to cut slots for biscuits. These methods help the pieces stay in alignment, preventing gaps in the joint.
- Tip: Dowels work well for butt joints, while biscuits are particularly useful for dado joints and panels.
3. Cut Dado and Rabbet Joints for Stronger Connections
For a more secure and stable joint, consider cutting a dado or rabbet joint, which provides more surface area for the glue to bond to. These joints can be made using a router or table saw, and they’re especially useful when joining large pieces of MDF in cabinetry or shelving projects.
- Tip: Be sure to measure and mark carefully when cutting dado or rabbet joints to ensure a perfect fit. Using a test piece can help you check your measurements before cutting the actual workpieces.
4. Clamp and Let the Glue Set
Once your joints are glued, clamp them securely and let the glue set for at least 30 minutes. The longer the glue cures, the stronger the bond will be. When using clamps, make sure the pieces stay aligned and flush while the glue is drying. Afterward, remove the clamps and clean up any excess glue before it hardens.
5. Reinforce with Screws if Necessary
For larger pieces or joints that will experience significant stress, it’s a good idea to reinforce the joint with screws. Pre-drill pilot holes to prevent the MDF from cracking, then drive screws in to further secure the joint. Be sure to countersink the screw heads, and fill the holes with wood filler or a matching MDF plug for a clean finish.
- Tip: Use coarse-thread screws to grip the MDF material more effectively.
Sanding and Finishing the Joint
After the joint is complete, you’ll want to smooth out any rough edges or excess glue. Use a random orbital sander with fine-grit sandpaper (220 grit) to smooth the joint area. MDF can be prone to fraying along edges, so sanding carefully will give the joint a more professional, polished appearance.
When the joint is smooth, you can proceed with painting or veneering the MDF to give it a clean, finished look.
Making sound MDF joints requires a combination of the right tools, precise techniques, and strong adhesives. By using dowels, biscuits, or reinforced dado and rabbet joints, you can ensure that your MDF connections are not only strong but also neat and professional-looking. Whether you’re building cabinets, shelves, or decorative pieces, taking the time to properly join MDF will result in a cleaner, more durable finished project.
With these tips and techniques, you’ll be able to create strong, lasting MDF joints that hold up to the test of time and make your woodworking projects shine.
Comments
Add comment