Preparing Your Woodwork for a High-Quality Finish
Posted by Siphesihle Hato in Encyclopedia of Woodworking

Achieving a high-quality finish in woodworking is essential for enhancing the beauty and longevity of your projects. The final coat of stain, paint, or varnish can make or break the appearance of your work, so proper preparation is key. Here’s a guide to ensure your woodwork is ready for that perfect finish.
1. Choose the Right Wood
The type of wood you select can significantly impact the finishing process. Softwoods like pine or cedar may require different treatment compared to hardwoods like oak or walnut. Each type has unique grain patterns and absorbency, so understanding your material is crucial. For example, softer woods may soak up more finish, necessitating additional coats.
2. Sanding
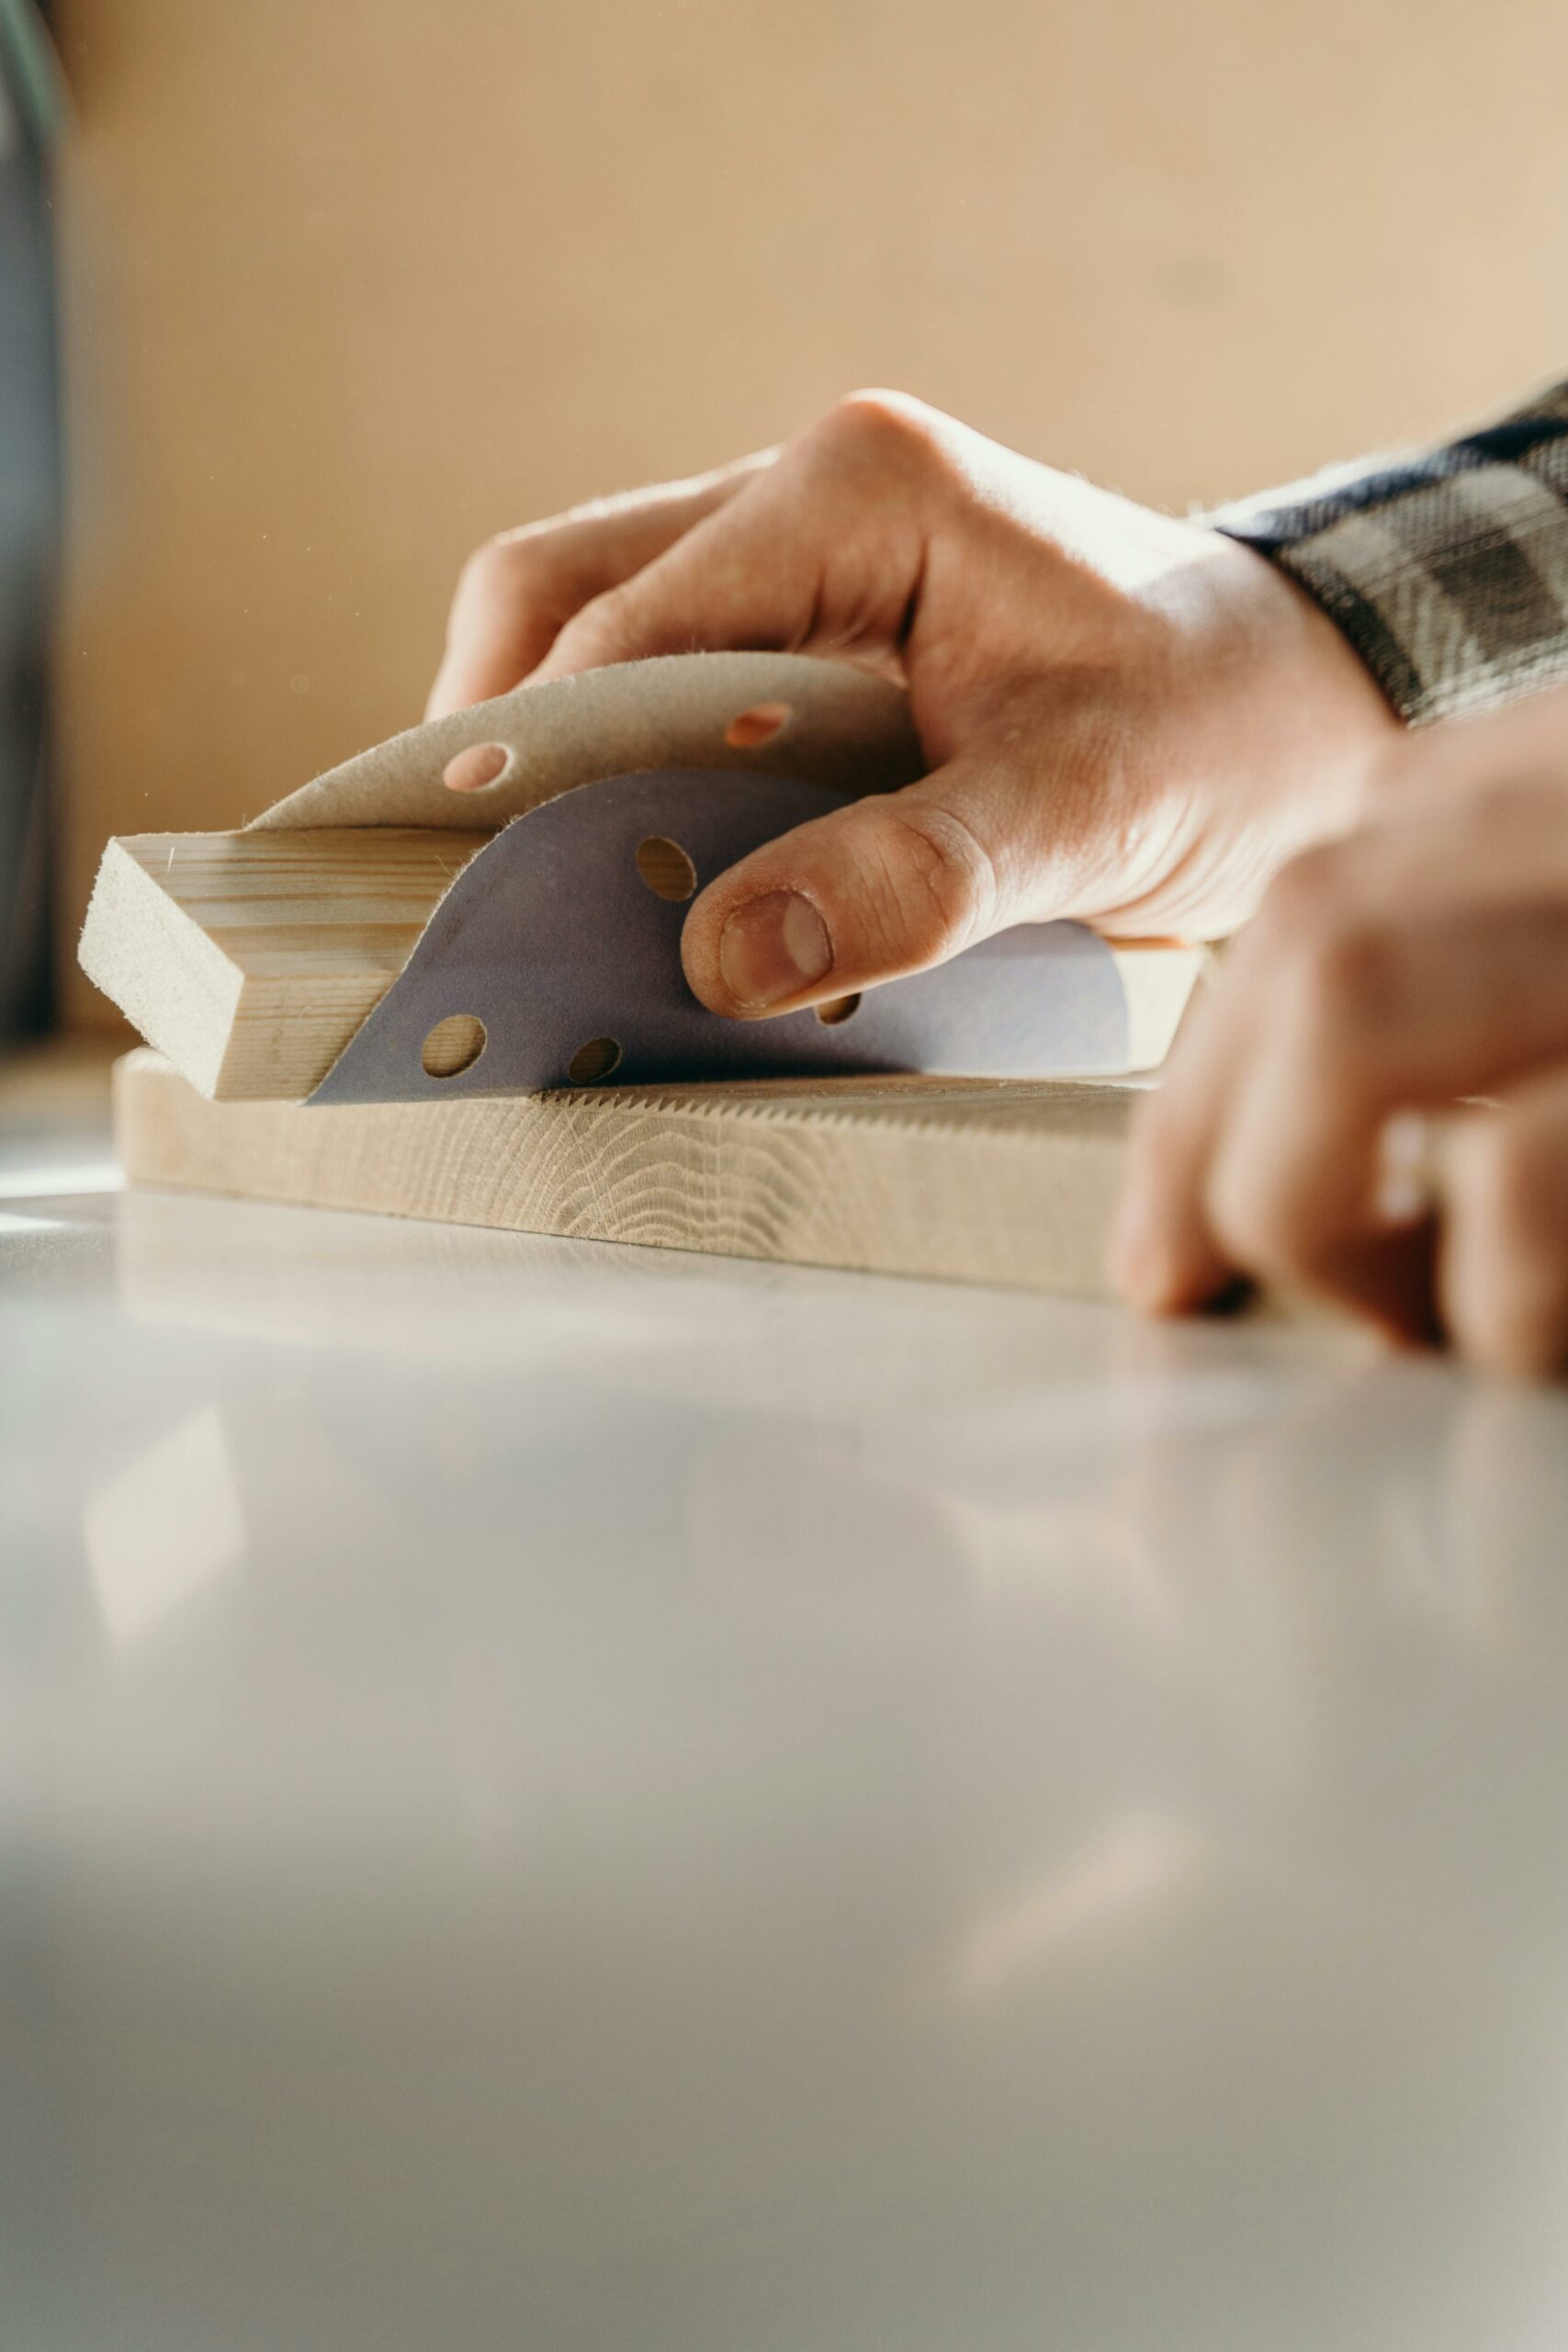
Sanding is one of the most critical steps in preparing wood for finishing. Start with a coarse grit sandpaper (around 80-grit) to smooth out rough areas and then progress to finer grits (120-grit, then 220-grit). Always sand in the direction of the grain to avoid scratches that could show up after finishing.
For intricate pieces or corners, consider using sanding sponges or blocks to maintain even pressure and reach tight spots. Don’t forget to remove dust between sanding stages. A vacuum or a tack cloth will help ensure a clean surface for the next step.
3. Cleaning the Surface
Once sanding is complete, it’s vital to clean the surface thoroughly. Dust particles left on the wood can disrupt the smoothness of your finish. Wipe the entire piece with a damp cloth to remove any remaining dust and let it dry completely. For larger projects, using a shop vacuum with a fine dust filter can ensure a thorough clean.
4. Conditioning the Wood
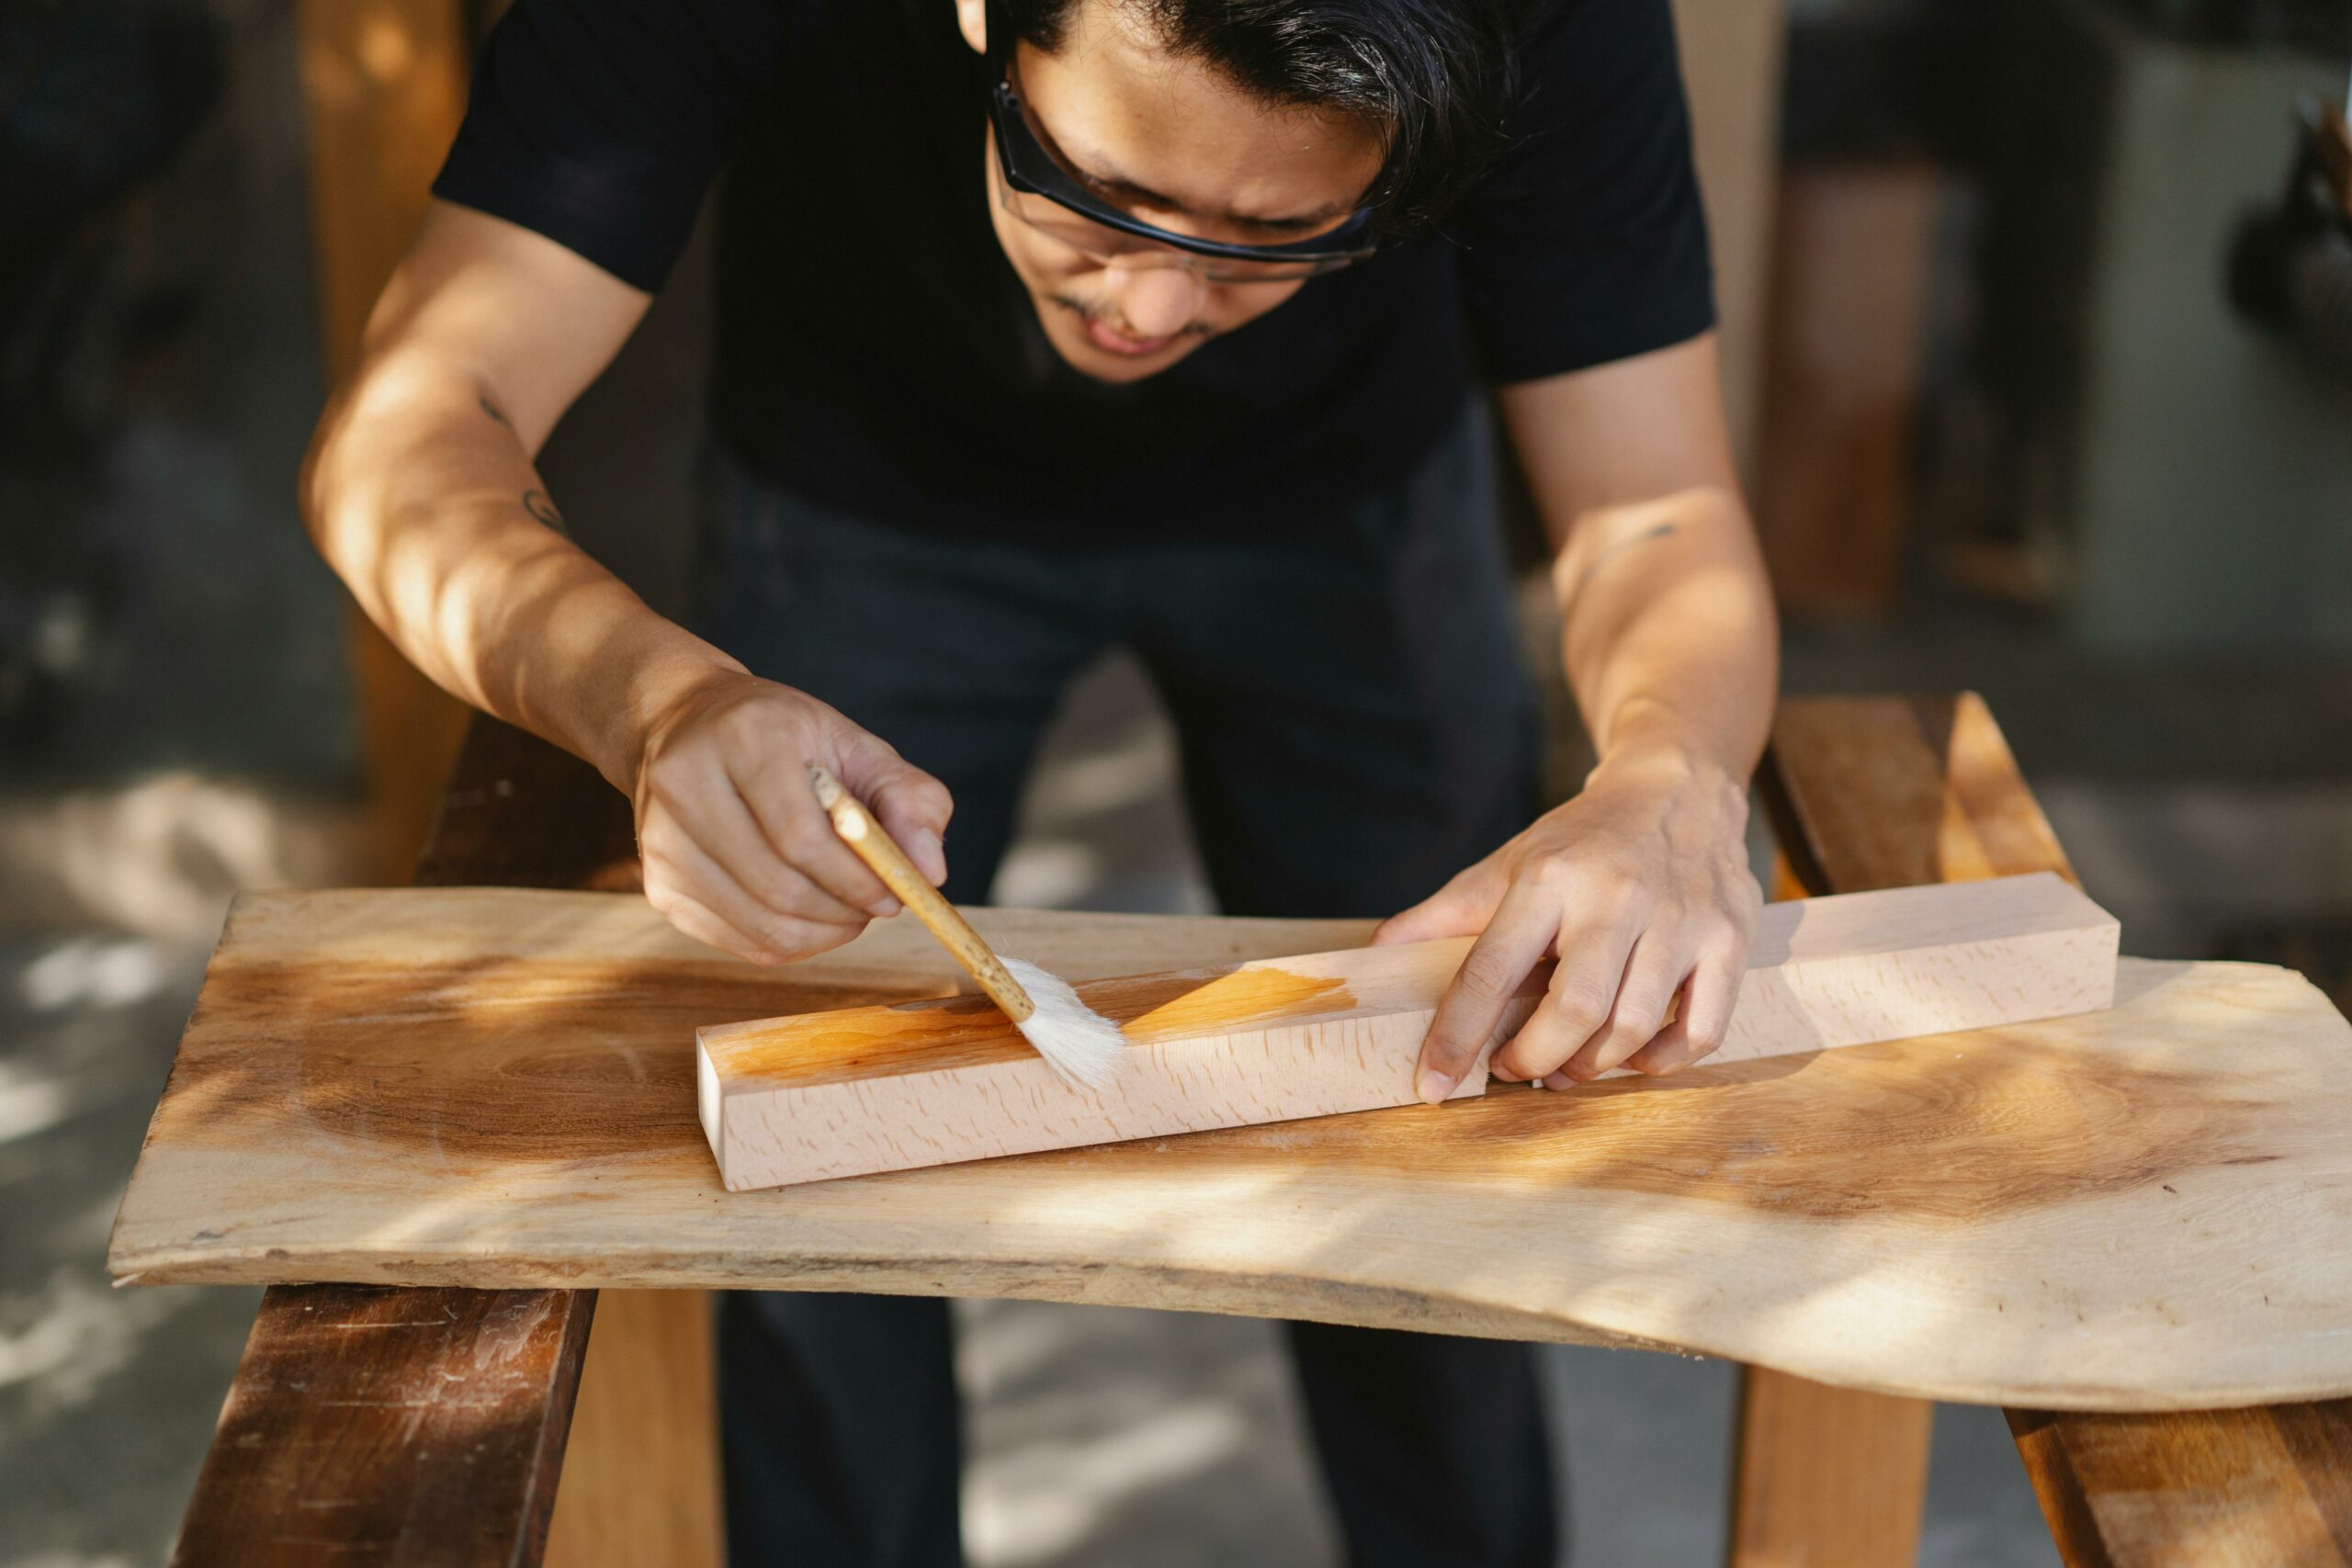
For certain woods, especially soft or porous varieties, applying a wood conditioner can help achieve a more even finish. A conditioner penetrates the wood and prepares it for staining, preventing blotchiness. Apply the conditioner according to the manufacturer’s instructions and allow it to dry fully before proceeding.
5. Test Your Finish
Before applying your finish to the entire piece, test it on a scrap piece of the same wood. This step allows you to see how the wood reacts and gives you a chance to adjust your technique or color choice. Testing ensures you achieve the desired look without risking your entire project.
Preparing your woodwork properly is crucial for achieving a high-quality finish. By selecting the right wood, sanding thoroughly, cleaning effectively, conditioning when necessary, and testing your finish, you can enhance the beauty and durability of your projects. With careful preparation, your woodworking will not only look great but will also stand the test of time. Happy finishing!
Comments
Add comment