Mastering the Art of Staining Softwoods: Tips and Tools for the Best Results
Posted by Siphesihle Hato in Basics of Wood Finishing
When it comes to woodworking, softwoods like pine, cedar, fir, and spruce are often a go-to choice due to their affordability, availability, and ease of use. However, when it comes to finishing these woods, staining can be a bit tricky. Unlike hardwoods, softwoods have a more open grain structure that can result in blotchiness or uneven absorption, making them harder to stain evenly.
But don’t worry—achieving a rich, professional-looking stain finish on softwoods is completely possible with the right tools, techniques, and a little know-how. Here’s your guide to successfully staining softwoods, along with some tips for avoiding common pitfalls.
Why Softwoods Are Trickier to Stain
Softwoods are characterized by their porous nature. While this makes them easier to cut and shape, it also means they absorb stains unevenly. Some areas of the wood, particularly the soft, early growth rings, will soak up more stain than the harder, latewood sections. This can lead to blotches and streaks that can be difficult to fix once they’ve set in.
Fortunately, with the proper preparation and application methods, you can minimize these issues and achieve a smooth, even finish.

Prepping Softwood for Staining: The Key to Success
The first step in getting a professional-grade finish is proper preparation. Here’s what you need to do before applying stain:
1. Sand the Surface Evenly
Softwoods are prone to rough spots, so sanding is a critical step. Start with a coarser grit sandpaper (around 80 or 100 grit) to smooth out any rough areas and remove any mill marks left on the surface. Then, work your way up to a finer grit (150 or 180 grit) to prepare the wood for staining.
Be sure to sand in the direction of the grain to avoid scratching the surface, which could show up when the stain is applied.
2. Condition the Wood
Softwoods, like pine, are more prone to blotching due to their inconsistent absorption rates. To prevent this, it’s highly recommended to use a pre-stain wood conditioner. This product helps to seal the wood’s pores, ensuring a more even distribution of the stain and preventing blotchiness.
Apply the conditioner generously using a brush or a clean cloth, and let it soak in for about 15–20 minutes. After that, wipe off any excess. Don’t let the conditioner sit too long, or it could affect the way the stain adheres to the wood.
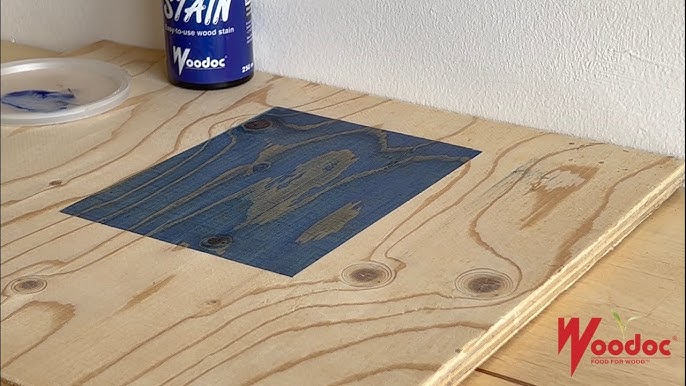
3. Test the Stain
Before committing to a full application, always test your stain on a scrap piece of the same wood. This will give you an idea of how the wood will react and whether the conditioner has helped to even out the absorption. If the test area looks blotchy, you may need to adjust the type of stain or conditioner you’re using.
Choosing the Right Stain for Softwoods
When selecting a stain for softwoods, it’s important to consider the color and finish you want, as well as the type of stain that will work best with your project. Here are a few options:
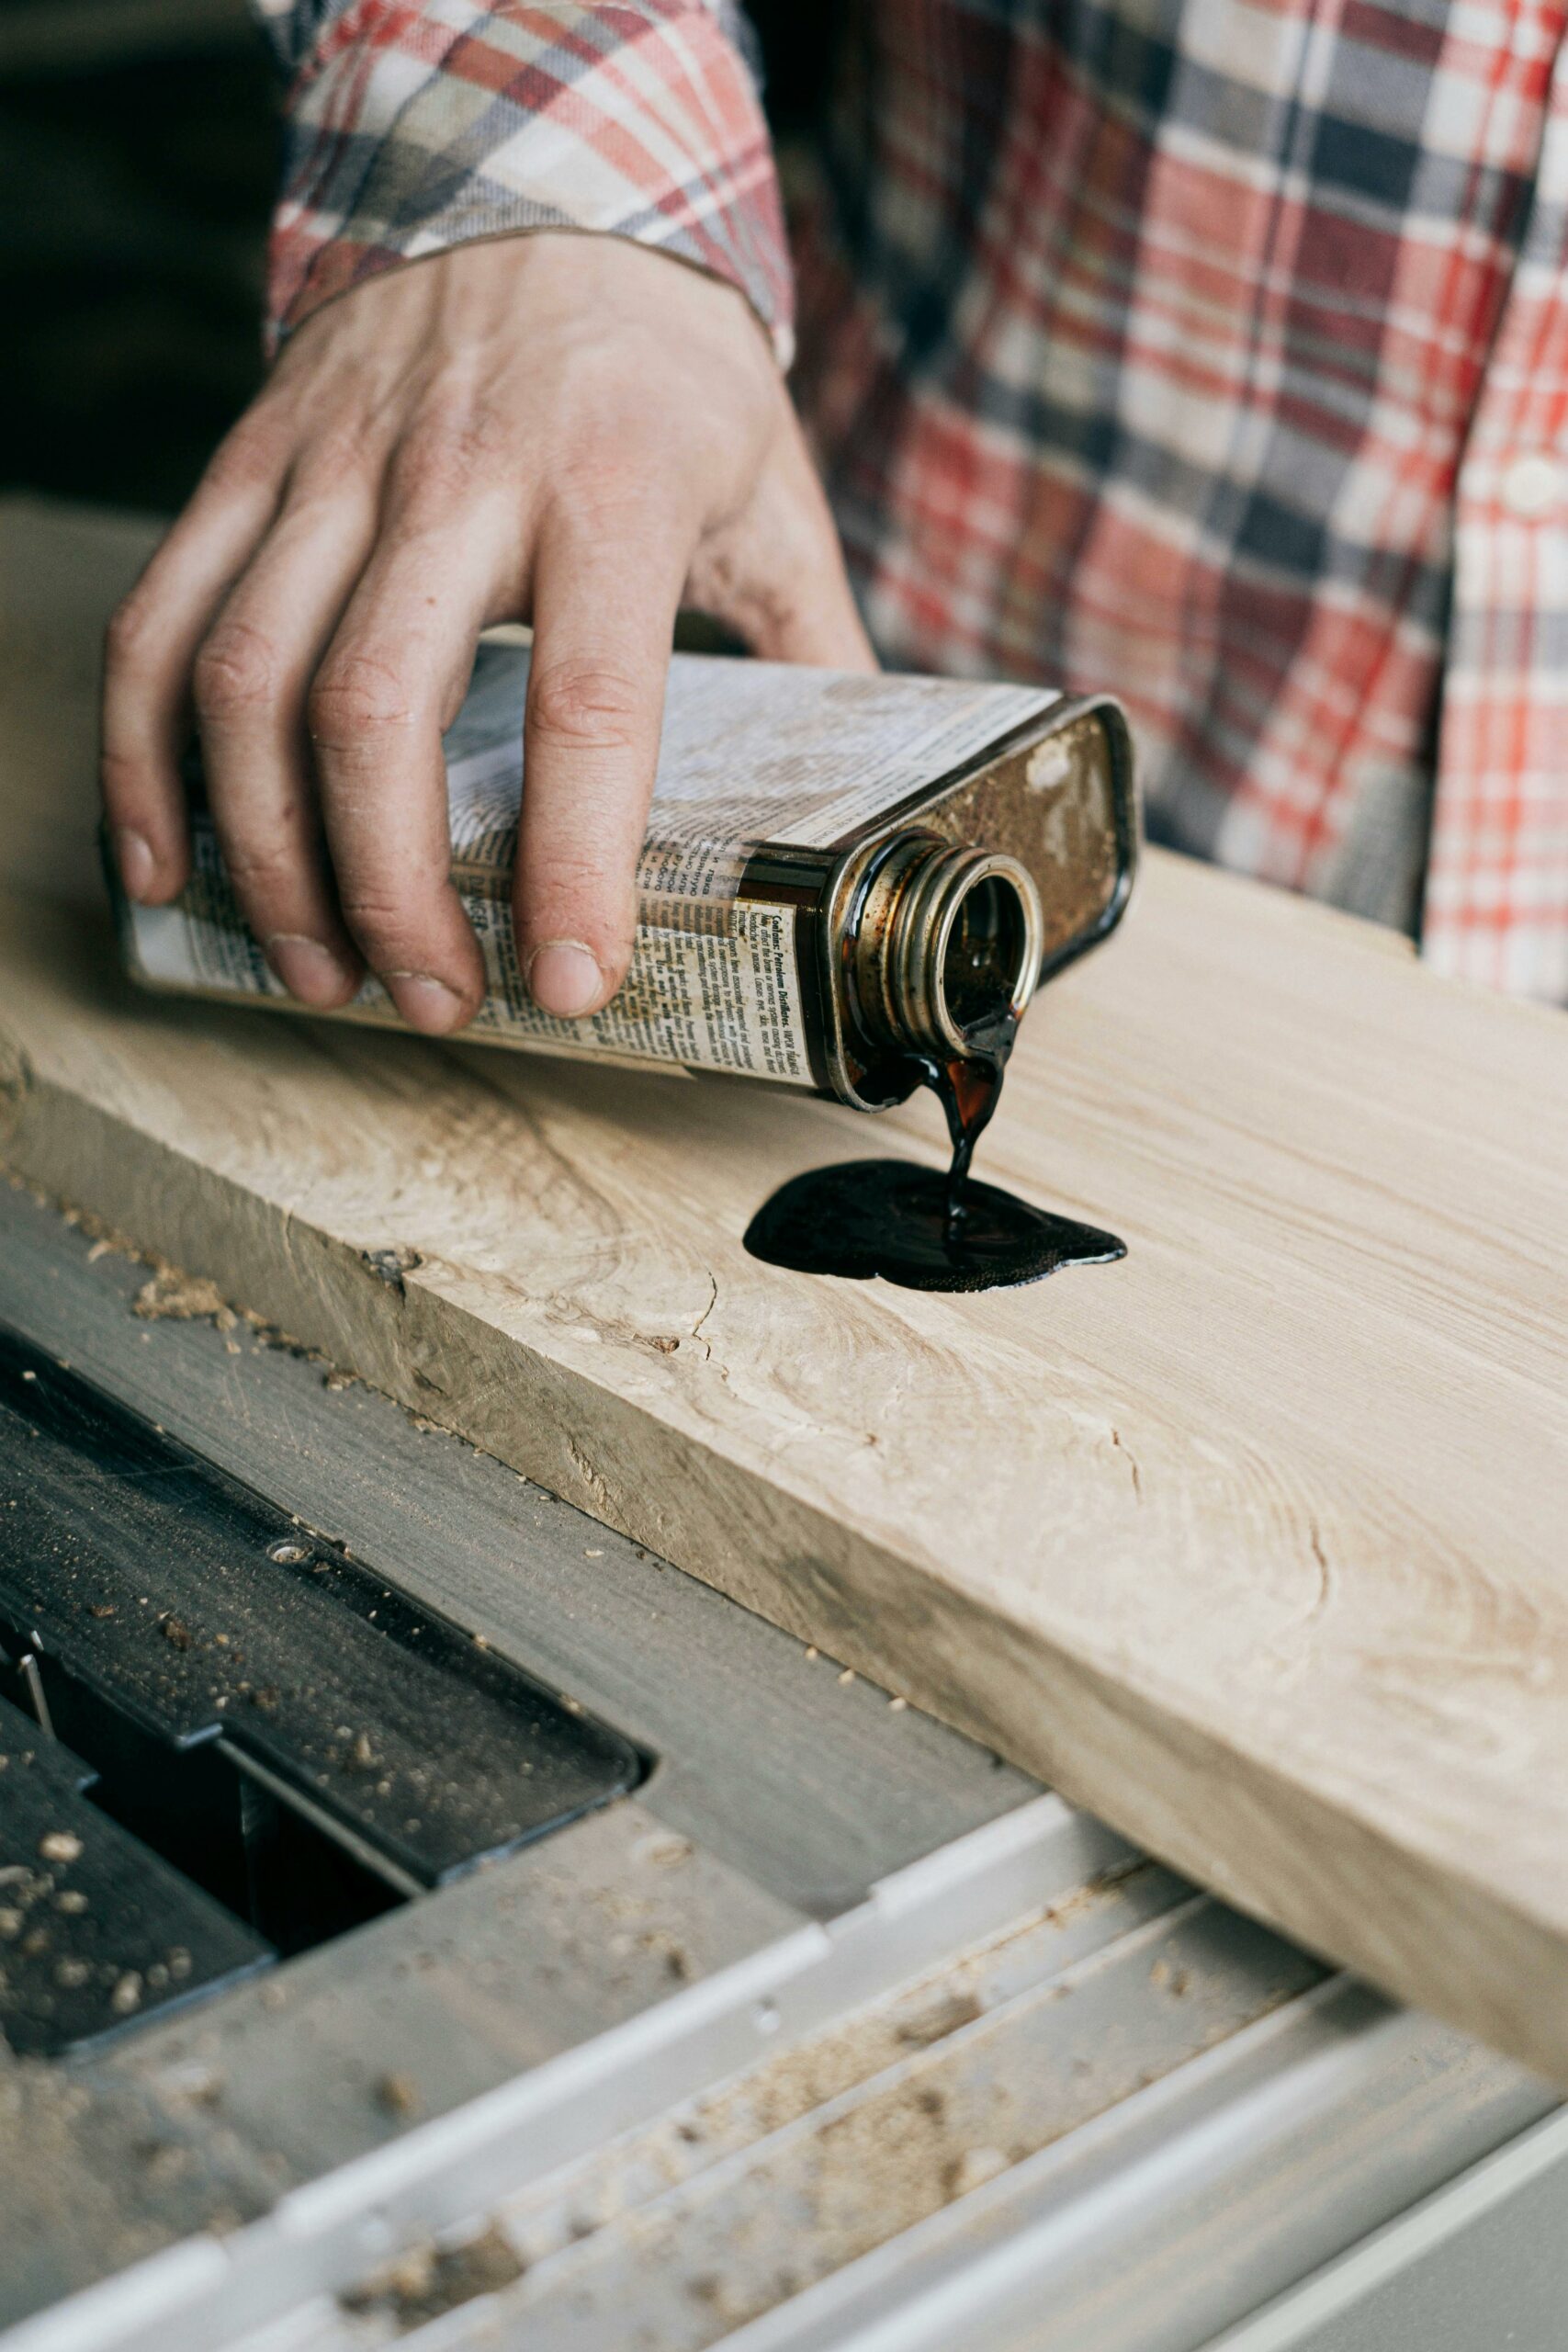
1. Oil-Based Stains
Oil-based stains penetrate deeply into the wood, which can help achieve a rich, deep color. They tend to have a slower drying time, giving you more time to work with them, and they’re especially good for achieving a uniform appearance on softwoods. However, oil-based stains can be tricky to work with because they can sometimes create a sticky, uneven surface if not wiped off properly.
2. Water-Based Stains
Water-based stains dry quickly and are generally easier to work with. They tend to raise the grain of the wood, which can make the surface feel rough after application. However, this can be easily addressed by sanding lightly between coats. Water-based stains also tend to have less odor, making them a good choice for indoor projects.
3. Gel Stains
Gel stains are thicker than traditional liquid stains, which makes them an excellent option for softwoods that tend to absorb stains unevenly. The thick consistency allows for more control over the application, and gel stains are often used when you want to achieve a uniform, opaque finish. They’re especially effective on woods with large, open pores, like pine.
4. Pigment vs. Dye Stains
Pigment-based stains are typically more opaque and can provide better coverage on softwoods, while dye-based stains offer more translucent color, letting the natural grain show through. Dye stains are better for highlighting fine wood grain, but they can be more challenging to apply evenly on softwoods without careful prep work.
Applying the Stain: Techniques for Even Coverage
Once you’ve prepped the wood and chosen your stain, it’s time to start applying. Here are a few tips for getting an even, flawless finish:
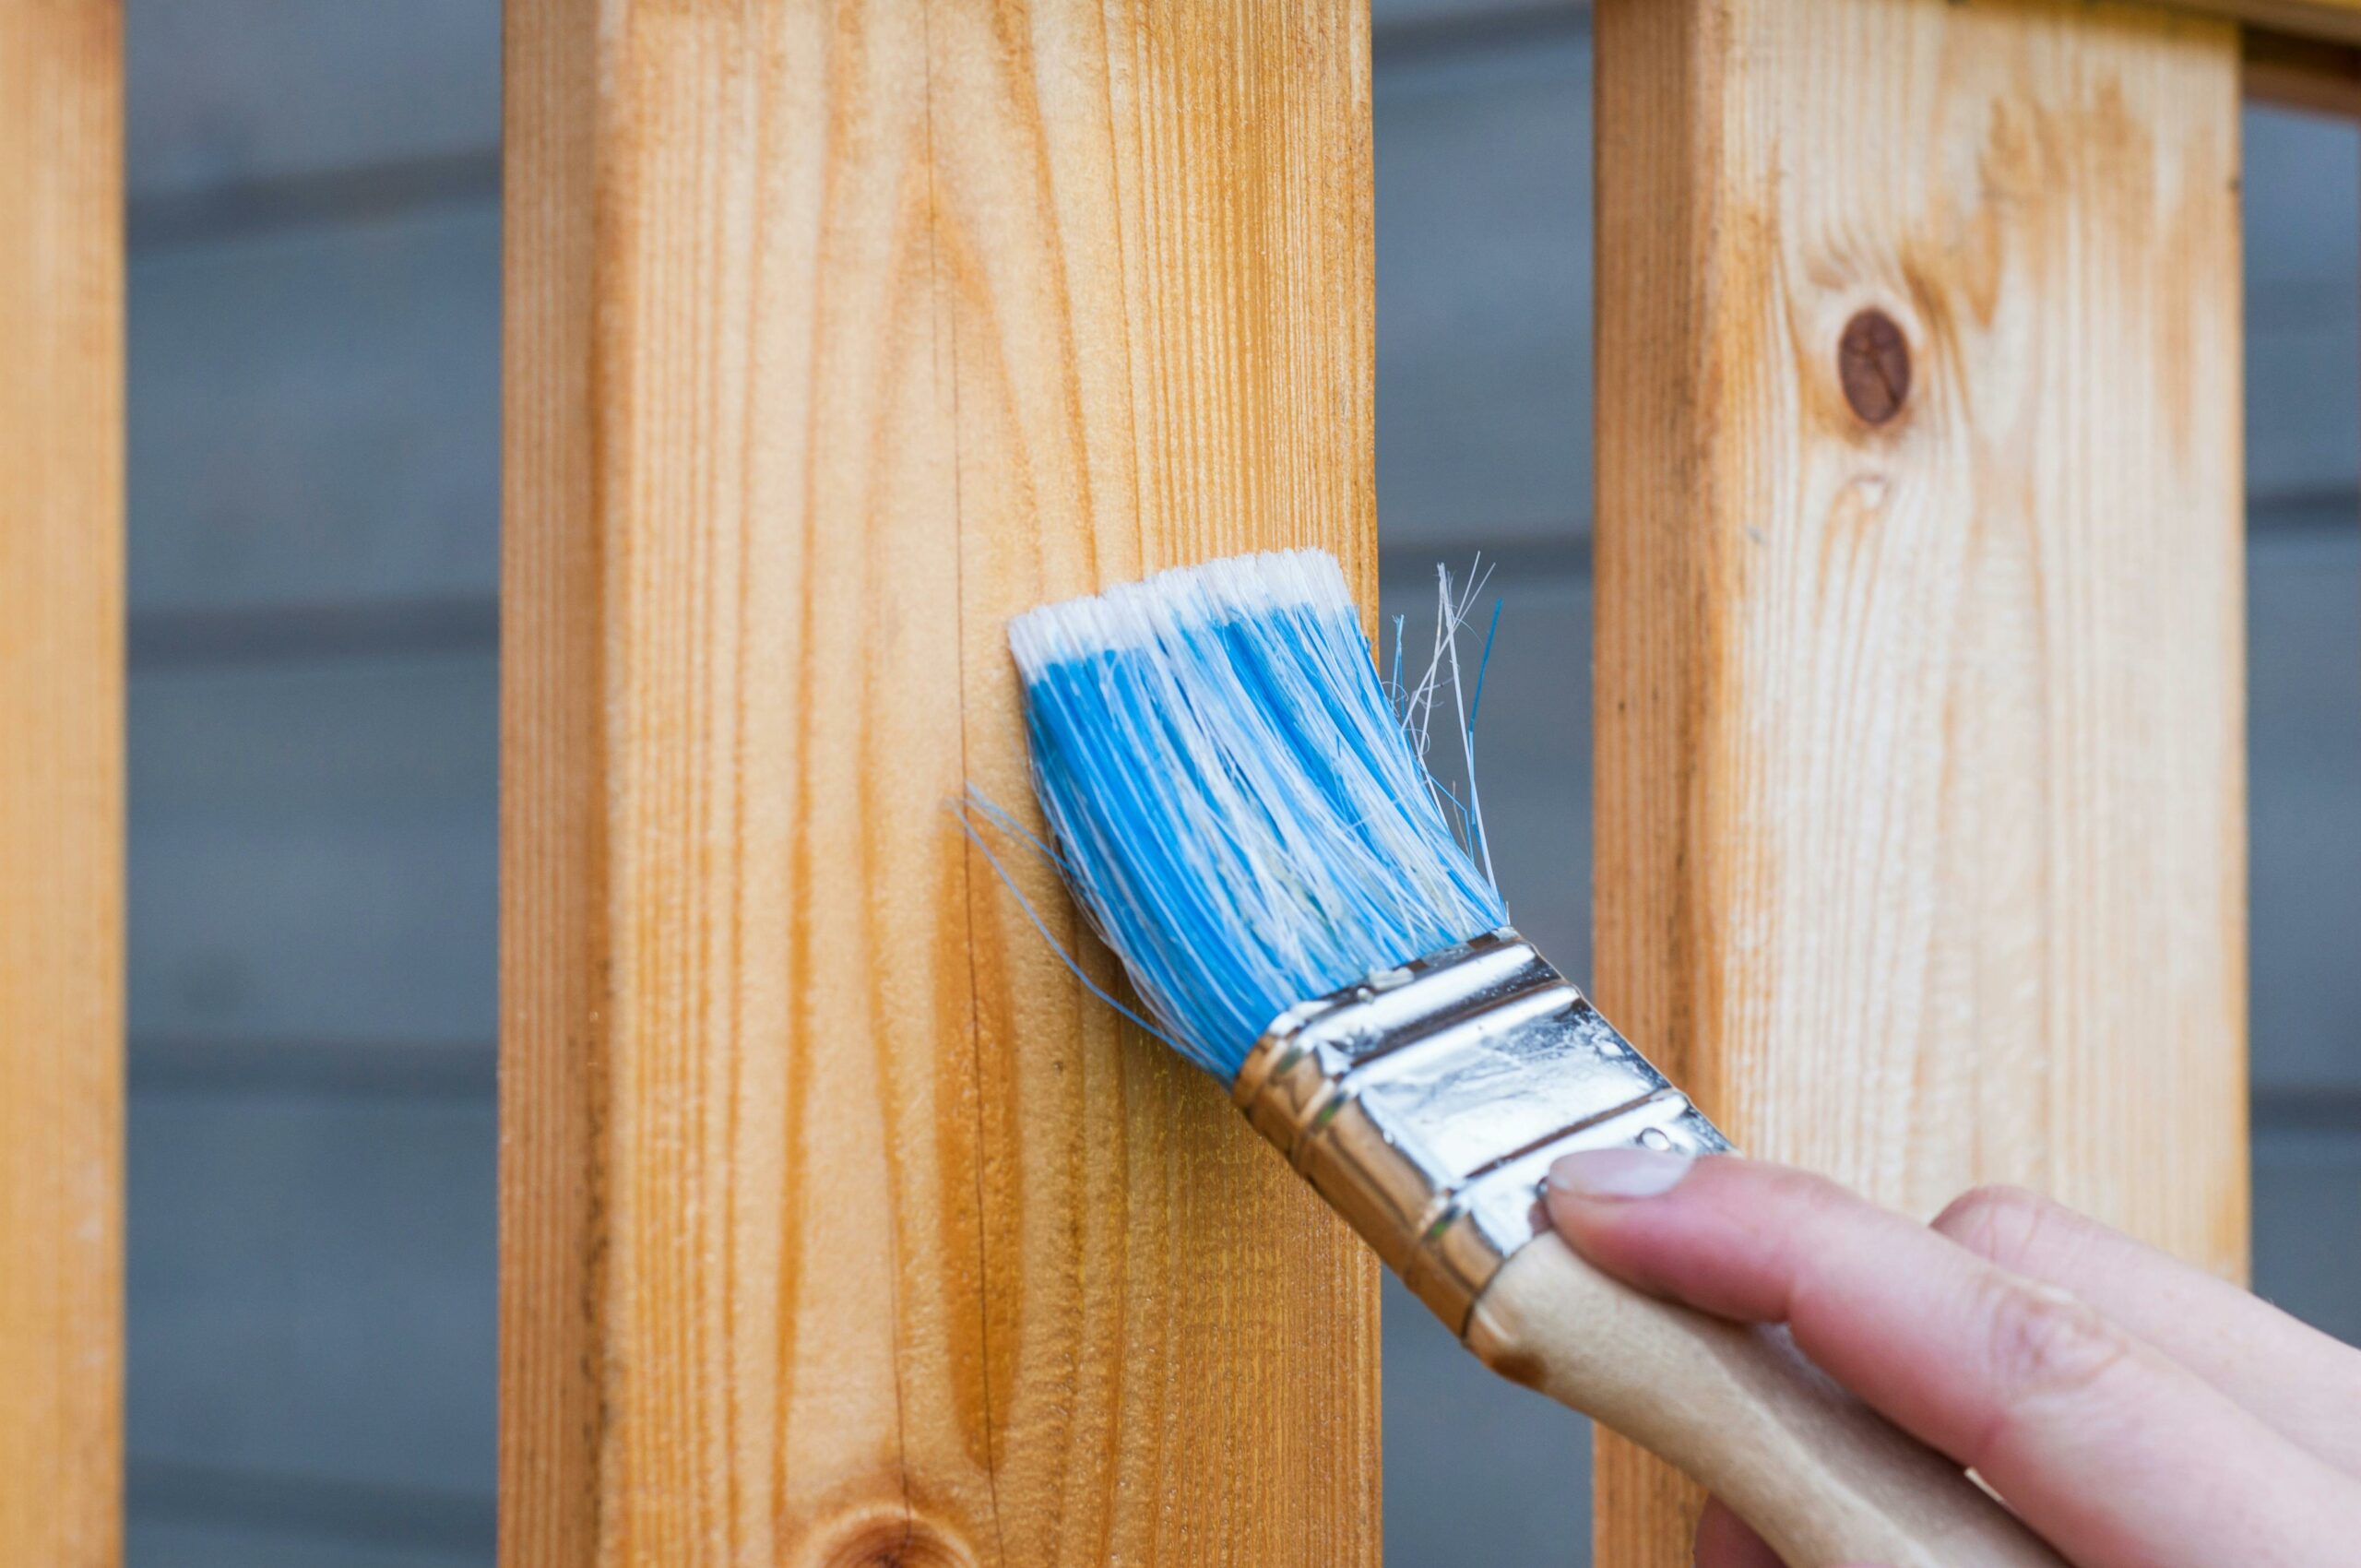
1. Use the Right Tools
You’ll need the right application tools to get the best results. A natural-bristle brush is ideal for oil-based stains, while a synthetic-bristle brush works well for water-based stains. Alternatively, you can use a lint-free rag or a foam applicator to apply the stain in a smooth, controlled manner.
2. Apply Stain Generously
When applying the stain, use a generous amount of product to ensure that it soaks into the wood evenly. Work in small sections, applying the stain with the grain and being careful not to leave puddles. Make sure to wipe off any excess stain after a few minutes, following the manufacturer’s recommended time for wiping.
3. Don’t Rush: Take Your Time
Softwood can be more prone to streaking or blotchiness if you rush the process. Take your time with each section, applying the stain in thin layers rather than trying to cover everything at once. This allows for better control and ensures a more even finish.
4. Consider Multiple Coats
For a deeper color, you may need to apply multiple coats of stain. Allow the first coat to dry completely (usually 4-6 hours) before sanding lightly and applying a second coat. This helps to build up color while ensuring the stain doesn’t get too heavy or uneven.
Sealing the Stain: Protection and Finish
After your stain has dried completely, it’s essential to seal the wood to protect the finish and lock in the color. Use a clear polyurethane, lacquer, or varnish depending on your desired level of sheen and durability. Water-based finishes work well for indoor pieces and will maintain the color of your stain without yellowing over time.
Sand Between Coats
For a smoother, professional finish, sand lightly between each coat of finish with a fine-grit sandpaper (around 220 grit). This helps to remove any dust or imperfections and ensures a smooth, durable surface.
Staining softwoods may present some challenges, but with the right preparation, tools, and techniques, you can achieve a beautiful, professional-looking finish. Remember, the key to success lies in preparing the wood properly, using a conditioner to prevent blotching, testing your stain first, and taking your time with the application. By following these steps, you’ll be able to enhance the natural beauty of your softwood projects and create stunning pieces that will last.
Comments
Add comment