Mastering the Art of Cutting Plexiglass: Tips and Techniques for DIY Enthusiasts
 Plexiglass, also known as acrylic sheeting, is a versatile and durable material that’s used in a wide range of DIY projects, from windows and skylights to signage and picture frames. While working with plexiglass may seem intimidating at first, with the right tools and techniques, you can easily cut it to size and shape to fit your needs. In this blog post, we’ll explore some helpful tips and techniques for cutting plexiglass like a pro.
Understanding Plexiglass
Before we dive into cutting techniques, let’s take a moment to understand what plexiglass is and why it’s a popular choice for DIY projects. Plexiglass is a transparent thermoplastic that’s lightweight, shatter-resistant, and easy to work with. It’s available in a variety of thicknesses and can be easily cut, drilled, and shaped using simple tools. Whether you’re building a custom display case or replacing a broken window pane, plexiglass is a versatile and cost-effective solution.
Choosing the Right Tools
When it comes to cutting plexiglass, having the right tools is essential for achieving clean, precise cuts. Here are some tools you’ll need:
- Utility Knife: A sharp utility knife with a retractable blade is perfect for making straight cuts in thin plexiglass sheets.
- Circular Saw: For thicker plexiglass sheets or more intricate cuts, a circular saw with a fine-toothed blade is ideal.
- Jigsaw: If you need to make curved or irregular cuts, a jigsaw with a fine-toothed blade will give you more control and precision.
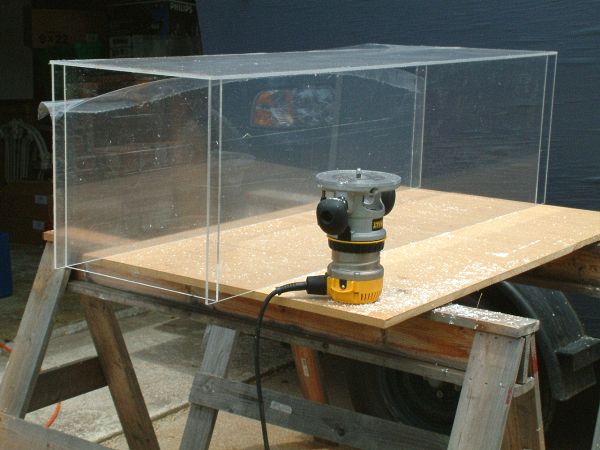
- Router: A router with a straight-cutting bit can be used to trim and shape edges for a clean and professional finish.
Cutting Techniques
Now that you have the right tools, let’s explore some cutting techniques for different types of cuts:
- Straight Cuts: To make a straight cut in plexiglass, use a straight edge as a guide and score the surface of the plexiglass with a utility knife. Then, carefully snap the plexiglass along the scored line. For thicker sheets, you may need to make multiple passes with the utility knife to achieve a clean cut.
- Circular Cuts: To make a circular cut in plexiglass, use a compass or template to trace the desired shape onto the surface of the plexiglass. Then, carefully cut along the traced line using a circular saw or jigsaw, making sure to go slowly and steadily to avoid chipping or cracking the plexiglass.
- Curved Cuts: For curved cuts or irregular shapes, use a jigsaw with a fine-toothed blade to carefully follow the traced line, making smooth and steady movements to achieve a clean cut.
- Routing Edges: After cutting your plexiglass to size, use a router with a straight-cutting bit to trim and shape the edges for a smooth and professional finish. Be sure to go slowly and use light pressure to avoid chipping or cracking the plexiglass.
Safety Tips
Working with plexiglass can be safe and easy if you take the proper precautions. Here are some safety tips to keep in mind:
- Wear safety goggles and gloves to protect your eyes and hands from flying debris.
- Work in a well-ventilated area to avoid inhaling fumes from cutting and sanding.
- Use clamps or a non-slip mat to secure the plexiglass while cutting to prevent it from slipping or moving.
With the right tools and techniques, cutting plexiglass can be a straightforward and rewarding DIY project. Whether you’re making straight cuts for a window pane or intricate shapes for a custom display case, the key is to go slowly, use the proper tools, and take safety precautions to ensure a clean and professional result. So why not unleash your creativity and start cutting plexiglass for your next DIY project? With a little practice and patience, you’ll be amazed at what you can create.
Comments
Add comment