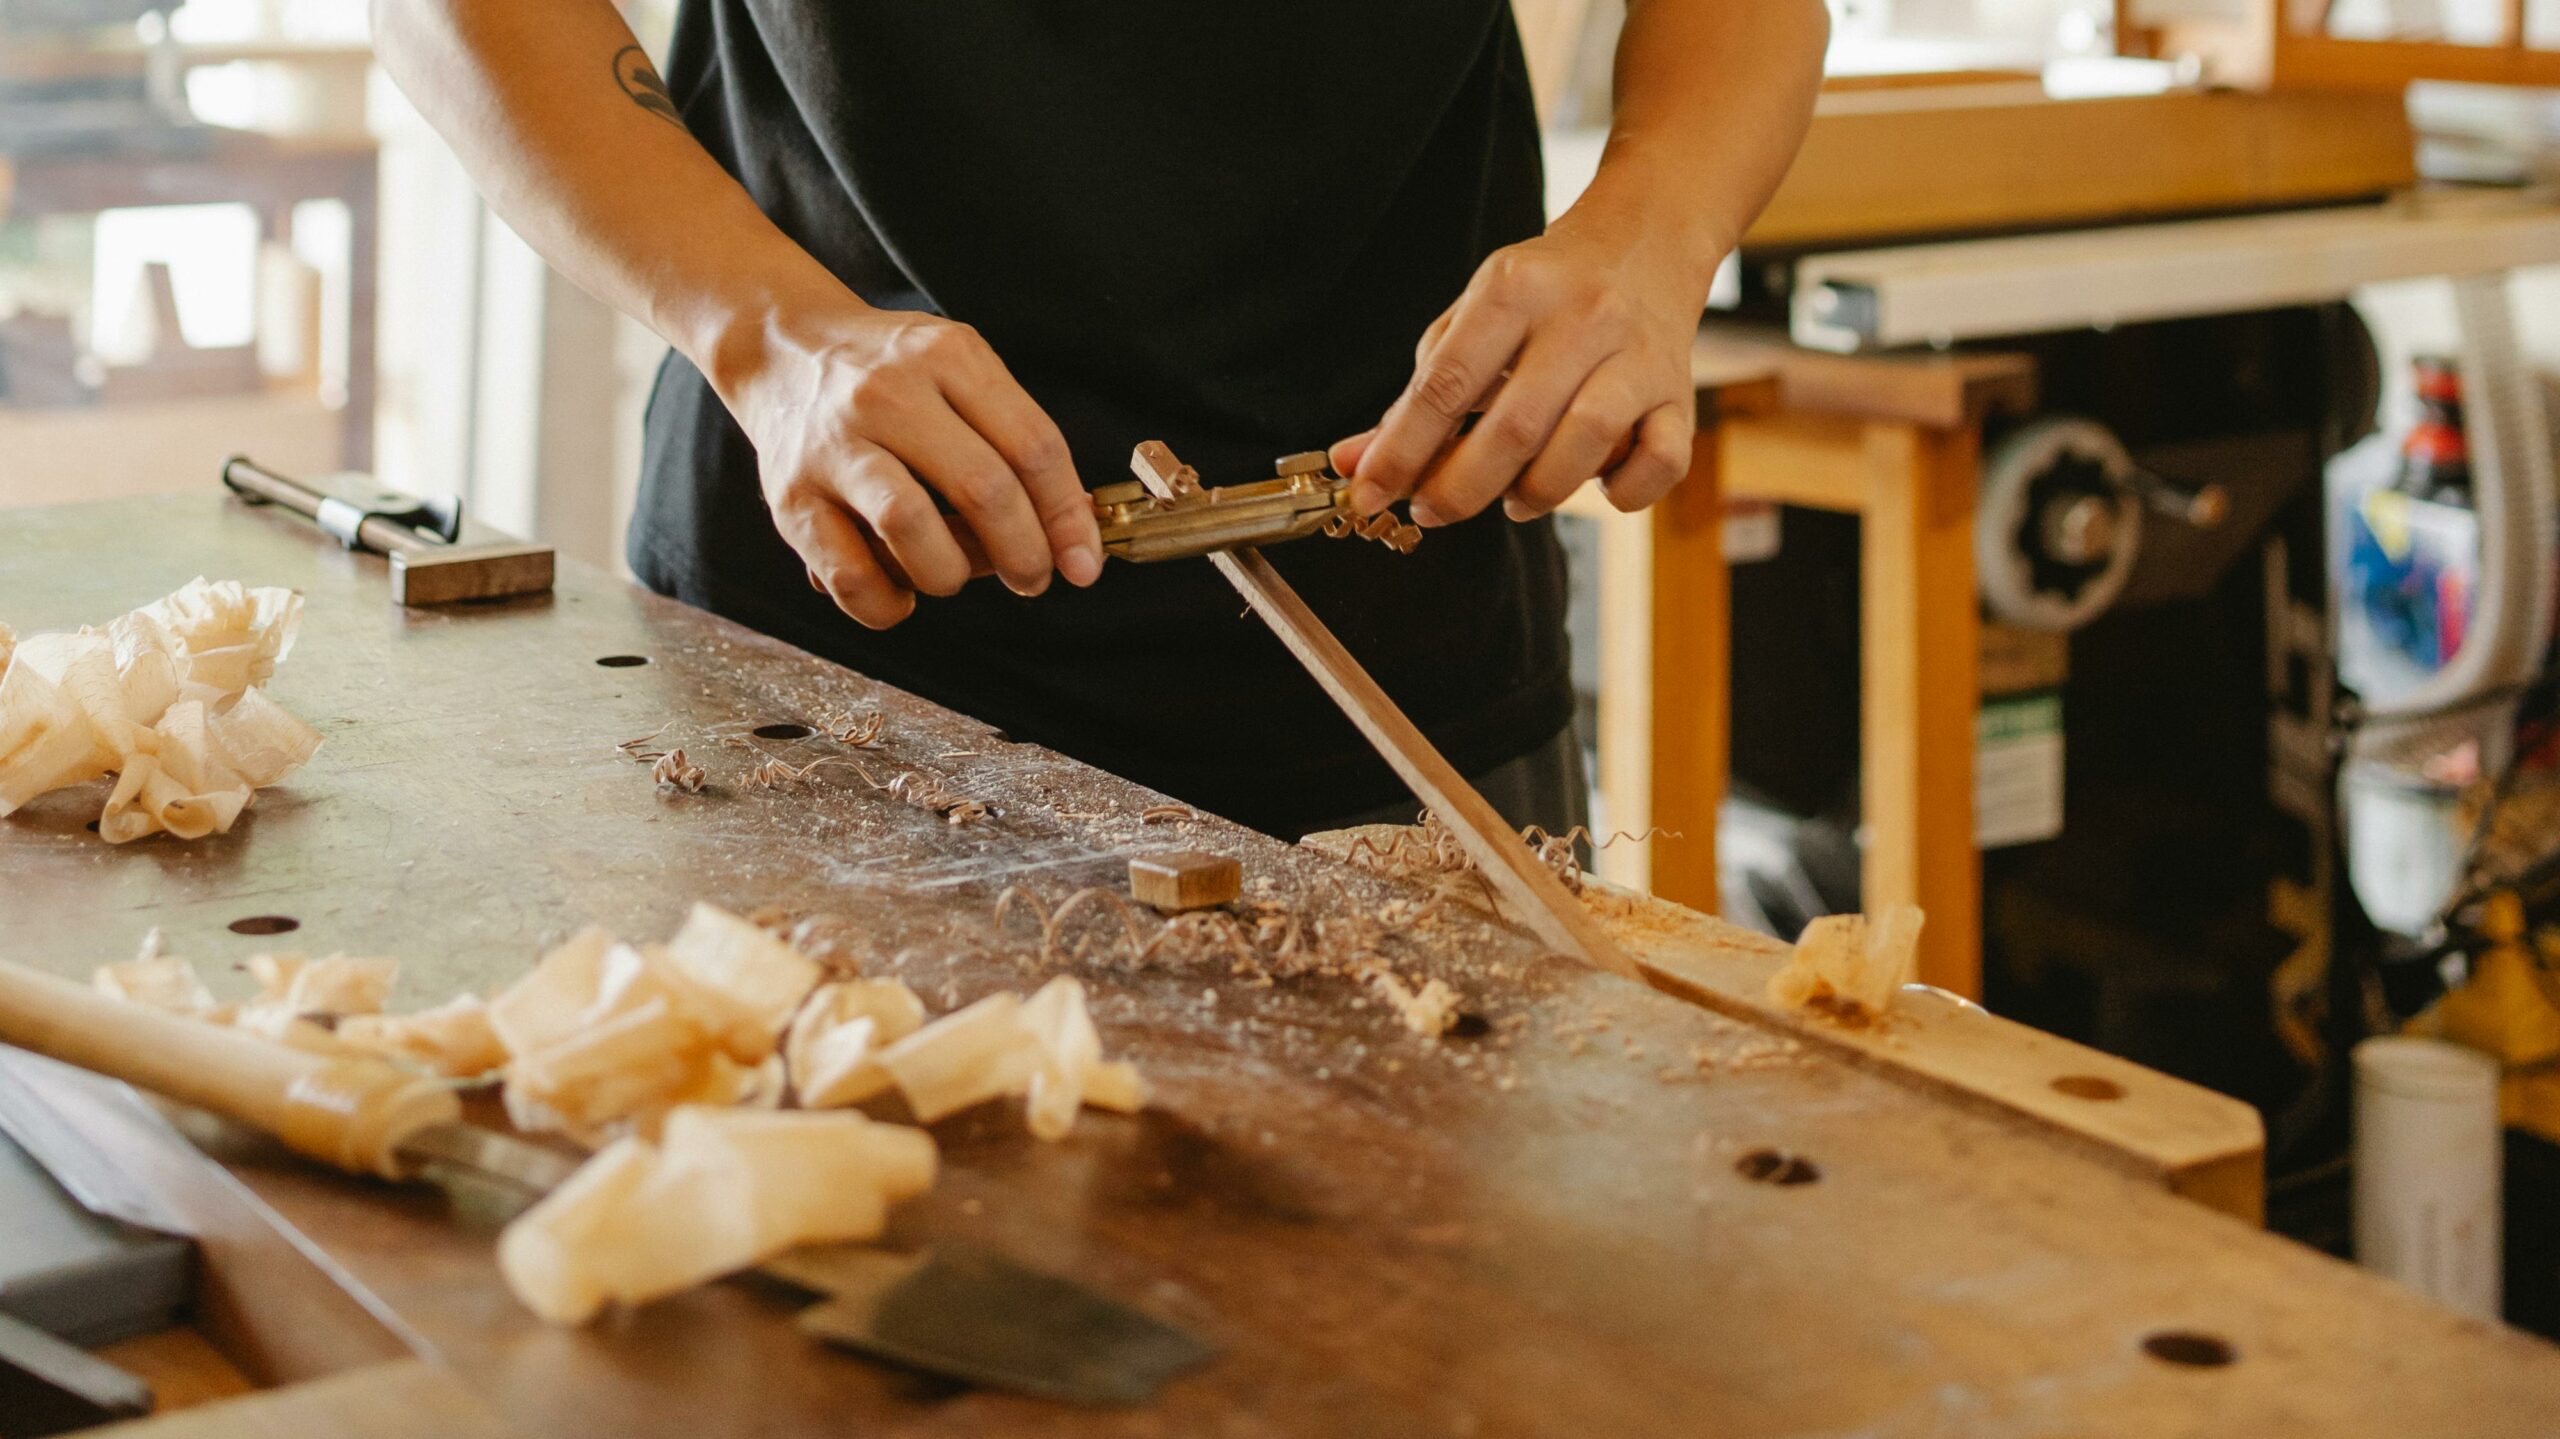
Mastering Carpentry: Tips for Handling Damage Like a Pro

Carpentry is a skilled craft that adds beauty, functionality, and value to homes and structures. However, even the most expertly crafted woodwork can experience damage over time due to various factors like wear and tear, moisture, pests, or accidents. Knowing how to handle carpentry damage effectively is crucial for maintaining the integrity and aesthetics of your woodworking projects. In this blog post, we’ll explore essential tips for handling damage with carpentry skills like a pro.
Assessing the Damage
The first step in addressing carpentry damage is to thoroughly assess the extent and nature of the damage. Different types of damage require specific repair techniques, so take the time to inspect the affected area and identify the underlying issues.
- Cracks and Splits: Check for cracks or splits in wooden surfaces, joints, or structural elements. Determine if the damage is superficial or extends deeper into the wood.
- Water Damage: Look for signs of water damage, such as warping, discoloration, or mold growth. Identify sources of moisture and address any leaks or ventilation issues.
- Insect Infestation: Inspect wood for signs of insect infestation, such as holes, sawdust, or insect activity. Identify the type of pests involved and take appropriate measures for extermination and prevention.
Choosing the Right Repair Method
Once you’ve assessed the damage, choose the appropriate repair method based on the type and severity of the damage. Here are common carpentry repair techniques for handling different types of damage:
Filling and Patching
- Wood Filler: Use wood filler to fill cracks, holes, or gaps in wooden surfaces. Choose a wood filler that matches the color and grain of the wood for a seamless repair.
- Epoxy Resin: For larger cracks or structural repairs, epoxy resin provides a durable and strong bonding solution. Mix epoxy resin and hardener according to the manufacturer’s instructions, apply it to the damaged area, and shape it to match the surrounding wood.
Replacing Damaged Components
- Replace Rotted Wood: If wood has rotted due to moisture or decay, carefully remove the damaged sections and replace them with new wood. Treat the new wood with wood preservatives or sealants to prevent future damage.
- Repairing Joints: Loose or damaged joints can compromise the structural integrity of furniture or structures. Reattach joints using wood glue, clamps, or screws, and reinforce them with dowels or metal brackets if necessary.
Refinishing and Restoring
- Sanding and Refinishing: Sanding is an essential step in repairing and refinishing damaged wood surfaces. Use sandpaper or a power sander to smooth rough areas, remove old finishes, and prepare the wood for refinishing.
- Staining and Sealing: Apply wood stain to match the color of the repaired area with the surrounding wood. Once the stain has dried, seal the wood with a clear coat or varnish to protect it from moisture, UV rays, and wear.
Preventive Maintenance Tips
In addition to addressing existing damage, implementing preventive maintenance measures can help protect carpentry projects from future damage:
- Regular Inspection: Perform regular inspections of wooden structures, furniture, and surfaces to detect and address potential issues early.
- Moisture Control: Maintain proper ventilation, address leaks promptly, and use wood preservatives or sealants to protect against moisture damage.
- Pest Prevention: Implement pest control measures, such as sealing cracks and crevices, using insect repellents, or treating wood with insecticides.
Handling damage with carpentry skills requires a combination of assessment, repair techniques, and preventive maintenance. By assessing damage accurately, choosing the right repair method, and implementing preventive measures, you can effectively restore and protect wooden structures, furniture, and surfaces. Whether you’re a DIY enthusiast or a professional carpenter, mastering carpentry repair techniques is essential for maintaining the beauty and functionality of your woodworking projects for years to come.
Comments
Add comment