
Make a mobile countertop or server
Posted by Tanya Schutte in Project Plans
When you need extra counter space or a mobile server or bar cart, this kitchen cart is the perfect solution. It can be as sleek or as casual as you like, depending on your colour choices and finishes. While this cart is fitted with a butcher block, a more affordable option would be to fit a Formica Laminate countertop that you will find at your local Builders Warehouse.

![]()
- 1 of 500 x 800mm 18mm PG Bison SupaWood – base
- 1 of 600 x 900mm material of choice – top
- 4 of 1,8 metre lengths of 77mm wide PAR pine – cut to 800mm length*
- 2 of 77 x 836mm 18mm PG Bison SupaWood – bottom side apron
- 4 of 77 x 500mm 18mm PG Bison SupaWood – bottom/top apron ends
- 2 of 100 x 1076mm 18mm PG Bison SupaWood – top side apron
- 19mm dowel – cut to fit
- 3 x 30mm wood screws
- 30mm panel pins
- Screw caps
- Wood glue
- Wood filler
- 220-grit sandpaper
- 4 castors and 16mm screws
- 6 steel brackets/braces and 16mm screws to attach countertop
- Hammer
- Jigsaw and clean cut blade
- Drill/Driver and assorted bits
- Countersink bit
- 19mm Forstner or MAD bit
- Clamps
- Tape measure and pencil
- Clamps
- Paintbrush, foam roller and paint tray
- 1 litre Plascon Sure Coat matt acrylic
*For a higher countertop increase the length of the legs
![]()
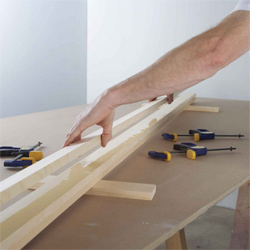
Construct legs
For each pair of legs, glue two 800mm pieces of 770mm wide PAR pine together with wood glue and clamps. Leave to dry overnight.

Shape, cut and drill
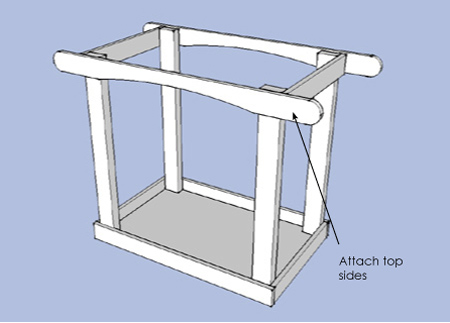
On each of the upper side aprons, round the overhanging ends with a jigsaw and then use a 19mm Forstner or MAD bit and drill/driver to make holes, 5mm deep. These will hold the 19mm dowel for towel rack/handle on each end. Using a jigsaw, cut an arch starting 250mm from each end and 30mm from top at centre.
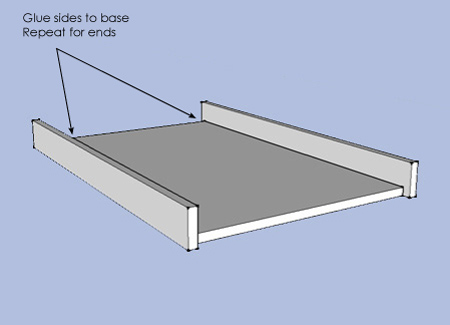

Assemble
Attach the bottom aprons to the base with wood glue and 30mm panel pins.
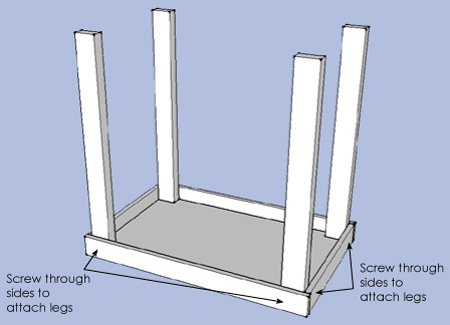
Attach the legs to the base surround with wood glue and two 3 x 30mm wood screws.
Countersink to attach the base to each leg with 2 screws.
Cover all exposed screw heads by gluing on screw caps.
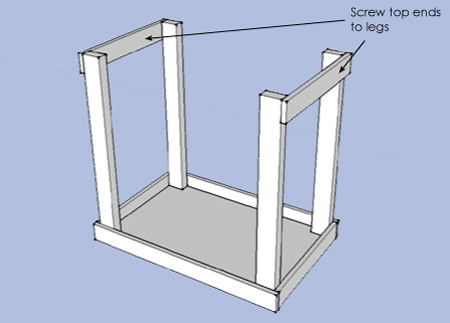
Attach the top end aprons to the legs with screws and then screw the side aprons to the legs.
Finish edges
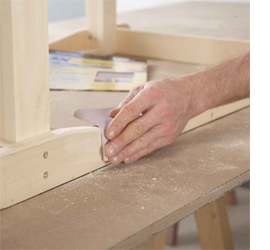
Chamfer (round off) all the edges of the upper and lower surrounds, the bottom edge and outside of handles on the upper (but not the arches) and the corners and top edge of the lowers.
Use an orbital sander and 220-grit sandpaper, or hand sand if you don’t have a sander.
Fill and sand
Fill any holes and gaps with wood filler. Let dry, then sand with 220-grit sandpaper.
Add wheels
Attach castors with screws.
Finishing
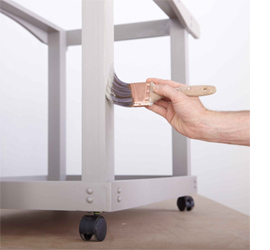
Apply Plascon Sure Coat in your choice of colour. Wipe clean before painting to remove all traces of dust.
Use a paintbrush to paint into corners and foam roller for flat surfaces. Allow to dry before applying a second coat.
Finish and attach butcher block or countertop
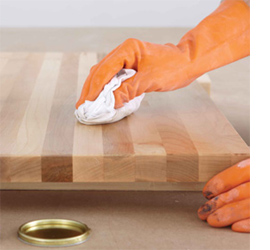
Attach the countertop to the frame with brackets or braces screwed to the inside of the frame top and the countertop. Oil the butcher block top with butcher block oil or boiled linseed oil and fix to cart by screwing from below through the spacers.
[ images via home depot ]
![]()
Comments
Add comment