Get Your Trim Router To Do More
Posted by Siphesihle Hato in Uncategorized

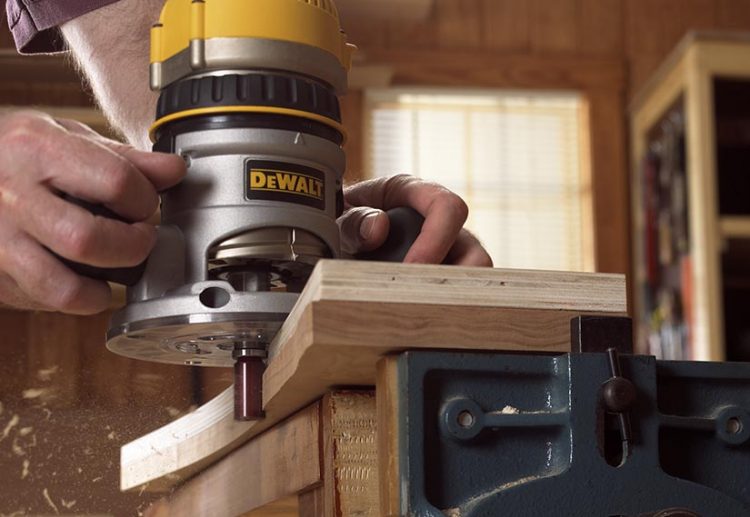
It’s not always necessary for David to kill Goliath; sometimes it’s enough to just push him aside. Introduce yourself to David, the trim router that only requires one hand to operate (aka: laminate trimmer). For many years, the full-size router has played the starring part of the giant, ruling supreme in the realm of fine profile and joinery work. On the other hand, the times they are a-changing. Here are several ways in which a trim router may help you out in the workshop, whether it’s by cutting down on the need for a larger router or by allowing you to get the job done more quickly and affordably.
Trim routers designed for a particular job
It’s typical to see round-overs and chamfers, then coves and beads. We find that keeping a 1/8″ stock of these parts helps us save time during setup and replacement “trim router with a round-over bit installed and a chamfer bit set at 45 degrees. Many trim routers can be purchased for around R 1 500, meaning that three trim routers might be purchased for the price of one 3-hp router.
Excellent flutes
Using a round-nose or core-box bit in your trim router can make rapid work of routing flutes. The compact footprint of these routers’ bases makes it easy to position a straightedge in close proximity to the workpiece in the event that you don’t have a removable edge guide (which is included with certain small routers but not others). Those with square underbores can confidently cut the flutes by following that straightedge.
Mortises for hinge pins that don’t protrude
Routing shallow hinge mortises using a trim router is a no-brainer. While balancing a full-size router on the edge of a workpiece, it can easily tip over (a door, for example). A trim router, however, simplifies the process because to its compact design, low weight, and low center of gravity. Using a top-bearing dado cleanout bit with a narrow cutterhead, create a template. If necessary, use a chisel to round out the corners.
Inlay grooves that need no extra effort
Using decorative inlays in your work makes it look more artisanal. In order to reach into small, hard-to-reach areas, like the space between a table’s leg apron and the leg itself, a trim router is used. If you want perfectly straight grooves, use a straightedge as a guide or fasten an edge guide to the router’s base. You can either use a straight bit or a downcut spiral bit.
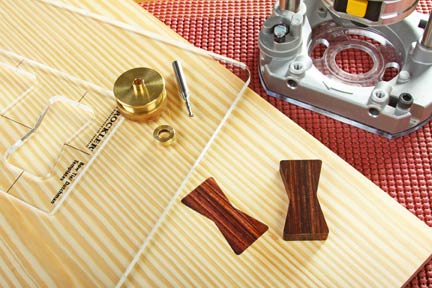
Butterfly-shaped patches
One of our go-to fixes for blemishes like ugly knots or splits is a butterfly (or similar decorative patch). For material removal and patch removal, a trim router is recommended. Using a top-bearing bit or guide bushing and a template, a trimmer performs admirably. Whether you’re using a straight bit or a downcut spiral bit, the trim router becomes an extension of your hand when freehand routing. The butterfly should be cut out first, its pattern traced over the defect, and the void removed by beginning in the defect’s center and working one’s way outward. Use the chisel to make clean cuts on the interior of the corners.

Flush Trimming
When it comes to flush trimming laminate, veneer edge banding, and solid-wood edging, trim routers are still among the best tools you can use. A bearing-guided flush-trim bit works best for this purpose. Climb-cutting Routine (for 1/4 Inch “) thick or less) to prevent grain tear-out.
Comments
Add comment