Crafting a Leaning Ladder-Style Display Shelf: A Stylish DIY Project
Posted by Siphesihle Hato in How To Guides

If you’re looking to combine functionality with modern aesthetics, a leaning ladder-style display shelf is a fantastic DIY project. This sleek, space-saving piece adds a touch of sophistication to any room while offering ample storage and display options. Building your own ladder-style shelf not only allows you to customize the design to fit your space but also provides a gratifying hands-on experience. Here’s a step-by-step guide to help you craft your own stylish display shelf.
Materials and Tools
Before you begin, gather the necessary materials and tools. You’ll need:
- Wooden boards (typically 1x4s or 1x6s for the shelves)
- 2x4s or similar for the ladder frame
- Wood screws or nails
- Wood glue
- Sandpaper
- Paint or stain (optional)
- Saw
- Drill
- Measuring tape
- Level
Step-by-Step Construction
- Measure and Cut the Wood: Start by measuring the space where you plan to place your shelf. Decide on the height and width of your ladder-style shelf and cut the wooden boards accordingly. You’ll need two long boards for the sides of the ladder and several shorter boards for the shelves.
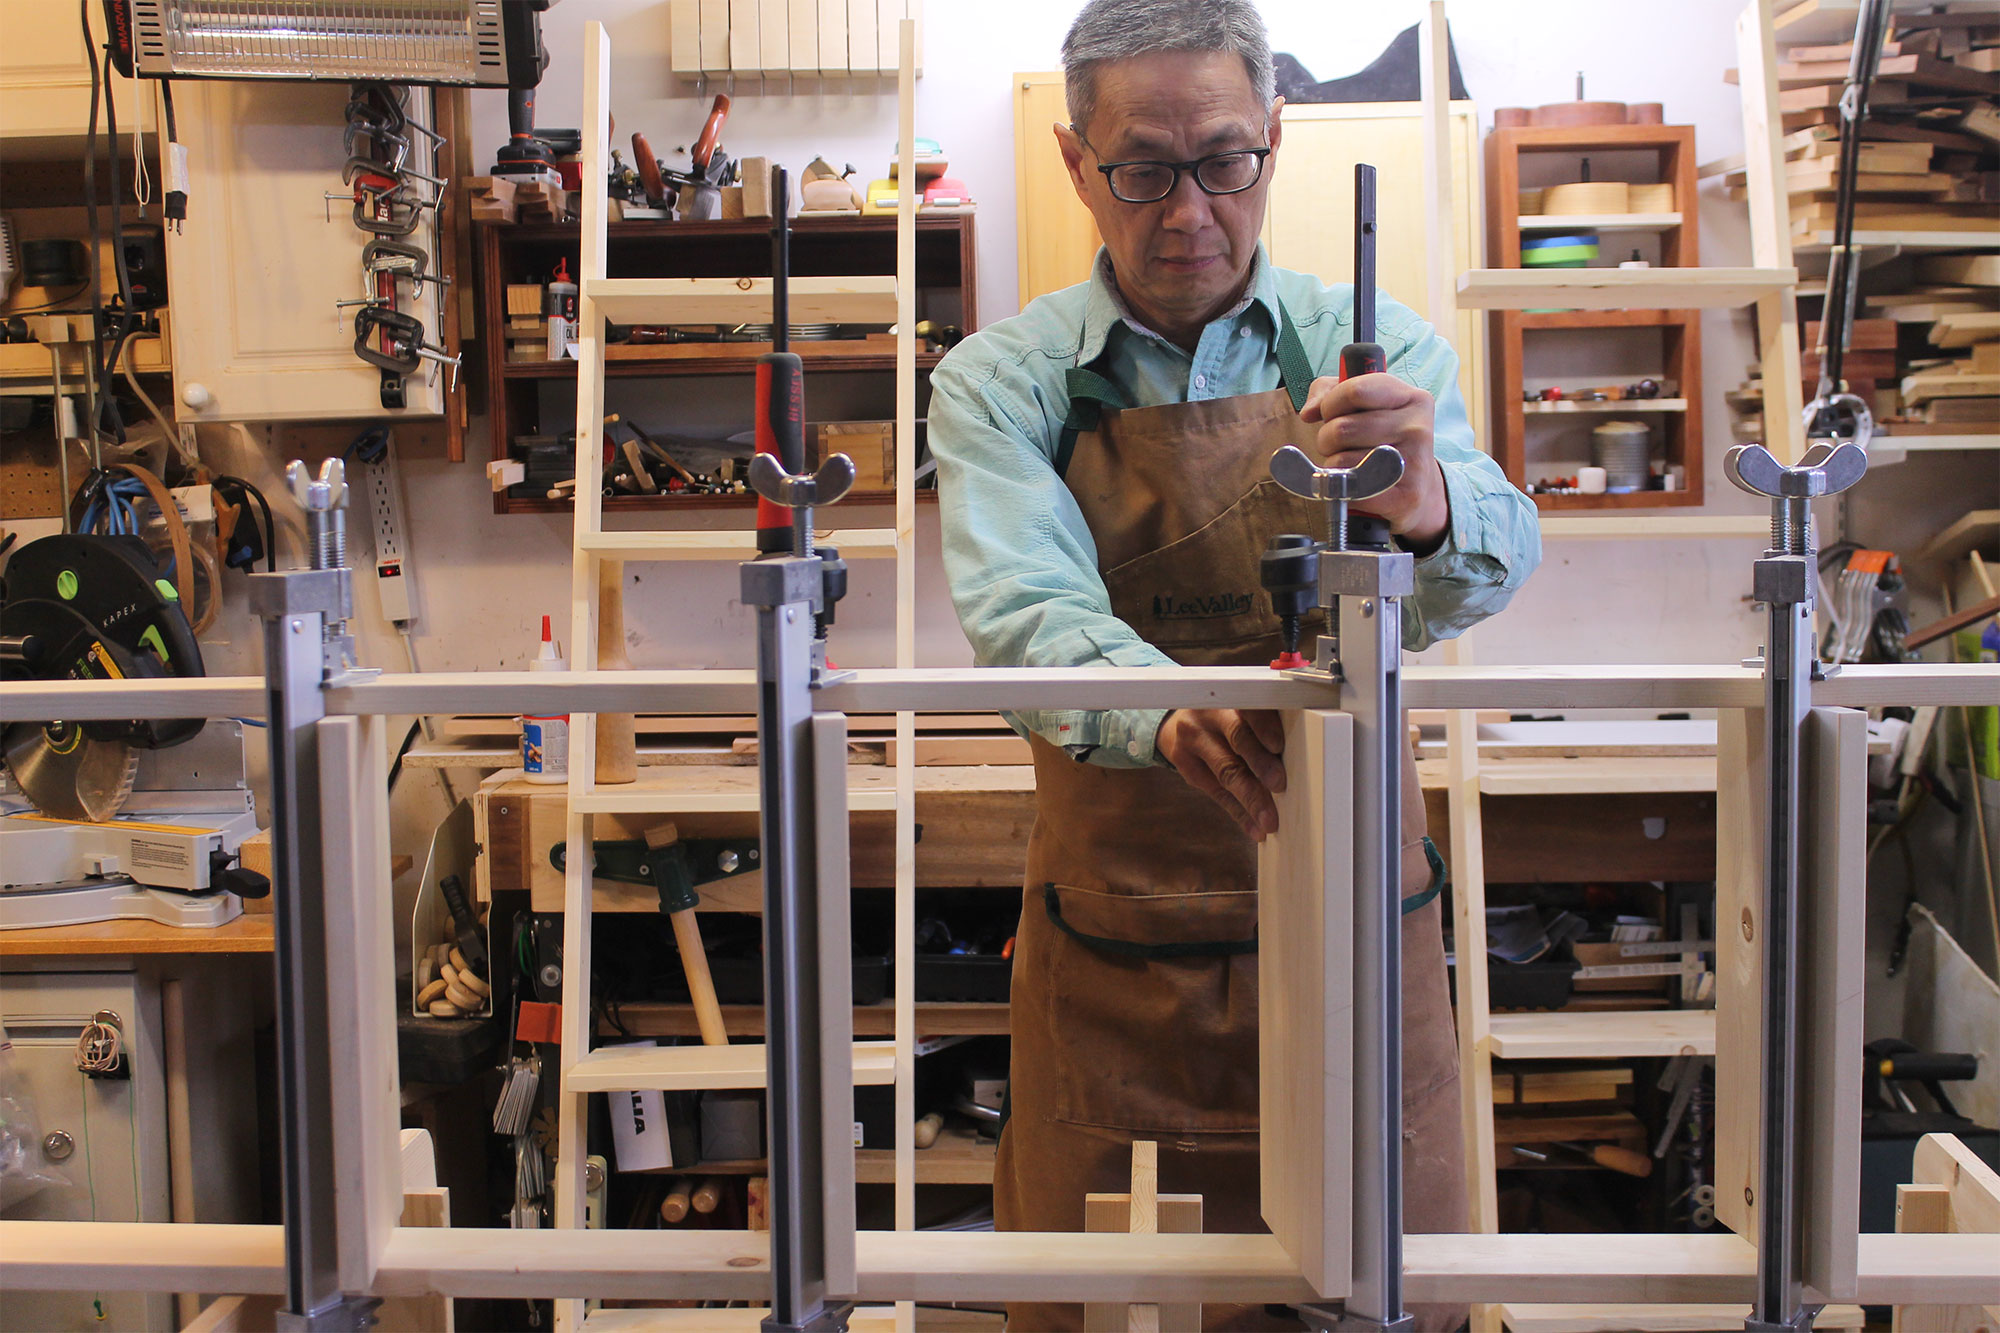
- Assemble the Ladder Frame: Position the two long boards vertically and attach them with horizontal rungs (the shorter boards) spaced evenly apart. For a sturdy frame, use wood glue at the joints and reinforce with screws or nails. Ensure the frame is square and level before securing everything in place.
- Attach the Shelves: Once the frame is assembled, attach the shelves to the rungs. Depending on your design, you might want the shelves to be flush with the sides or slightly inset. Use wood glue and screws for a secure fit. Make sure each shelf is level and evenly spaced.
- Sand and Finish: Sand the entire shelf to smooth out any rough edges or surfaces. If desired, apply a paint or stain to match your decor and protect the wood. Allow the finish to dry completely before moving on to the next step.
- Mount the Shelf: Lean the finished shelf against the wall. For added stability, you can secure the top of the ladder to the wall with brackets or wall anchors. This ensures the shelf won’t tip over and keeps it firmly in place.
Final Touches
Once the shelf is mounted, arrange your favorite items—books, plants, or decorative objects—to complete the look. The leaning ladder-style display shelf not only provides functional storage but also serves as a stylish focal point in your room.
Building a leaning ladder-style display shelf is a rewarding project that enhances both your home’s decor and your woodworking skills. With a few materials, basic tools, and a bit of creativity, you can craft a custom piece that perfectly fits your space and showcases your style. Enjoy the blend of form and function as you admire your handiwork and the unique touch it adds to your living area.
For a more in depth step-by-step guide, hop on to LeeValley.com to learn more.
Comments
Edmund Nyamupepema says
Thank you so much! I am going to make this one for hanging herb planters/pots indoors for my wife.
Add comment
replies
Add comment