Smart Gluing Techniques: Elevating Woodworking Projects to New Heights
Posted by Siphesihle Hato in Encyclopedia of Woodworking
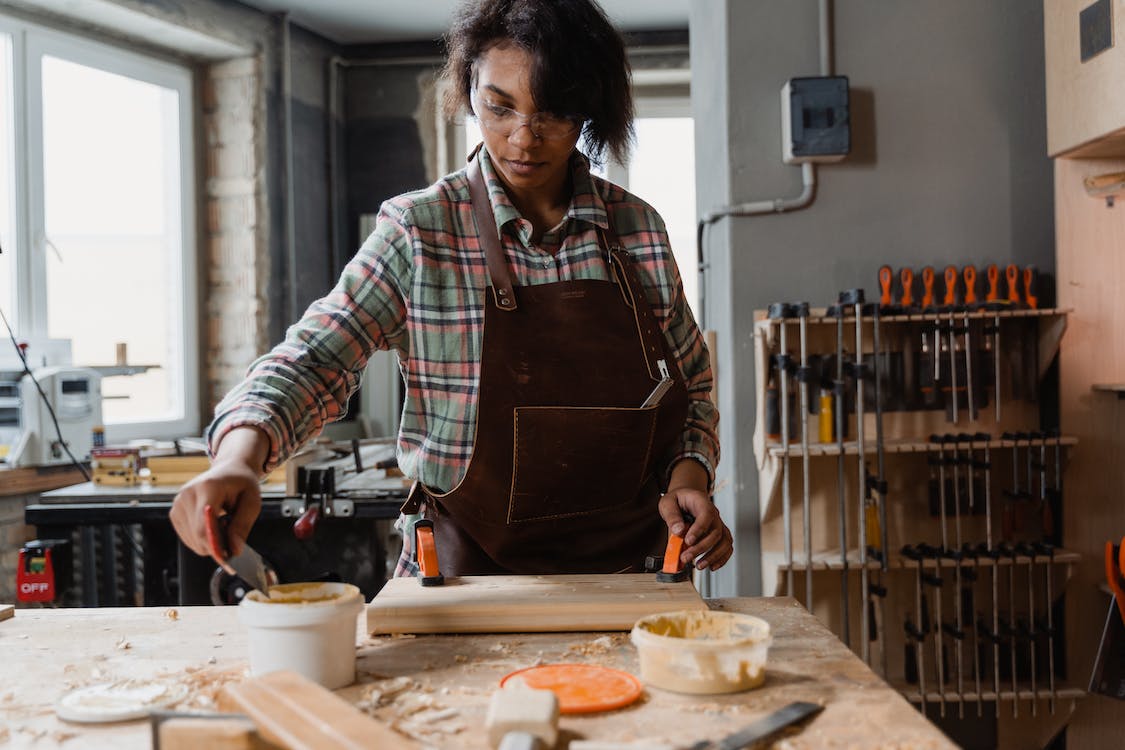
In the realm of woodworking, glue is often the unsung hero that holds projects together. However, mastering the art of gluing is more than just joining two pieces of wood; it’s about creating strong, durable bonds that stand the test of time. By employing smart gluing techniques and methods, woodworkers can ensure impeccable craftsmanship and elevate their projects to new heights.
 Surface Preparation:
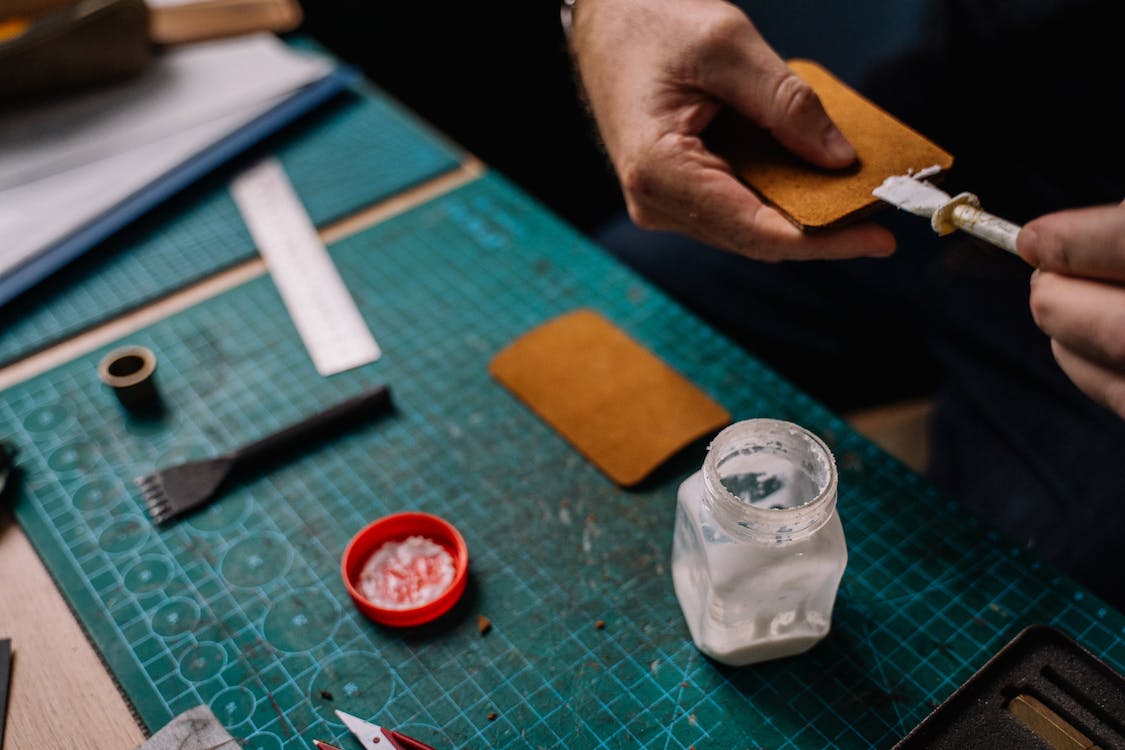
Before applying glue, ensure that the surfaces to be bonded are clean, dry, and free from dust or contaminants. Sanding the surfaces lightly can create a better bond by increasing the contact area and enhancing adhesion.
Choosing the Right Glue:
Different woodworking projects may require different types of glue. PVA (polyvinyl acetate) glue is versatile and suitable for most wood joints. However, for outdoor projects or those subject to water exposure, consider using waterproof glue like polyurethane or epoxy for added durability.
Proper Clamp Application:
Clamps play a crucial role in ensuring strong and even glue joints. Apply adequate pressure using clamps that are appropriately sized for the project. Place small pieces of wood between the clamp jaws and the workpiece to distribute pressure evenly and prevent denting.
Even Glue Application:
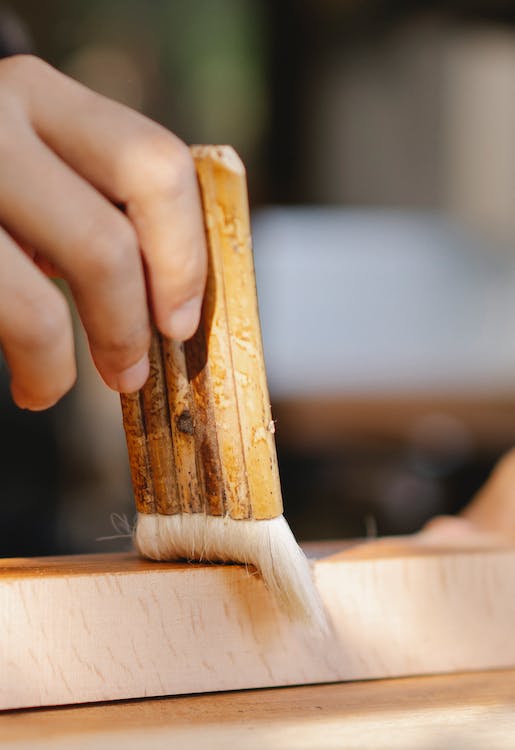
Apply glue evenly to both surfaces that will be bonded. Use a small brush or a roller to spread the glue, ensuring complete coverage. Uneven glue distribution can result in weak spots and compromise the integrity of the joint.
Open Time Awareness:
Different glues have varying open times, which is the time during which the glue remains workable before it starts to set. Be aware of the open time of the glue you’re using, and assemble the joint promptly to prevent premature drying or uneven bonding.
Joinery Techniques:
Smart gluing goes hand in hand with effective joinery. Choose the appropriate joint for your project, such as dovetail, mortise and tenon, or box joint, to complement your gluing technique and enhance the overall strength of the bond.
Excess Glue Removal:
While it’s important to apply enough glue, excess glue can lead to messy joints and compromise the finish of your project. Wipe away excess glue with a damp cloth or sponge before it dries, ensuring a clean and professional look.
Clamping Time and Pressure:
Different glues have different clamping requirements. Some glues require minimal pressure, while others need stronger clamping. Follow the manufacturer’s guidelines for clamping time and pressure to achieve optimal bond strength.
Curing and Drying Period:
Allow sufficient time for the glue to cure and the joint to dry. Rushing this step can lead to weakened bonds. Follow the recommended drying time on the glue bottle, and resist the urge to handle the glued joint until it’s fully cured.
Mastering the art of gluing is a cornerstone of successful woodworking. By implementing smart gluing techniques and methods, woodworkers can ensure their projects are built to last, with strong and reliable bonds that stand up to time and use. From surface preparation to proper clamp application and appropriate joinery, each step contributes to the overall quality of the finished piece. By investing time and attention into the gluing process, woodworkers can take their craftsmanship to a higher level, producing woodworking projects that exude durability, beauty, and precision.
Comments
Add comment