How to make and hang a wooden shelf
Posted by jasonmain in How To Guides
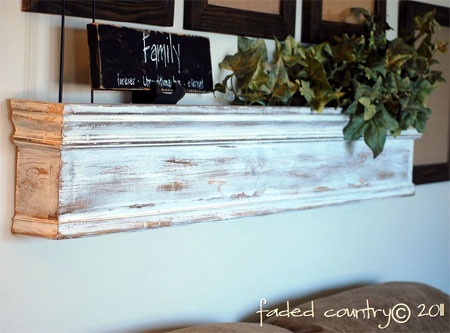
Love this project by Sarah at Faded Country. The nice thing about this shelf is that you can easily hang in a rental home. Just use a couple of picture hanging nails to mount onto the wall. When you move out, fill in the holes with a bit of Polyfilla!

DIFFICULTY: Easy
ESTIMATED TIME: A Weekend
MATERIALS:
- Pine moulding and trim
- 8 angle braces/brackets
- 16mm wood screws
- Long panel pins
- Hammer
- Mitre box and backsaw
- 2 picture hangers (sawtooth type)
- 2 large picture hanging nails
- Wood glue
- Acrylic sealer
- Drill/Driver plus assortment of bits
1800mm length of 76mm wide pine cut to:
3 x 76mm 1000mm shelf front/top/bottom par pine
2 x 76mm 56mm end pieces pine rails

Step 1: Apply wood glue to one end of the top and bottom and place against the shelf front as shown left. Place the angle braces/brackets on the inside and use 16mm screws to hold everything together for a sturdy project.

Step 2: Apply wood glue to the end pieces and insert these at both ends of the shelf assembly. Let the wood glue dry.

Step 3: While you wait for the wood glue to dry you can start cutting the moulding and trim to length. You will use a mitre box and backsaw to do this. Cutting the corners is easy – you just have the visualise the angle that needs to be cut – and double check just in case!”
I had never used one of these. You must hold your trim pieces at the same angle as they will be used on the wall or in my case the shelf. My muscles grew from this project and I now want a miter saw!” says Sarah.

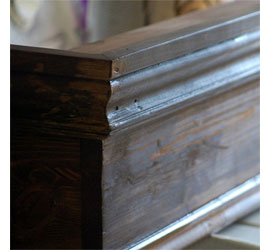
Step 4: The photo below shows my bottom trim attached with wood glue and panel pins. Now, my mitered corners are not perfect and neither were some of the boards. Not to worry my friends. Sealer to the rescue! Sealer will fill in those imperfections to make them a little more like perfection. It was my friend for this project!

Step 5: One dry it is time to sand. I like the rustic worn look, so seeing the nail heads doesn’t bother me.

Step 6: Use a cloth to apply your choice of Woodoc Gel Stain. You can of course leave it as it is or do what I did – break out the paint. White paint. Go ahead and paint. Let it dry. Now sand to your little hearts content. However rusty chic ya want. Hang on wall and enjoy.

![]()
Comments
Add comment