
How To Make A Wine Rack
Posted by Odette Nieuwoudt in Project Plans
This easy wine rack is made using PG Bison SupaWood that is painted to give it a faux wood finish. The idea behind this project is to show that you can paint PG Bison SupaWood for a wood-like finish.
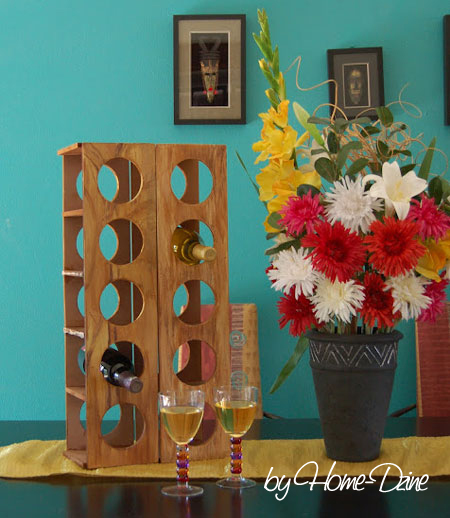
This wine rack is actually made using 9mm PG Bison SupaWood that is stained to give it a natural wood effect. We would have made it out of timber, but it’s very difficult to find timber this thin.

- 9mm SupaWood 2 x 150 x 630mm front/back
- 9mm SupaWood 6 x 150 x 150mm sides
- Joiner’s Mate adhesive
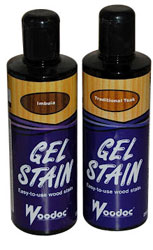
- Woodoc gel stain: – traditional teak – – imbuia
- Foam applicator
- Paintbrush
- Acrylic PVA – pale yellow
- Rubber gloves
- Tape measure
- Pencil
- Ruler
TOOLS

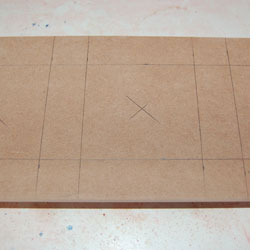
1. It’s far easier to have all your pieces cut to size, but if this isn’t possible you can easily cut 9mm supawood with a jigsaw.
2. Mark the front section to allow for a 30mm gap between 90mm bottle holes and edges.
3. Where you marked for bottle holes, draw diagonal lines to determine centre point. This is where you will place
the drill bit on the hole saw.
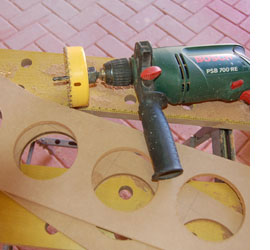
4. Place the front and back sections together on a scrap piece of pine and clamp
securely to your workbench.
5. Only mark the front and sections with the drill bit on the hole saw. By doing this you only have to mark on one piece. Use the hole saw to cut out to half the depth of the hole and then turn over to continue to cut out the hole.
6. This gives you neat edges on both sides.
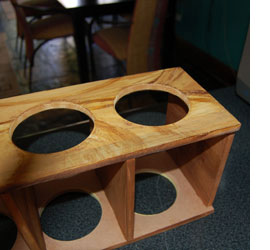
7. Cut 6 square sections 150 x 150mm for the ends and dividers.
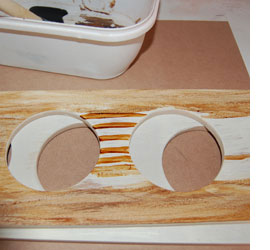
8. Before assembling the pieces I did a paint technique on the supawood so that it resembled wood – see below.

9. Glue the side and end divisions to the top and bottom sections and leave until the glue has dried.
Whilst I have previously advised that it isn’t easy to make PG Bison SupaWood look like real wood unless you have a rocker, this weekend I discovered that you can actually use a faux technique to do it. The trick is to apply a light, patchy coat of paint before applying the gel stain. This is an exciting discovery for me, as it means I can be more creative with SupaWood.

1. Apply a thin, patchy layer of acrylic paint with a paint brush. Where you leave patches, t hese will be darker in colour and the brush strokes add texture.
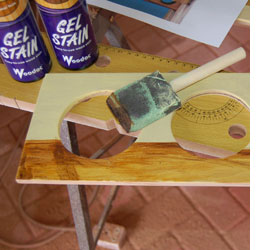
2. Use a foam applicator to apply uneven lines of light colour gel stain to simulate the grain of wood. Don’t be too perfect – have a piece of pine handy as a guideline.
3. After applying enough detail, use the pad of the foam appli-cator to lightly spread more gel stain over the area. The lines previously applied will now be darker and the new stain lighter.
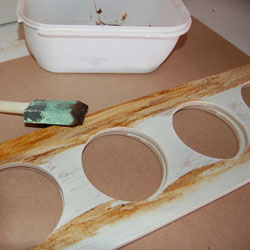
4. Continue to apply streaks and soften until you are satisfied with the result. You can add a darker stain over this for even more detailed grain effect. I discovered this faux wood grain effect purely by accident and the end result was very good. Play around with this technique to replicate different types of wood grain.
![]()
Comments
Add comment