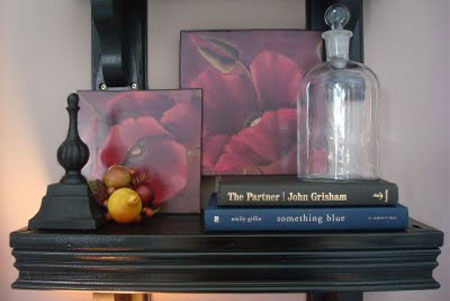
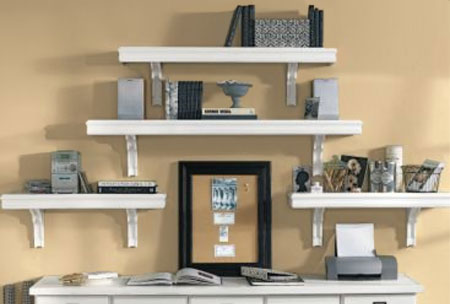
Decorative Shelf
Posted by Odette Nieuwoudt in Project Plans

Pine cut to size for the shelves
Lengths of crown moulding or decorative trim
Brackets
Tape measure
Pencil
Wood glue
Wood filler
Panel pins
Hammer
Mitre box and saw
180- and 240-grit sandpaper
Drill and mortar bits
fischer wall plugs and screws

1. Use a tape measure to determine the lengths of trim/moulding needed to make the frame.
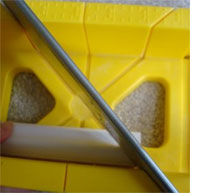
2. Use a mitre box and saw to cut the angles for the various sides. If you have never used a mitre box before practise with some offcuts of wood to get the hang of how the various angles work.
3. Use panel pins and wood glue to attach the trim/moulding to the edge of the shelves. Make sure that you line up the corners neatly. Any small gaps can be filled in with wood filler and sanded smooth once dry.
4. Sand the shelves with 240-grit sandpaper and wipe clean.
5. To finish off the shelves you can paint any colour you choose. I prefer to use Rust-Oleum Painters Touch spray paint for my painting projects, as it provides a smooth, stroke-free finish and dries in a fraction of the time.

Visit the Thrifty Decor Chick blog for more ideas.
![]()
Comments
Add comment