A Guide to Building Your Own Leg Vise with Simple Materials
Posted by Siphesihle Hato in Encyclopedia of Woodworking, How To Guides

Woodworking often involves a delicate dance between tradition and innovation, with handcrafted tools standing as a testament to the artisan’s skill. One such essential tool in a woodworker’s arsenal is the leg vise. Rather than investing in a store-bought version, consider the satisfaction of building your own leg vise with simple materials. This DIY project not only enhances your workshop but also allows for customization to suit your specific needs.
Materials You’ll Need
Creating a leg vise requires minimal materials that can be easily sourced from your local hardware store or salvaged from other projects. The key components include a sturdy wooden beam for the jaw, a threaded rod or wooden screw for the vise mechanism, some hardwood for the guide, and basic hardware like nuts, bolts, and washers. With these simple materials, you can craft a leg vise that adds precision to your woodworking endeavors.
Designing Your Leg Vise
Before diving into construction, consider the design of your leg vise. Think about the size of your workbench and the type of projects you typically undertake. Sketch out a plan that includes the dimensions of the jaw, the placement of the vise on your workbench, and the specifications of the vise screw or rod. A well-thought-out design ensures a vise that seamlessly integrates into your workflow.
 Construction Steps
- Jaw Assembly: Start by crafting the jaw of the vise using a sturdy wooden beam. Ensure that it’s flat, straight, and large enough to accommodate the size of your projects.
- Guide Installation: Attach a hardwood guide to the jaw. This guide should run parallel to the jaw and will guide the movement of the vise, ensuring smooth and precise operation.
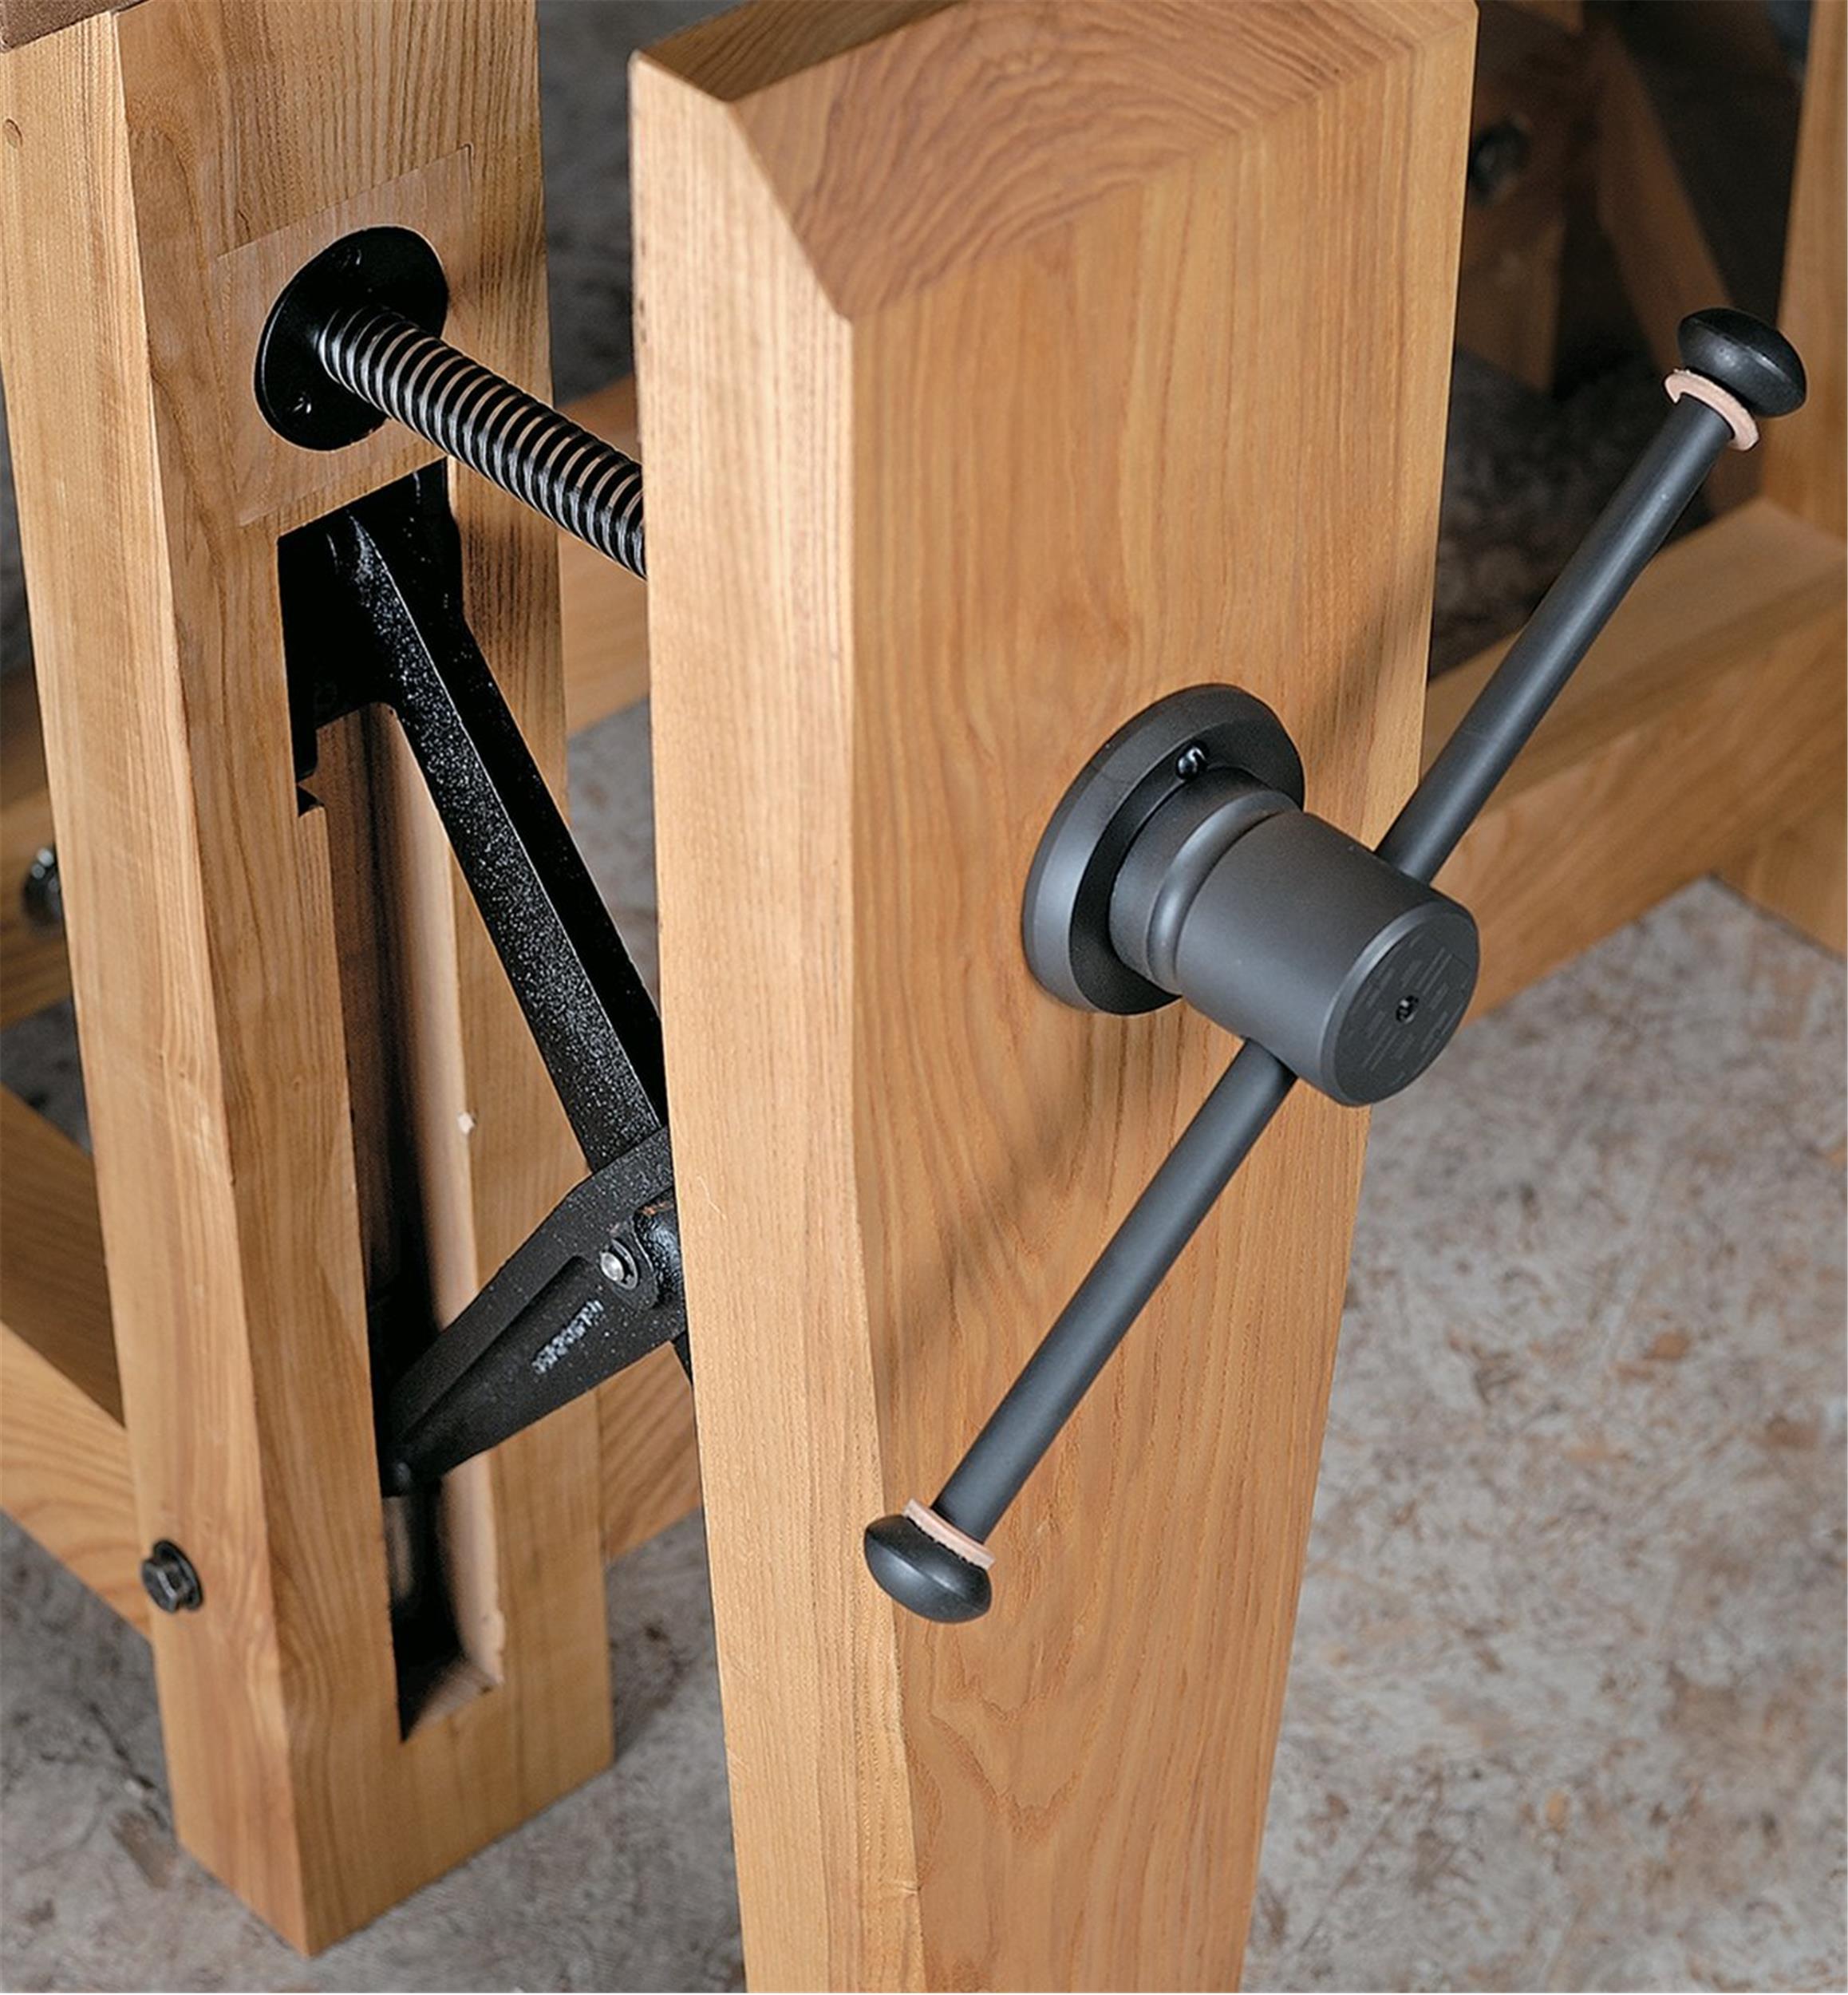
- Vise Mechanism: Install the vise mechanism using a threaded rod or wooden screw. Ensure that it runs smoothly through the guide, allowing the jaw to open and close with ease.
- Mounting on Workbench: Secure the leg vise to your workbench, ensuring it’s firmly attached and doesn’t wobble during use. This step may involve drilling holes and using nuts and bolts for a secure connection.
Benefits of DIY Leg Vise
Building your own leg vise offers several advantages. It allows you to tailor the vise to your specific needs, ensures a better understanding of its mechanics, and provides a sense of accomplishment as you see your creation in action.
Crafting your own leg vise with simple materials is a rewarding venture that enhances your woodworking experience. Embrace the opportunity to personalize your tool, and revel in the precision and control it brings to your projects. As you embark on this DIY journey, you’ll not only improve your workshop but also deepen your connection to the age-old craft of woodworking.
Comments
Add comment