Mastering Vertical Edge Gluing: Tips and Tricks
Woodworking projects often require precise and robust techniques, especially when dealing with edge gluing. Vertical edge gluing is a fundamental skill that ensures your wooden panels and edges come together seamlessly. Here’s a comprehensive guide to help you master this technique, ensuring your projects are both aesthetically pleasing and structurally sound.
Preparing Your Wood
- Selecting the Right Wood: Start with choosing high-quality wood. Ensure the boards are flat, straight, and free of any major defects. It’s best to use wood from the same log or batch to maintain consistency in grain and color.
- Surface Preparation: Before gluing, the edges of the boards need to be perfectly straight and smooth. Use a jointer or a hand plane to achieve this. This step is crucial as any imperfections can lead to gaps and weak joints.
- Test Fit: Lay out the boards in the desired order and check the fit. This will give you an idea of the final appearance and help you identify any adjustments needed before applying glue.
The Gluing Process
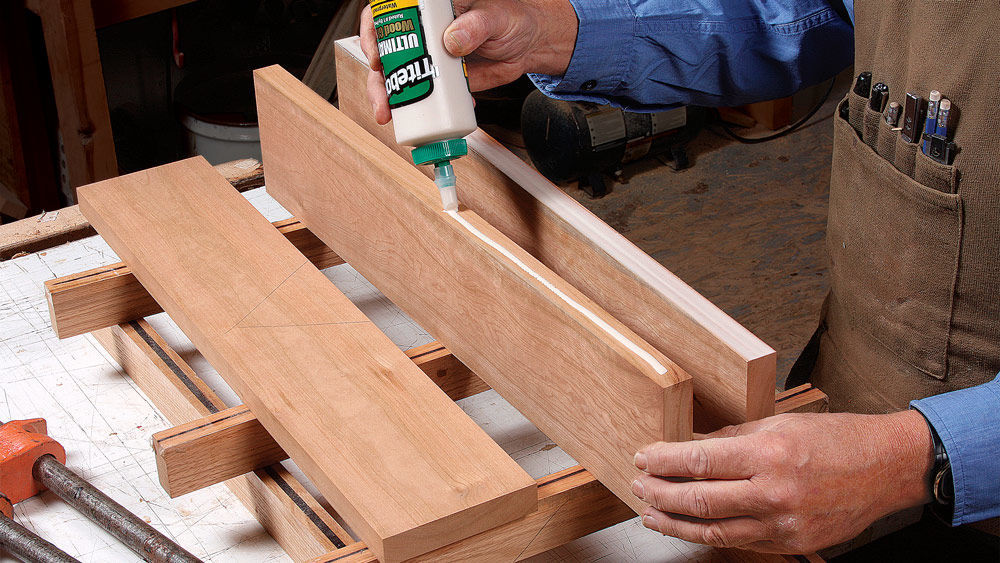
- Glue Selection: Use a high-quality wood glue. Titebond III is a popular choice due to its strong bond and longer working time. Apply a thin, even layer of glue on both edges to be joined.
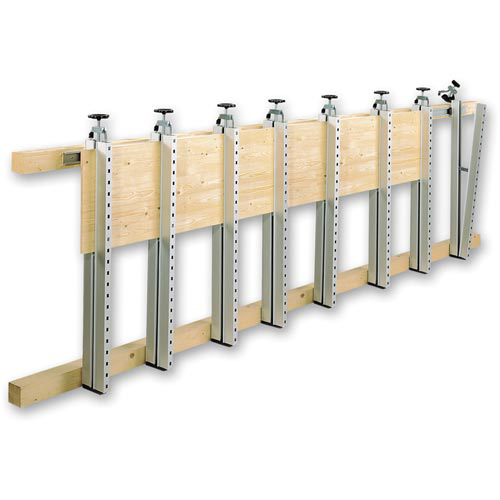
- Clamping: Clamps are essential for holding the boards together while the glue sets. Use enough clamps to apply even pressure along the joint. For vertical edge gluing, bar clamps or pipe clamps work best. Place the clamps about 6-8 inches apart to ensure even pressure.
- Alignment: Ensure the boards are aligned perfectly before tightening the clamps. Misalignment can cause a lot of extra work in sanding and finishing. Use cauls (straight pieces of wood) clamped across the boards to keep them flat and aligned.
- Clamping Pressure: Apply firm and even pressure. Too little pressure won’t hold the boards together well, and too much can squeeze out too much glue and weaken the joint. The right amount of pressure will produce a small bead of glue along the joint.

After Gluing
- Clean-Up: Wipe off excess glue with a damp cloth before it dries. This will make the finishing process easier. Be careful not to smear the glue across the wood surface.
- Curing Time: Allow the glue to cure for at least 24 hours. This ensures the bond is fully set and strong. Avoid any movement or stress on the joint during this period.
- Sanding and Finishing: Once the glue is fully cured, sand the surface smooth. Start with a coarser grit and progress to finer grits for a perfect finish. Ensure the joint is smooth and flush with the surface.
Tips for Perfect Results
- Moisture Control: Wood expands and contracts with changes in humidity. Ensure your workspace is at a stable humidity level to prevent the wood from warping after gluing.
- Practice Makes Perfect: Like any woodworking skill, practice is key. Start with small projects to hone your technique before moving on to larger pieces.
- Patience: Take your time with each step. Rushing through the process can lead to mistakes and subpar results.
By following these steps and tips, you can achieve strong, seamless vertical edge joints that enhance the quality and durability of your woodworking projects. Whether you’re building furniture, cabinetry, or decorative pieces, mastering this technique is essential for any serious woodworker.


Comments
Add comment