Customer Projects: Roubo Workbench
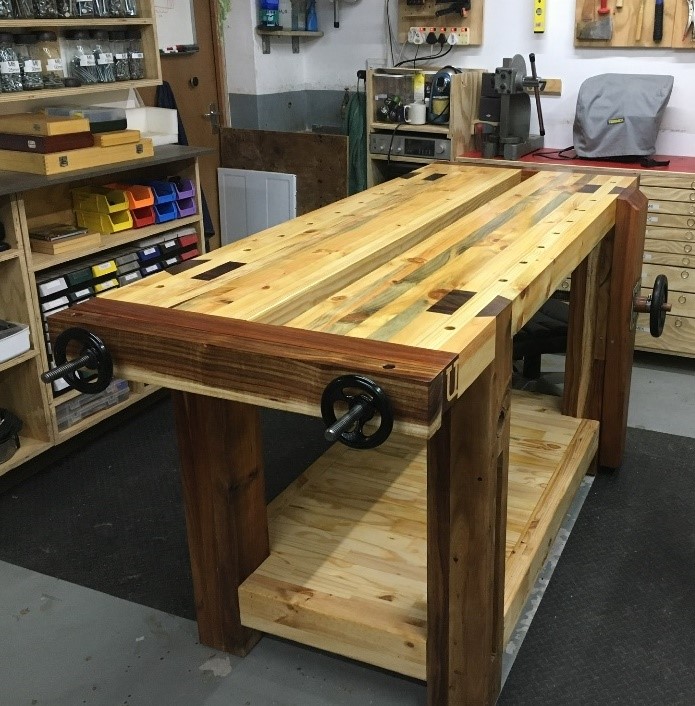
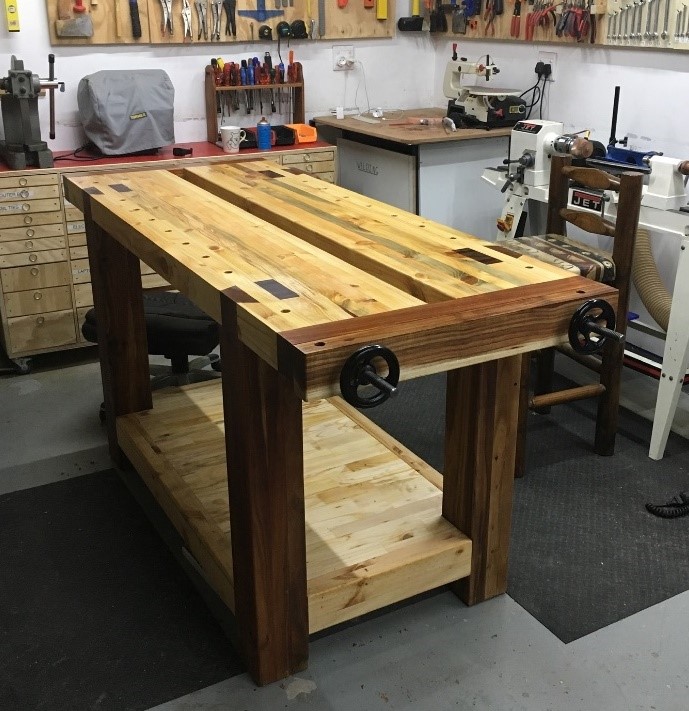
My version of the Roubo Workbench
This article will show you how I’ve built this
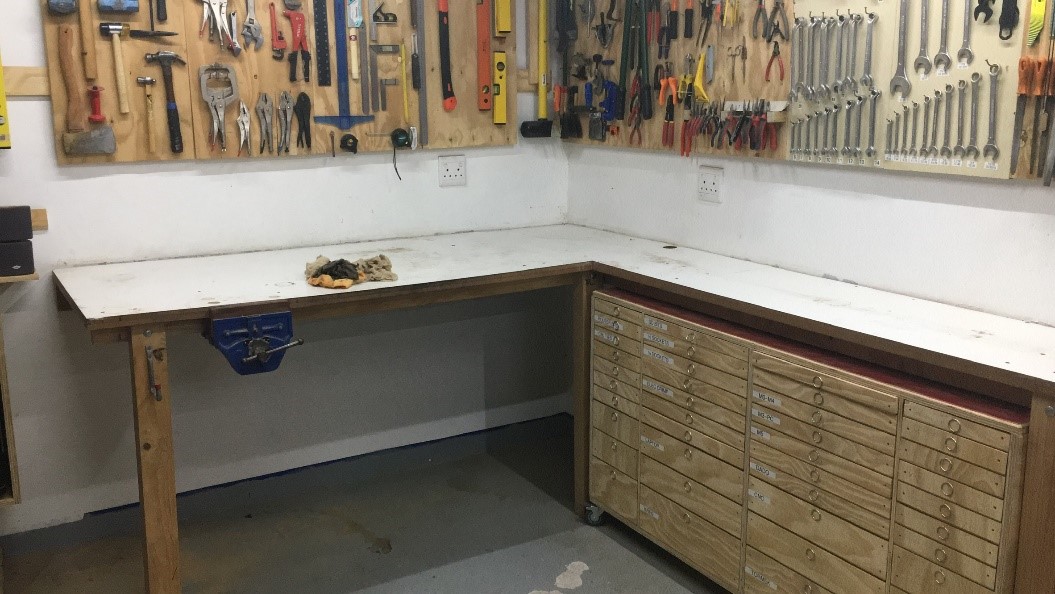
My last workbench, made from two pieces of 16mm Supa wood glued together with a high-pressure laminate top lasted me about eight years. It survived a myriad of projects ranging from building a solid Kiaat 10-seater poker table, building a couple of solid wooden computer cases, and a range of other projects. The workbench was wall-mounted, but then, after watching one too many a YouTube video, I realised that having a wall-mounted bench is not the norm. Analysing my workflow, I appreciated that most of my work is performed in the centre of my workshop as well. As you can see, my original bench was starting to age a bit, so I figured now may be an excellent time to make some new saw dust.
I then started to research the topic of workbenches. I know I wanted one that I can clamp down anything I want to, it must be solid, and I wanted a challenge during the built process. After weighing up hundreds of options, I ended up deciding to construct myself a modern version of the Roubo workbench. The lumber is pine for the top and Knysna blackwood for the legs, the end caps, the Moxon- and leg vices. Once I decided on the design, it was time for Google Sketchup and time to build the bench in my mind.
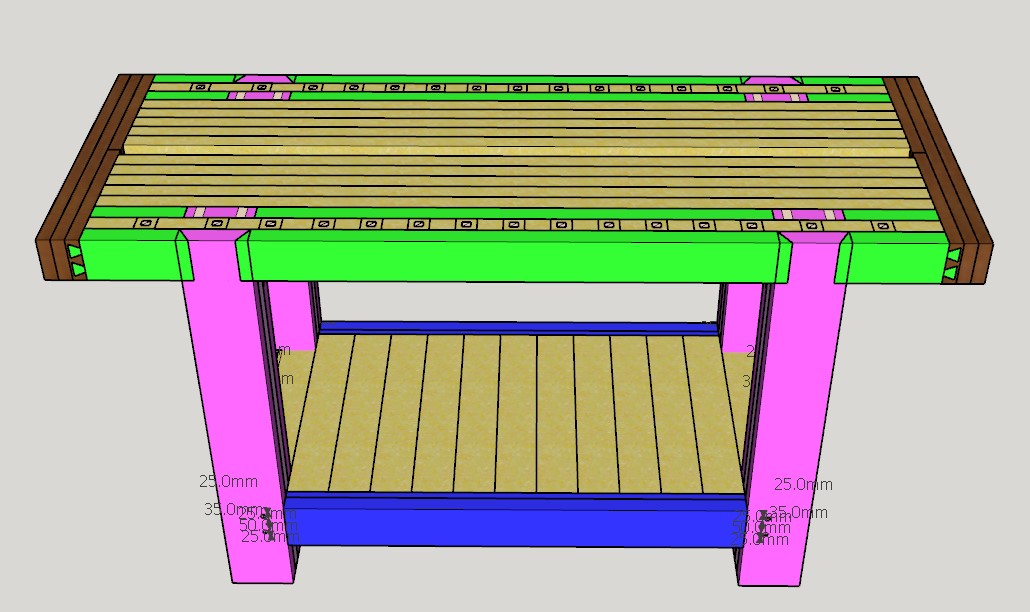
The height of the workbench is 1,000mm, the width 765mm, the length 1980mm. The legs measure 150mm x 135mm. All these dimensions slightly changed during the construction phase as I was trying to maximise the available wood.
Once the amount of lumber was known, it was time to do some shopping. Gumtree resulted in me purchasing six boards of 250mm x 50mm x 6m untreated pine lumber. For the legs and the trimming, I’ve decided a road trip to my favourite lumber supplier in Knysna is again in order. Local hardware suppliers provided the remaining pine boards as was needed to achieve the required thicknesses.
After having the actual lumber on hand, I revisited Sketchup and made all my cuts in virtual space. This resulted in some minor modifications to the overall bench.
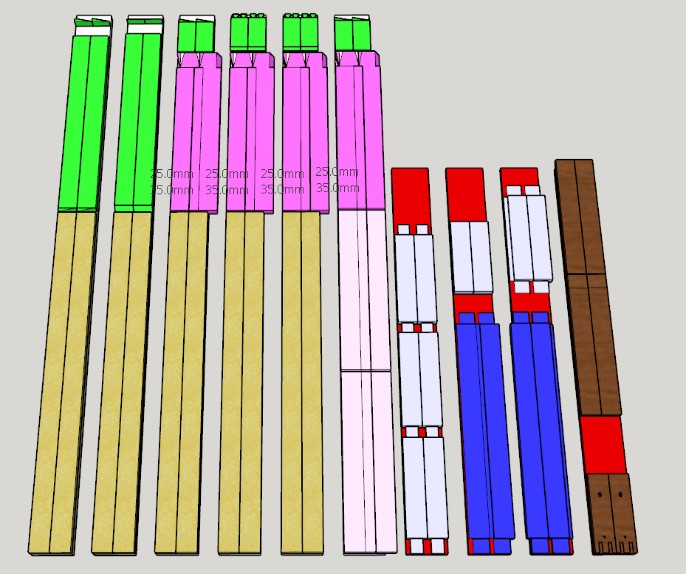
The Pine on the righthand side picture is already ripped to rough dimensions from the original boards and will hence be laminated. The blackwood ranged in quality and was selected predominately for their thickness as they will be laminated together.
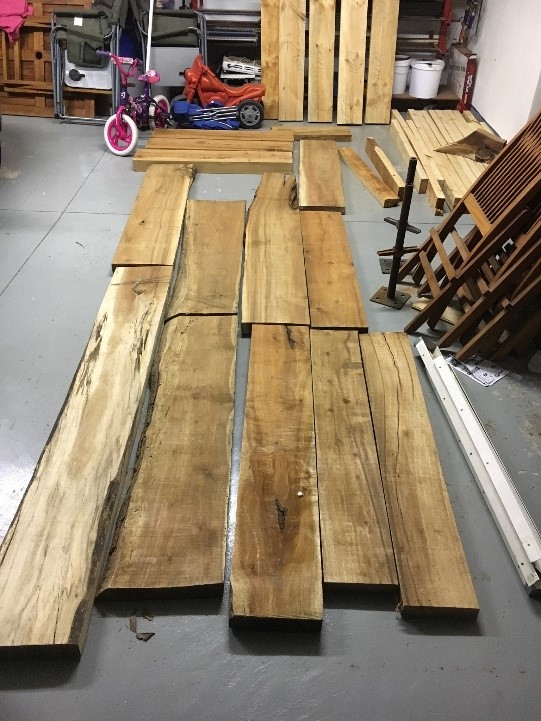
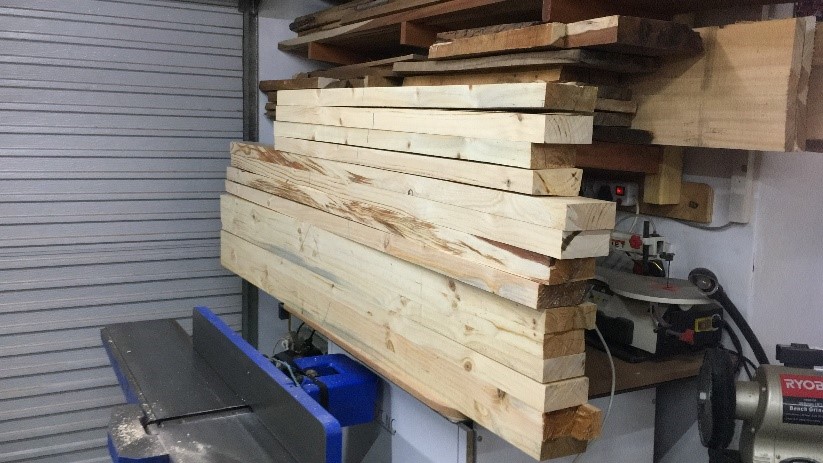
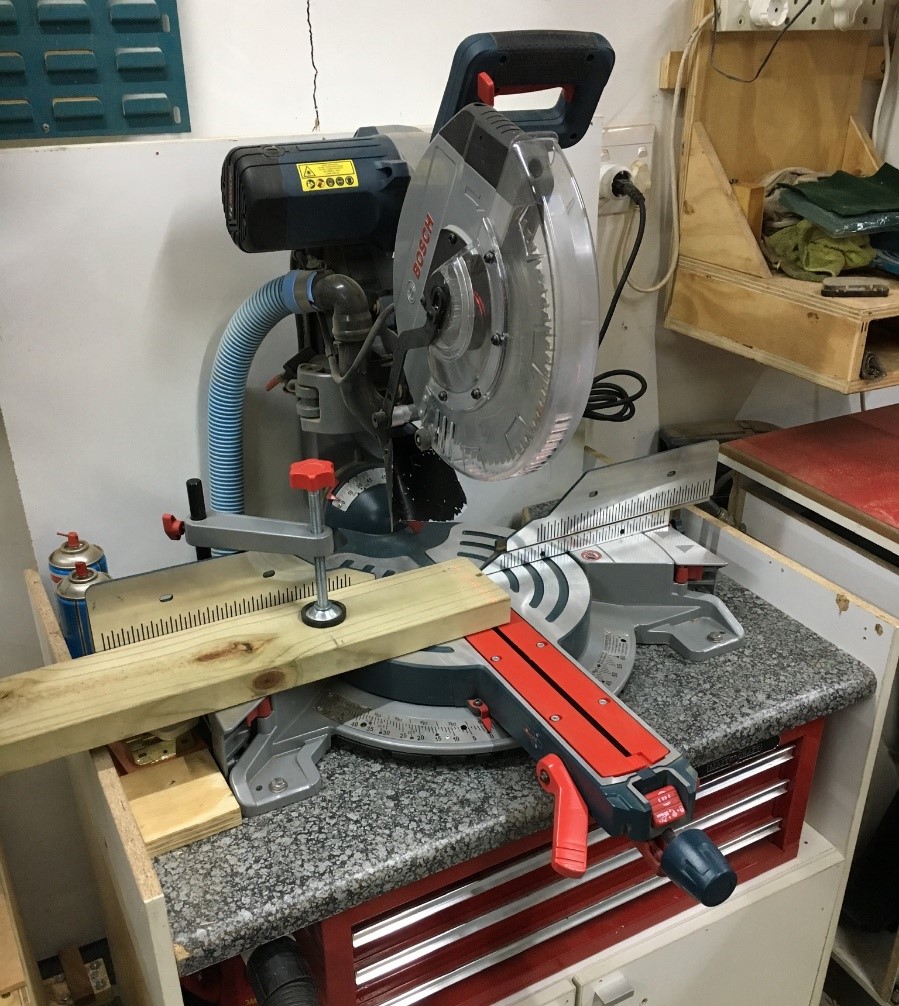
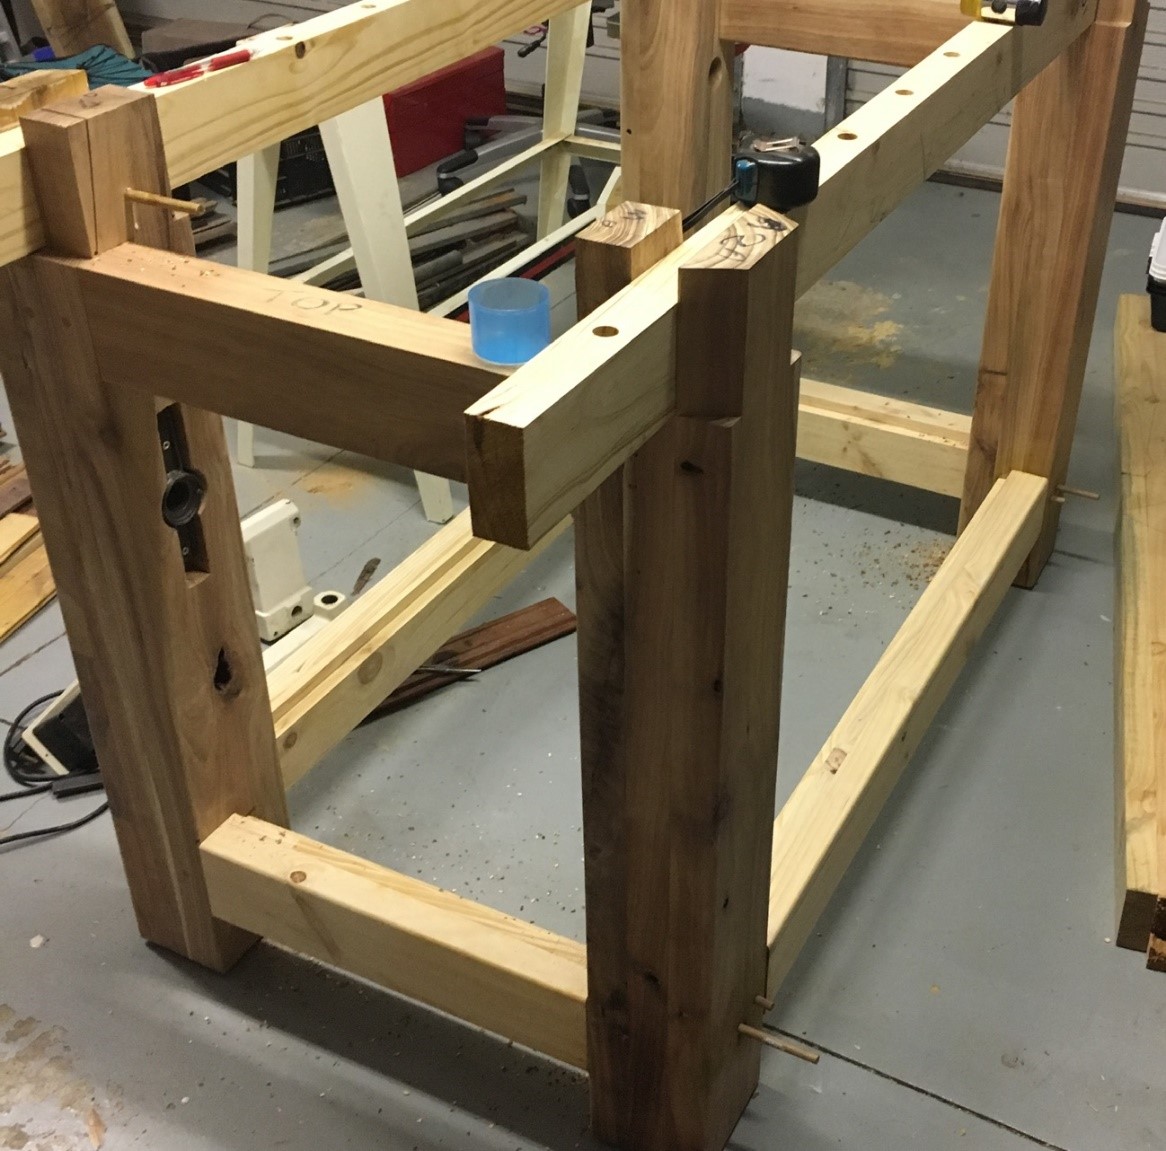
I’ve watched countless Roubo workbench videos, most of them recommend that you first built the tabletop, and then you built the legs. I did not particularly like this approach and decided to first start with the legs. The reason for this was mainly due to the cost differential between black wood and pine. I wanted to maximise the width of the table but will be restricted on how much I can salvage from the blackwood. The lumber was squared on the Bosch Glide Mitre saw which has been making perfect cuts from the first day.
The image above shows one axis of the St Peters Cross on the left side. This mechanism is discussed further on in the document.
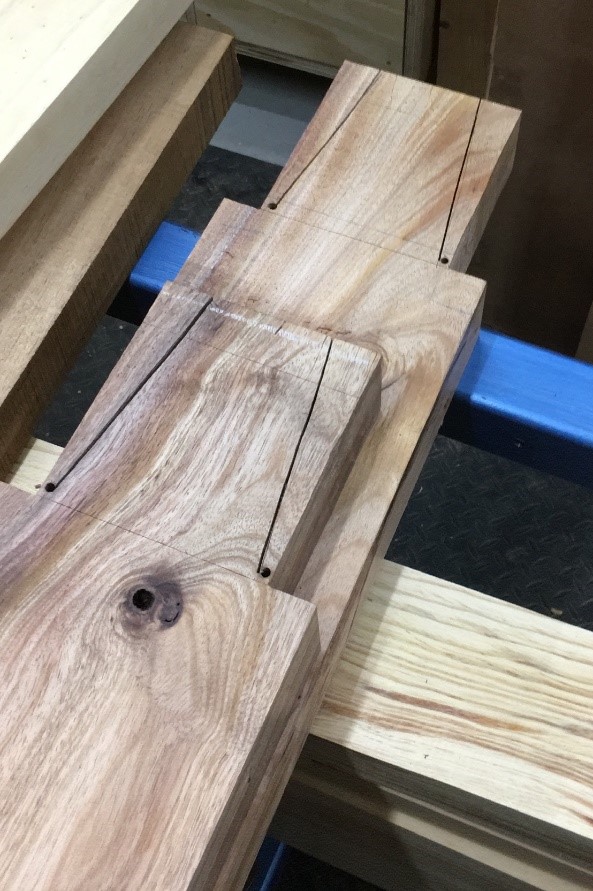
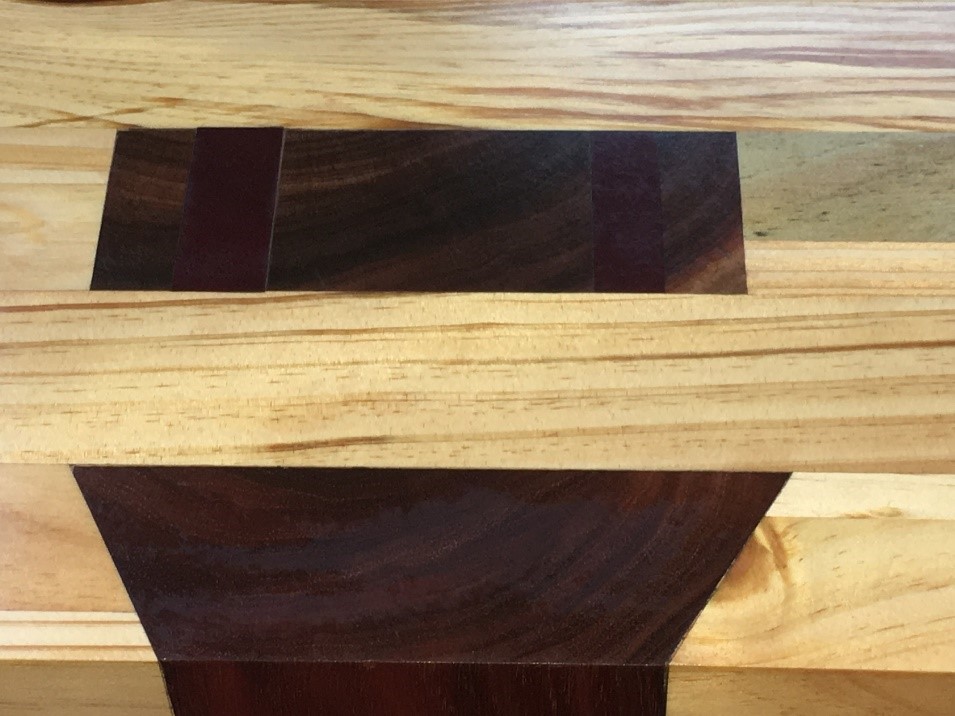
I’ve used a wedged mortise and tenon joint, rounded off by a dovetail for the front part. This joint is extremely strong, and once the glue is applied, it is impossible to remove. For some added contrast, I’ve made the wedges for the mortise and tenon joint out of Purple Heart.
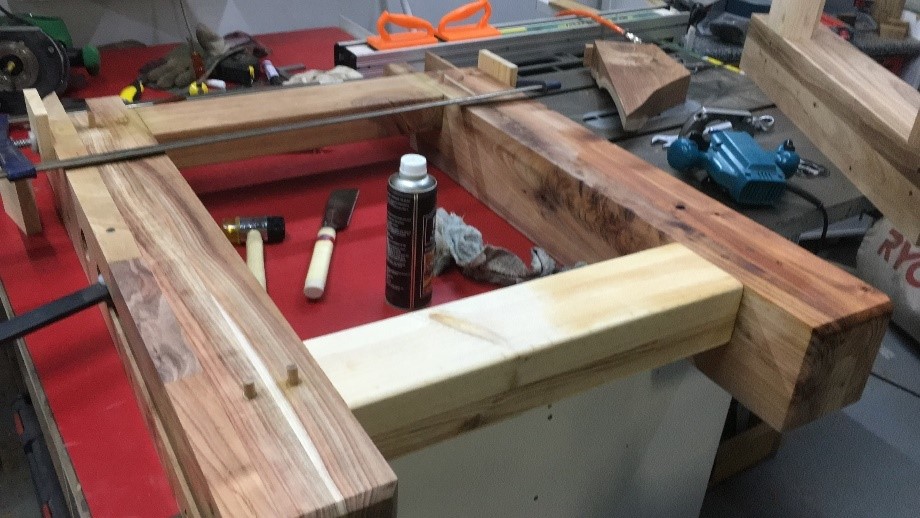
The rails are attached to the legs using dual drawbored mortise and tenon joints. This mechanical bond, when glued in place, should yield a tight joint for years to come. The below images clearly shows how the dowel offset helps to pull the joint extremely tight. Even a minor offset of 1.5mm will result in a very impressive joint.
The image below shows the drawbored dowels still protruding from the various joints.
But once it is flush cut, it leaves a nice tight fitting.
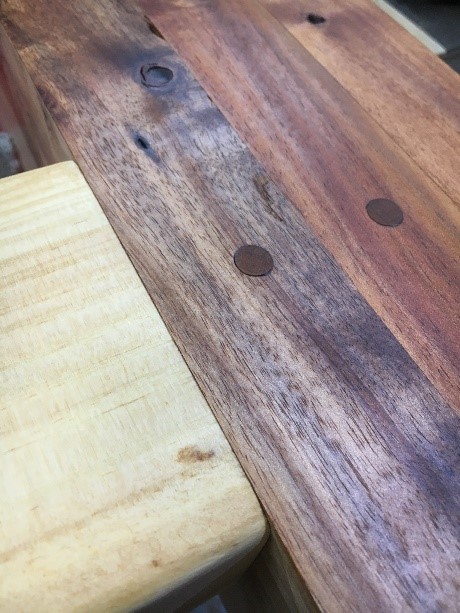
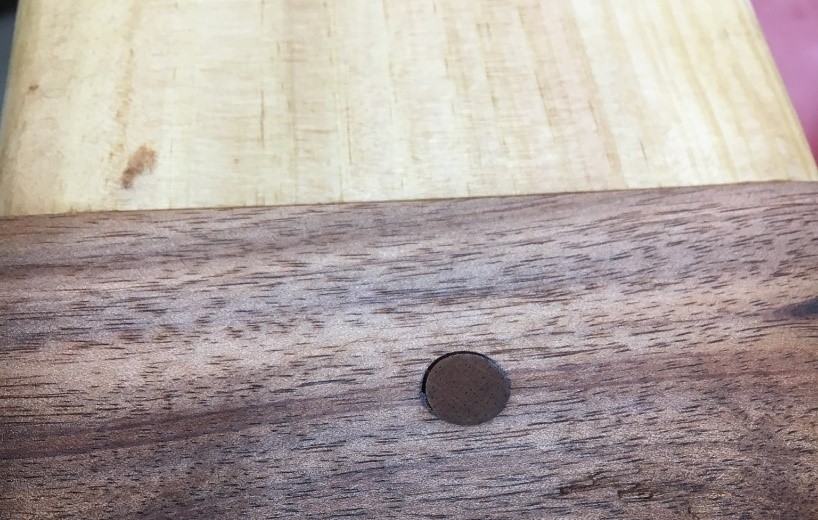
The beam running between the wedged mortise and tenon and the dovetail is also strengthened with a dowel. This dowel is not visible once the rest of the top is installed.
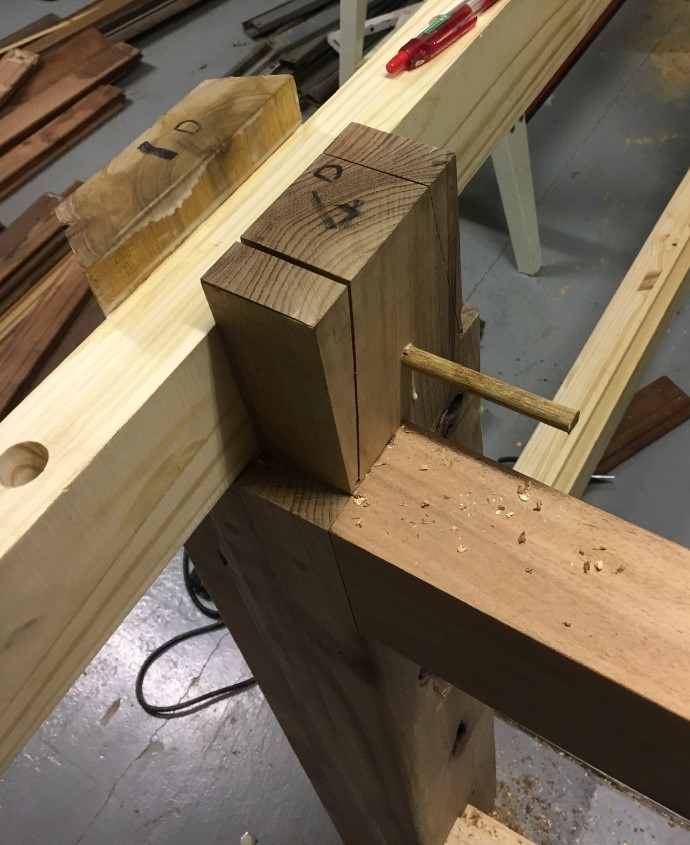
As can be seen from the above image, I purposely left the legs tenons too long. This will be flush trimmed once the top is assembled.
The following images illustrate the Purple Heart that was hammered into the wedges, thus forcing the tenon open to almost represent a dovetail. Once the glue set, it is not going to go anywhere.
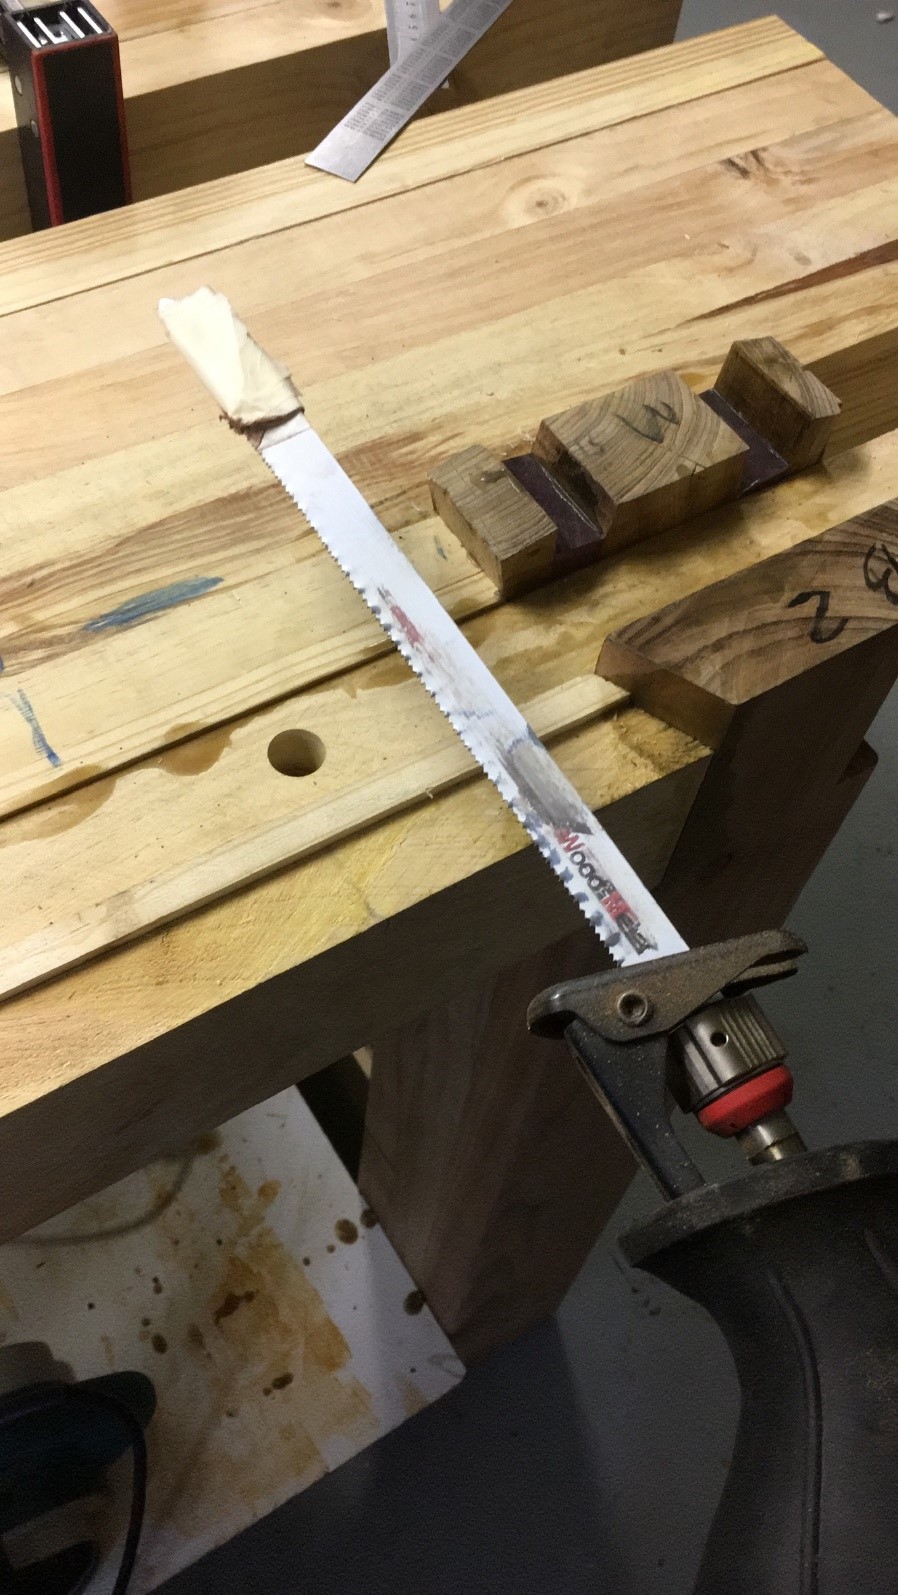
On YouTube they make it look so easy to cut off excess tenons. I’ve tried a range of tools, but then I’ve decided to try out the 18v Cordless Bosch Reciprocating Saw. I took a flexible blade and to prevent it from marring the top applied some masking tape to the end thus creating a flush no-cut part of the blade. This flexed the blade just enough to ensure the excess tenon is cut off with only one millimetre still protruding. The protrustion was sanded down with yet another favourite tool of mine, the 150mm Bosch Professional Orbital Sander.
The top is made up of two slabs of laminated pine boards. The jointer ensured one side of the slab is flat, but they were a bit heavy to manhandle alone through the thickness planer. The top therefore required another solution. This meant building a router-sled that is wide enough to flatten the whole top in one go.
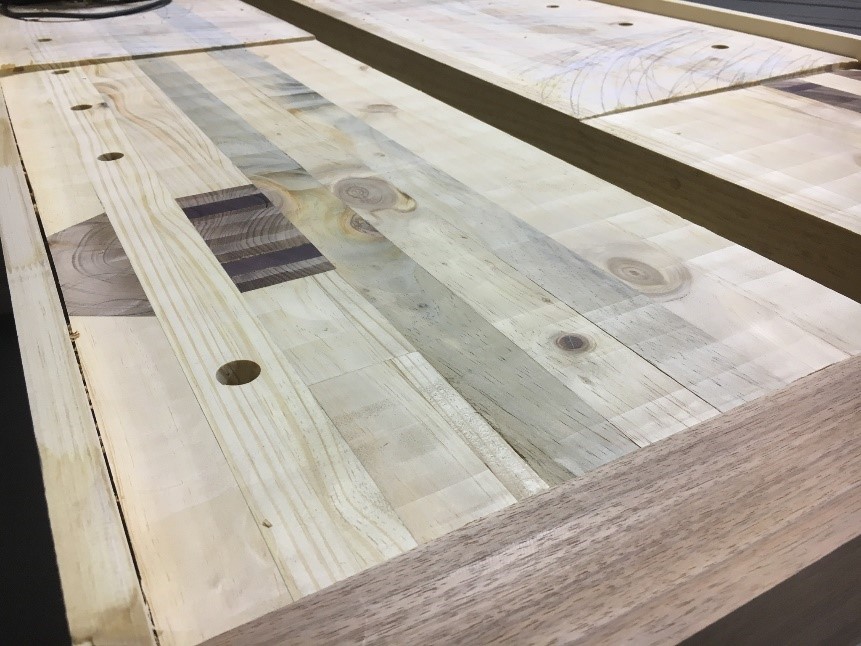
The Wood Whisperer has an awesome video on how to flatten a large surface. I made some minor modifications to his approach, but it worked flawlessly. The router left some “scallops” but using my the 150mm Bosch sander made real light work of it.
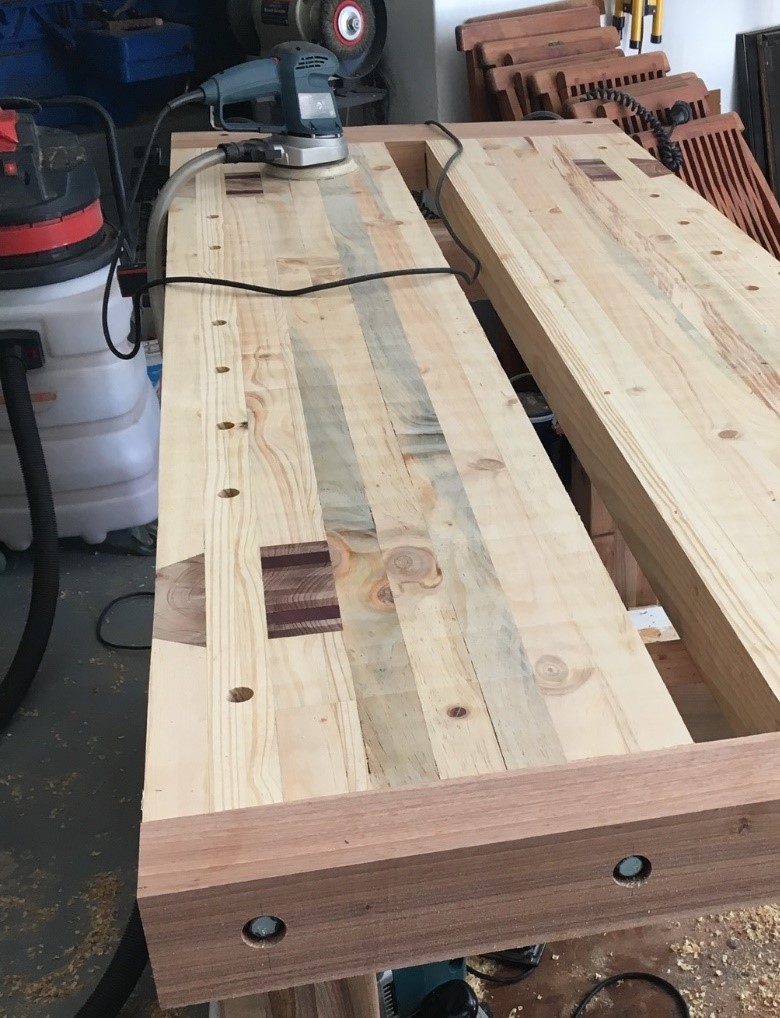
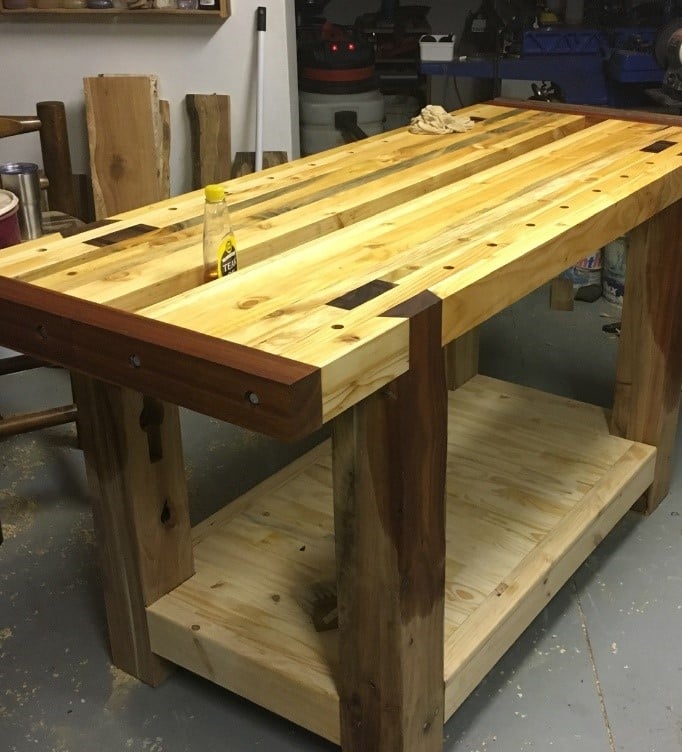
I deployed Flurit oil for all the black wood and trimmings, while the top received some light teak oil (about 5 litres of it). Once everything was dried and soaked in, I’ve applied shellac finish to it as well. This leaves the bench with a nice sheen with a finish that can easily be repaired if need be. The below image was taken after applying about 2 litres of oil.
Once the bench is assembled, I incorporated a York spindle Moxon vice at the tail end.
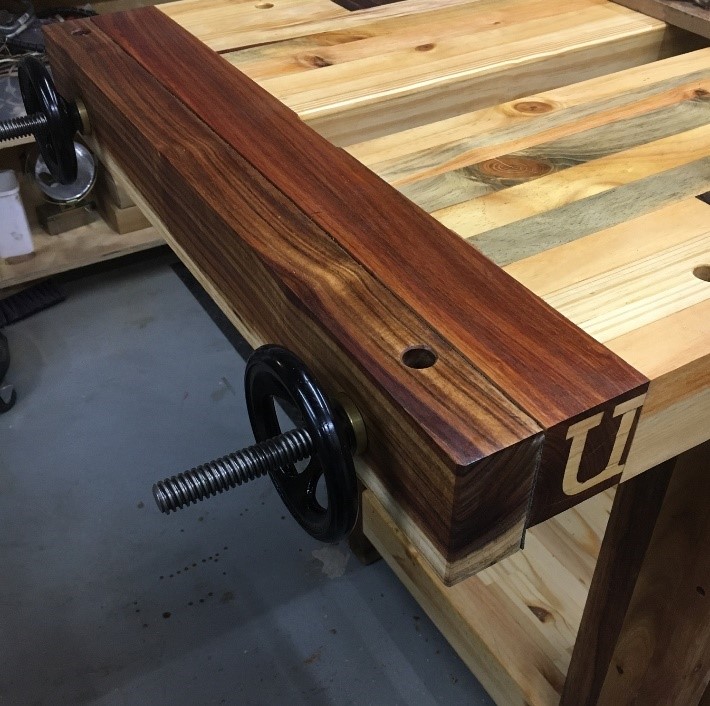
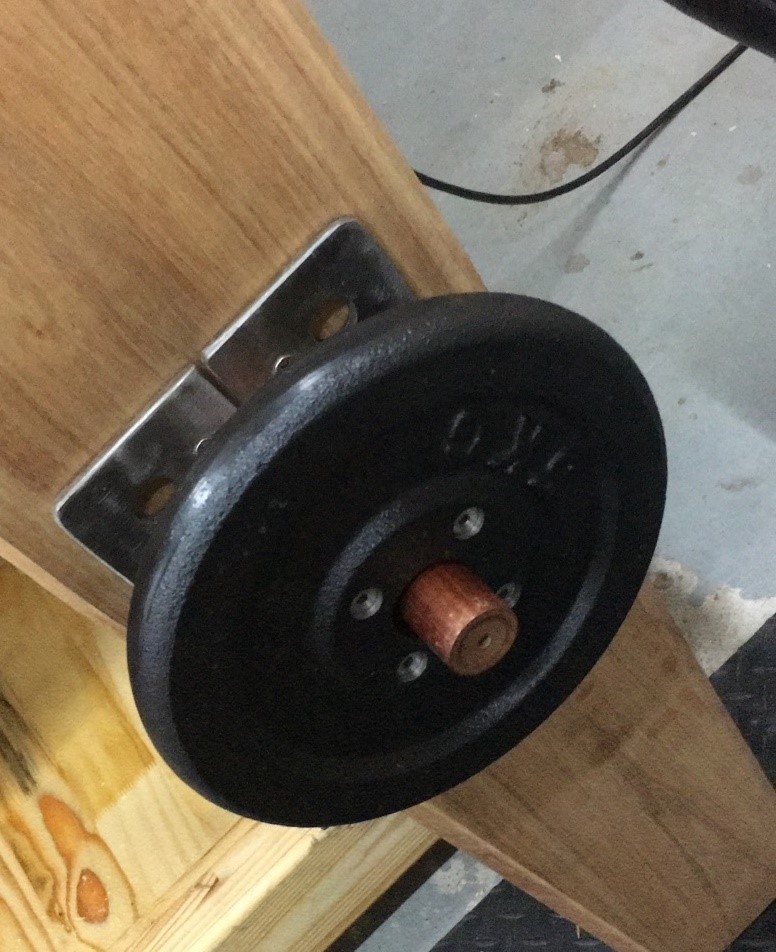
For the right leg, I created myself a homemade version leg vice using a scaffolding levelling leg for the screw, a 5KG weight for the handle, and some steel bars for the St Peters Cross.
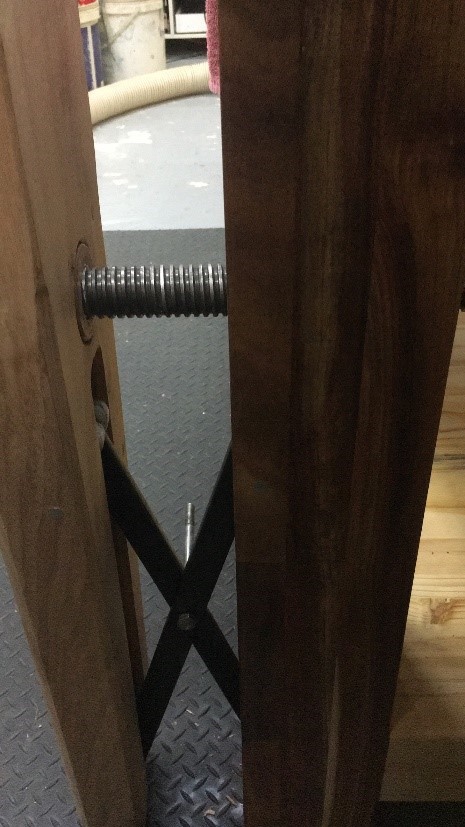
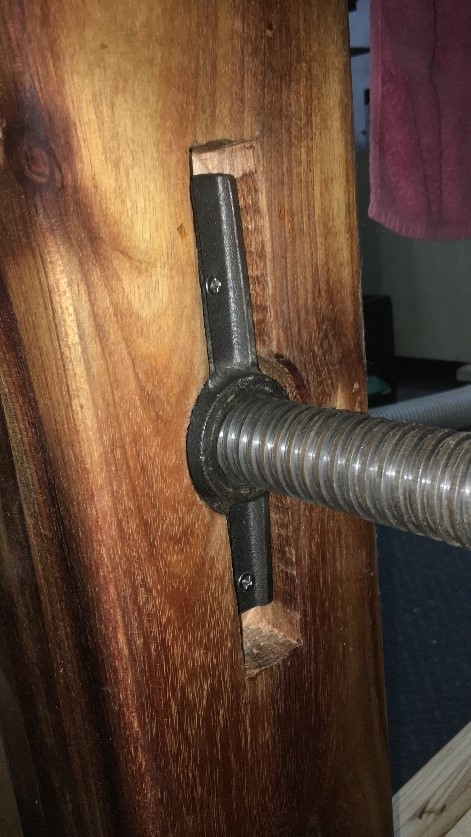
The 5KG weight works surprisingly well as a hand wheel and has a tremendous amount of kinetic energy when in motion. The holding power of the vice is also quite astonishing. I have debated with myself if I need another handle on it, but thus far, it works more than sufficiently.
For my main leg vice, located on the front left leg, I’ve ordered the Benchcrafted Glide Solo C kit, but unfortunately, it is still stuck at customs in Johannesburg. So if any of your readers have contacts, to expedite the package, then please put me in contact with them. Any event, once that is received, I should be able to complete my lefthanded leg vice and then complete my bench.
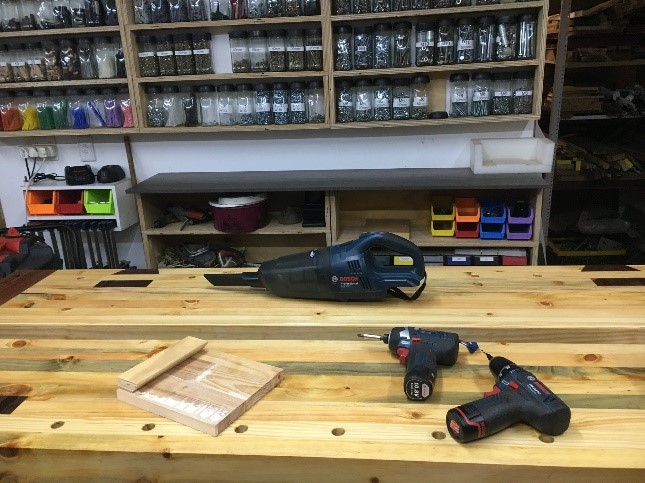
In the meantime, this has not stopped me from abusing the bench. The pictures below demonstrate the bench in action.
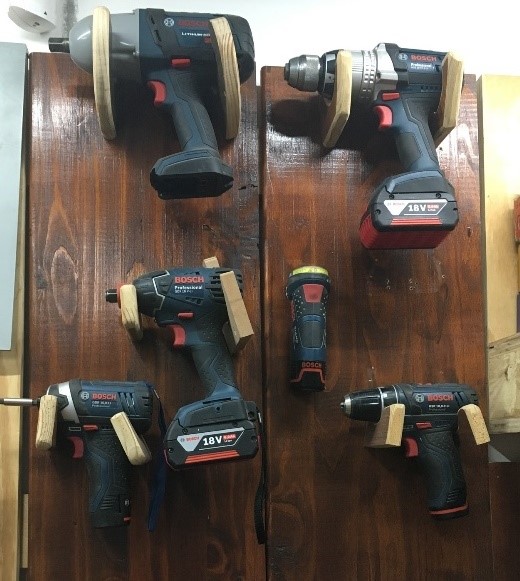
I recently moved my cordless tools from my main tool wall to be closer to the work bench. Here I am making a new French cleat holder to hang up the vacuum cleaner. Once complete it will join its brethren cordless tools which is now only an arm’s length away.
I hope you’ve enjoyed the journey, this was a very fun, yet challenging build.
Author: Denis Dell
Date: August 2019
Comments
Add comment